Luminar AI lets you turn your ideas into reality with powerful, intelligent AI. Download the photo editor and see how you can completely transform your photos in a few clicks.
Here is a look at my finished layer:
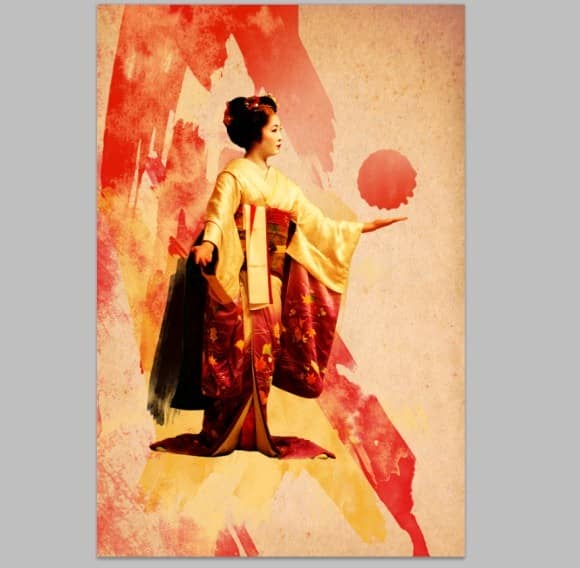
Step 14
Create a new layer above your Geisha layers and call it "paint2." Sample a bright red color with the Eye Dropper, then select the "watercolor_2" brush with the Brush Tool. Set the size to 1100 and click below the Geisha's feet.
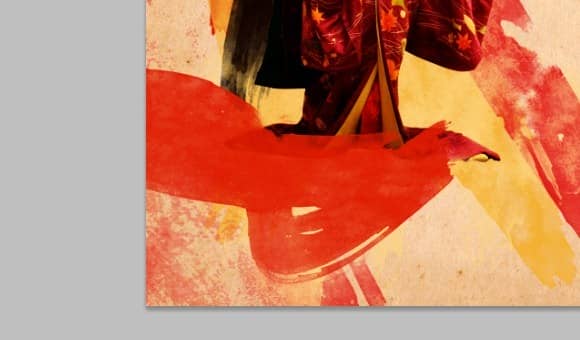
Step 15
Set the foreground to white and select the "watercolor_7" brush. Rotate it -80 degrees and click the Geisha's hair to add a painted hair ornament. Repeat to add the second, adjusting the angle and size slightly for variation.
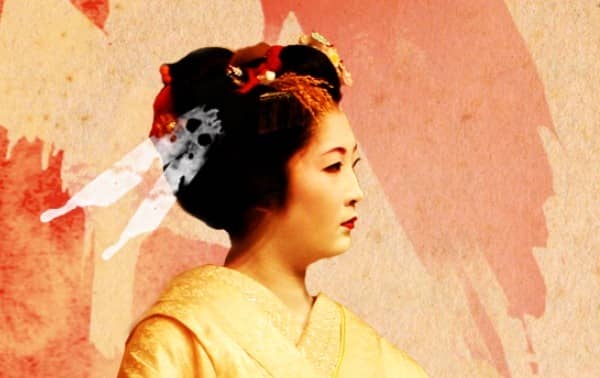
Step 16
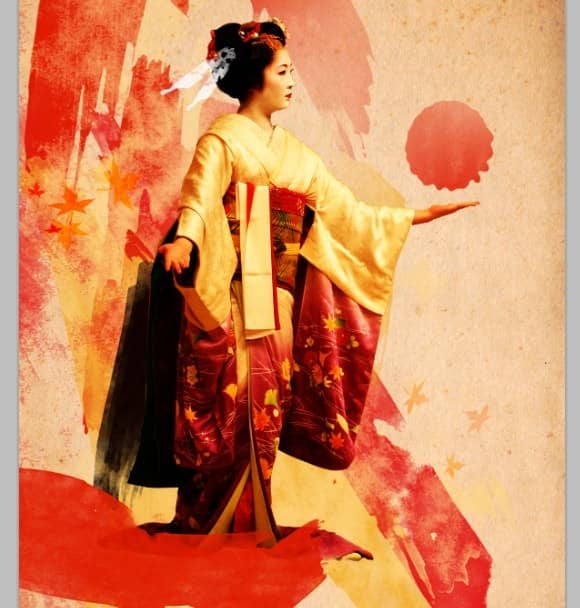
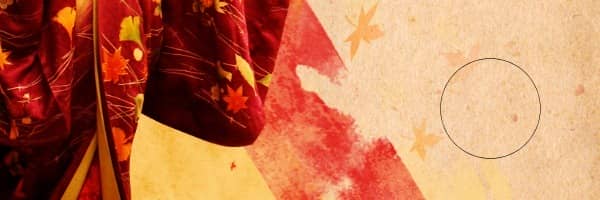
Create a new layer and call it "accents." Sample an orange or yellow color from the kimono and choose the "Scattered Maple Leaves" default brush. Experiment with rotation, color and size, painting sparingly off both sides of the kimono. The effect you want to achieve is the appearance of leaves blowing off the kimono into the canvas.
Step 17
Set the layer with the leaves to "Hard Light." With the layer selected, click on "Layer > Layer Mask > Reveal All" from the Photoshop menu. Choose a large soft brush and brush over the leaves on the right side just enough to make them look like they are fading into the background.
Step 18
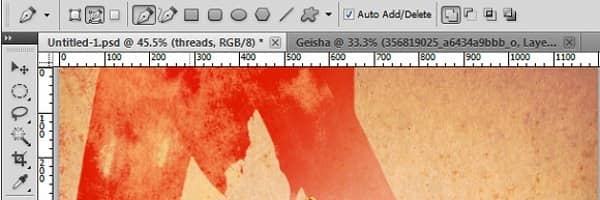
Create a new layer called "threads." Set the foreground to white and choose the Pen Tool. Ensure the "Paths" and "Add path to area" options are selected in your Pen Tool Option toolbar.
Step 19
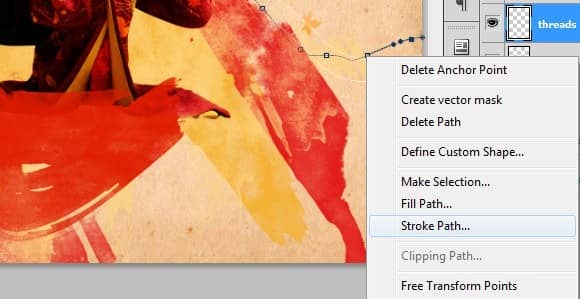
Draw several lines extending from the Geisha's palm towards the edge of the image. Remember to drag between points to crease flowing lines. When you have finished setting one path, right-click and choose "Stroke Path." Leave "Pencil" and "Simulate Pressure" selected and click "OK." Hit "Enter" to create the line.
Repeat this process to add some threads flowing from the lower right side.
Step 20
Select your first paint layer and add a new layer. Set your foreground to white, choose the "watercolor_15" brush and set it to a medium size. Right-click the Pen Tool in your left toolbar and choose the Freeform Pen Tool. Draw a curvy outline around the Geisha's top half. Right-click and choose "Stroke Path" and select "Brush." Experiment with different brush sizes and angles until you get a look you like.


10 comments on “Design a Gorgeous Geisha Art Poster in Photoshop”
I don't know if it's just me or if perhaps everybody else experiencing problems with your site. It appears like some of the written text in your posts are running off the screen. Can somebody else please provide feedback and let me know if this is happening to them as well? This may be a problem with my web browser because I've had this happen before. Thanks
Thiz' s cool !
Interesting!
Wow! I just found Gold thanks alot
thank you! simple and helpful
Very creative!Well done!
Its help me a lot. I am trying to make my own. I normally brows tutorials for Photoshop
Awesome tutorial. THANKS!
I like it very much. I did something wrong, tha I could not do the last steps over the space where I hide the area selected. I must do it again. Thank you very much
Hmmm...this is creative. i like it!!!