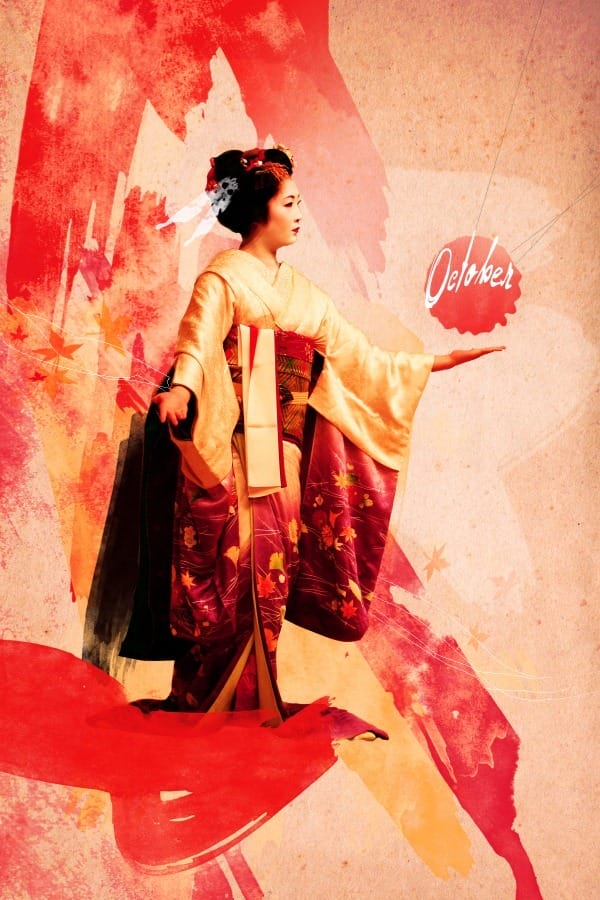
This tutorial walks you through using beginner to advanced techniques to create a modern Japanese art poster of a Geisha, using stock textures, brushes and photos in Photoshop CS5. You will learn how to use masking and selection techniques, layer adjustments and custom brush settings to turn a photo into art. You will also learn how to use strokes and shapes to make her robe come alive.
What You’ll be Making
Download the PSD
Geisha.zip | 40.27 MB
Gorgeous Geisha Art Poster Photoshop Tutorial
Resources
- Watercolor Brushes – Bit-Box
- Vintage Paper #30 – Lost&Taken
- Grunge Paper #5 – Lost&Taken
- Geisha photo – Jon Rawlinson (CC)
Step 1
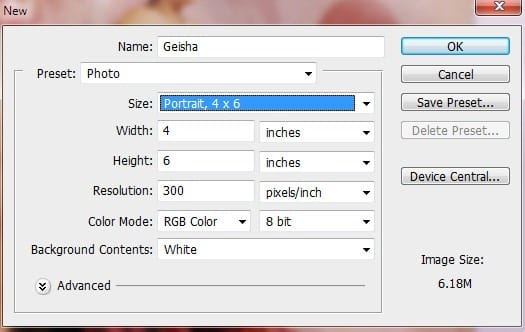
Launch Photoshop and create a new document. I decided to use the Photo preset with the 4 x 6 size for printing on cards, but you can choose any size you wish.
Step 2
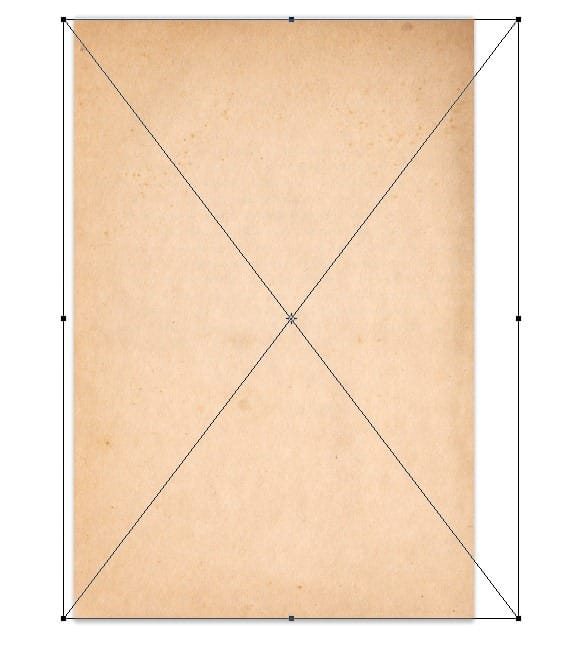
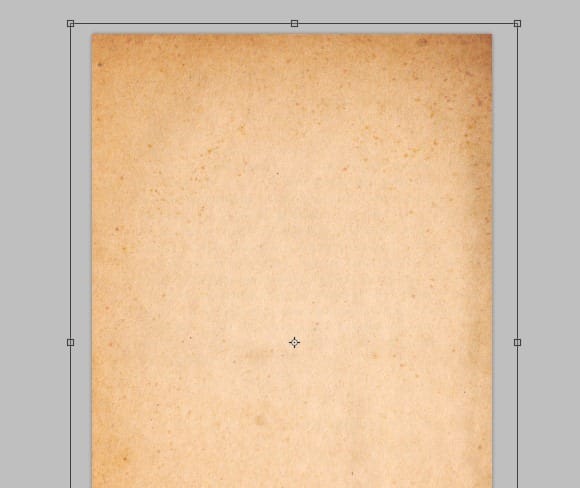
Click on “File > Place” and select the vintage paper texture. Scale the image to fill the document by clicking and dragging on the little black nodes. Drag the right edge a bit further until the majority of the shadow disappears, as we want the light area in the middle to frame our subject.
Step 3
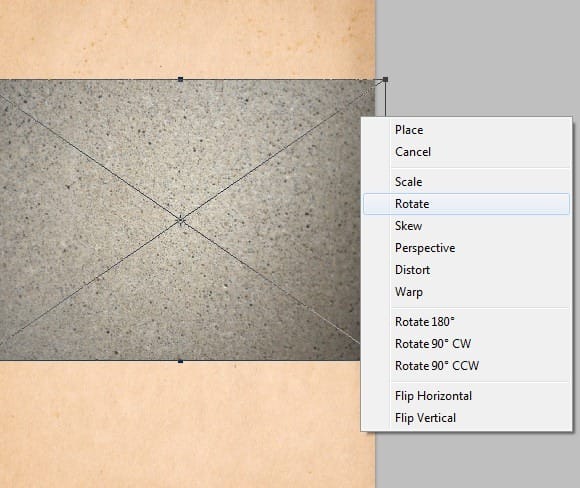
Create a new layer and repeat step 2 to place the grunge texture. Click the corner to activate the Transform Tool. Right-click and choose “Rotate 90°CW” to turn the texture on its side.
Step 4
Drag the corners to fill the document with the grunge texture and then select “Color Burn” from the layer options menu. Set the Opacity to about 30% to get a nice subtle glow.

Here is how your background should look:
Step 5
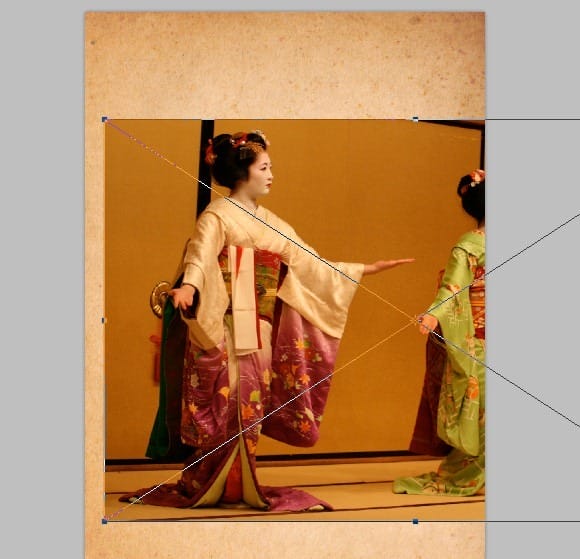
Click on “File > Place” and choose the photo of the Geisha. Scale the image until the Geisha on the left fills about two thirds of the frame. Position her off to the left as I have done here:
Step 6
Next, you will need to get rid of the background. There are several techniques for doing this and if you already know one you are comfortable with, continue to use it, otherwise you may try my shortcut method. This method is best for images with large areas of color.
Choose the Magic Wand Tool by right-clicking on the Quick Selection Tool in your left toolbar. Ensure the New Selection option is clicked in the tool option bar, and set the Tolerance to 15. Left-click the orange areas of the background while holding down the Shift key to create one large selection.
10 responses to “Design a Gorgeous Geisha Art Poster in Photoshop”
-
I don’t know if it’s just me or if perhaps everybody else experiencing problems with your site. It appears like some of the written text in your posts are running off the screen. Can somebody else please provide feedback and let me know if this is happening to them as well? This may be a problem with my web browser because I’ve had this happen before. Thanks
-
Thiz’ s cool !
-
Interesting!
-
Wow! I just found Gold thanks alot
-
thank you! simple and helpful
-
Very creative!Well done!
-
Its help me a lot. I am trying to make my own. I normally brows tutorials for Photoshop
-
Awesome tutorial. THANKS!
-
I like it very much. I did something wrong, tha I could not do the last steps over the space where I hide the area selected. I must do it again. Thank you very much
-
Hmmm…this is creative. i like it!!!


Leave a Reply to SilviaT665105383Cancel reply