Luminar AI lets you turn your ideas into reality with powerful, intelligent AI. Download the photo editor and see how you can completely transform your photos in a few clicks.
Once you've done those, activate the Brush tool (B) and input the following settings:
- Brush size: 150px
- Hardness: 0%
- Opacity: 15%
- Flow: 100%
- #: 0f0600
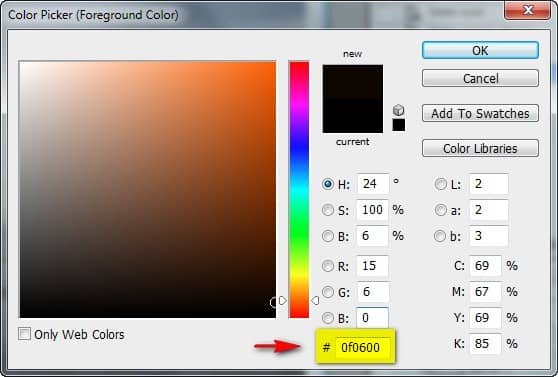
Note: We will be using a very dark brown brush instead of a black one so that the colors of its shadow would still match the color themes of the image.
Now, let's darken the texture:
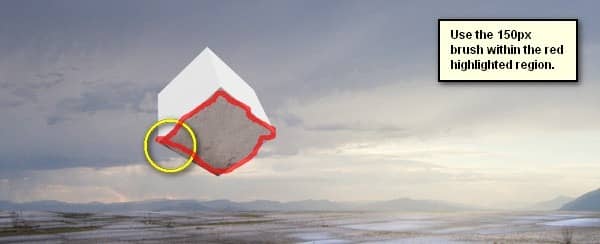
The result should be similar to this:
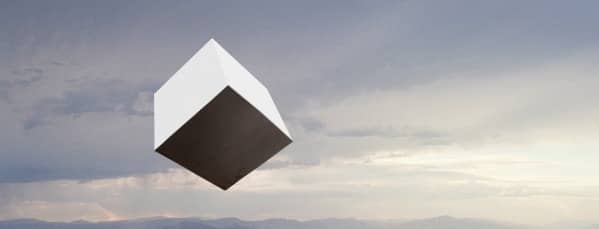
Now, we will create the texture for the upper right side of the box. Activate the Rectangular Marquee tool (M) and open the "Concrete Wall 3" stock image again. Create a selection area around the region shown below:
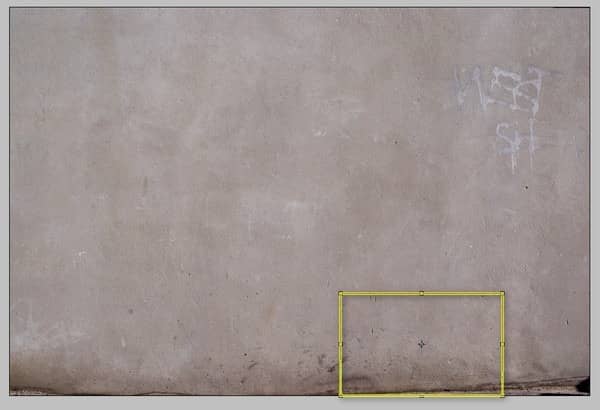
Activate the Move tool (V) and drag the selected area to our canvas. Rename this layer now to "side 2" and put it above "darken side 1".
Position this layer as shown below:
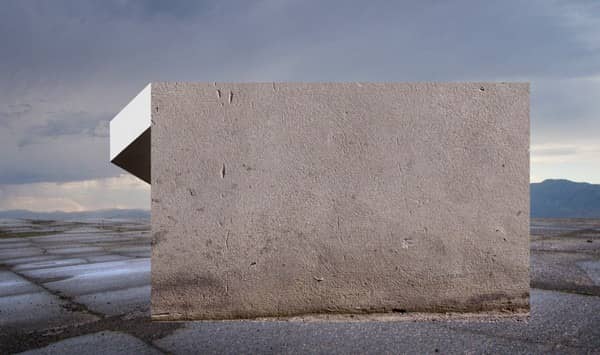
Next, activate the Transform tool (Ctrl/Cmd + T), right click on the canvas and choose "Distort" from the menu and distort the image as shown on the images below:
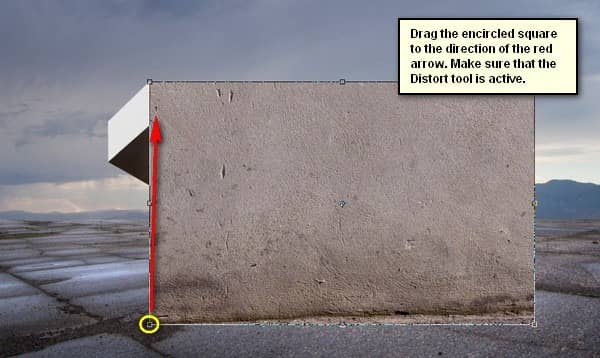
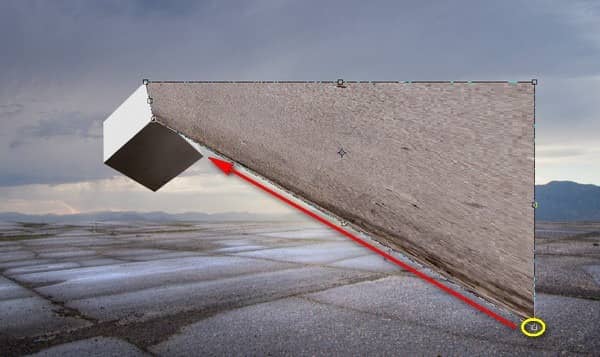
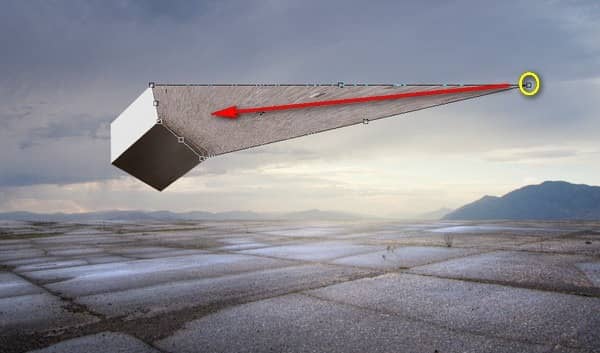
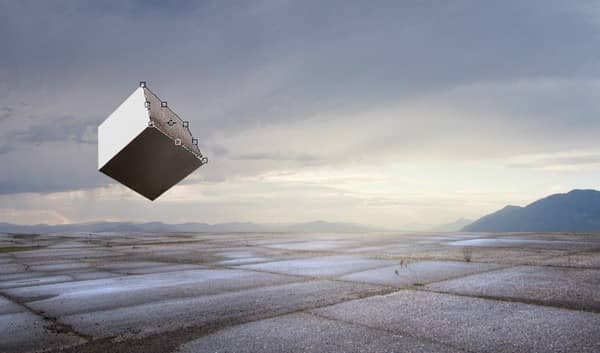
The result:
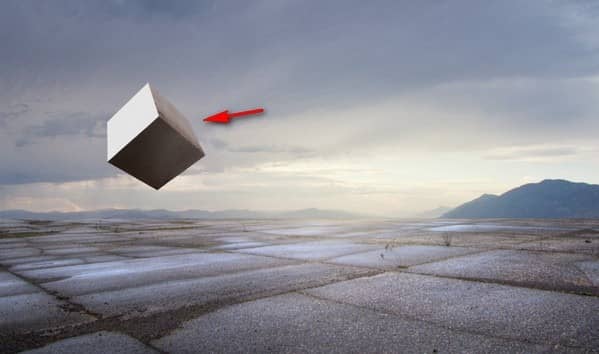
Now, we will darken "side 2", so create a new layer (Ctrl/Cmd + Shift + N) and input "darken side 2" on the name box. Once created, create a clipping mask for this layer.
Activate the Brush tool (B) and input the following:
- Brush size: 150px
- Hardness: 0%
- Opacity: 15%
- Flow: 100%
- #: 0f0600
Let's paint!
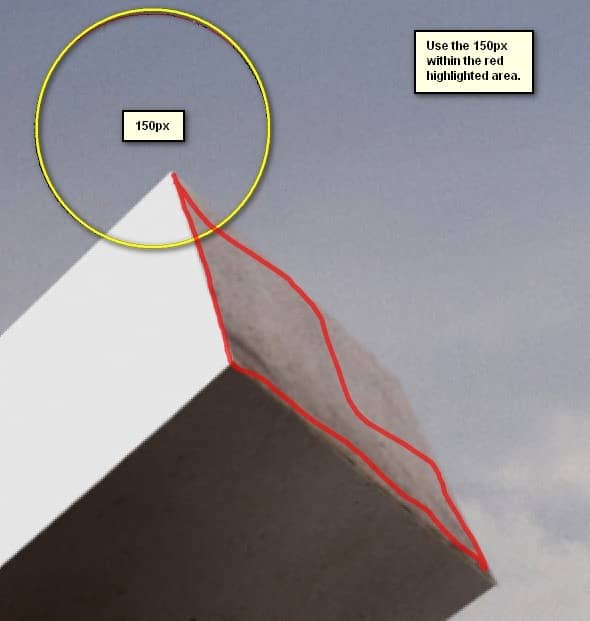
The result of that should be similar to this:
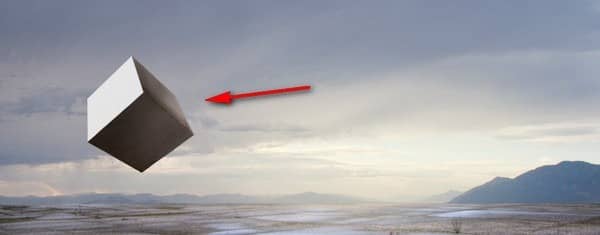
Next, we will put the texture for the top left side. . Activate the Rectangular Marquee tool (M) and open the "Concrete Wall 3" stock image again. Create a selection area around the region shown below:
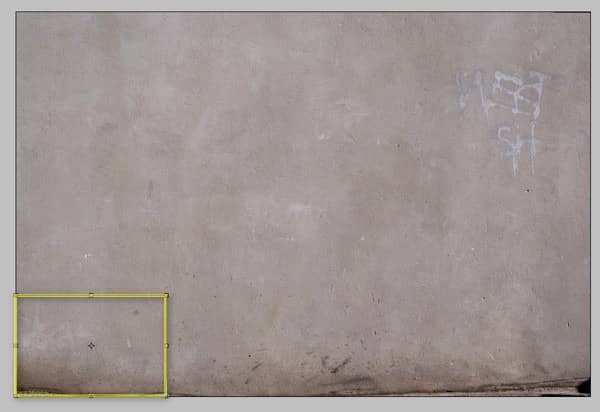
Now, activate the Move tool (V) and drag this to our canvas. Rename the layer now to "side 3". Position it as shown below:
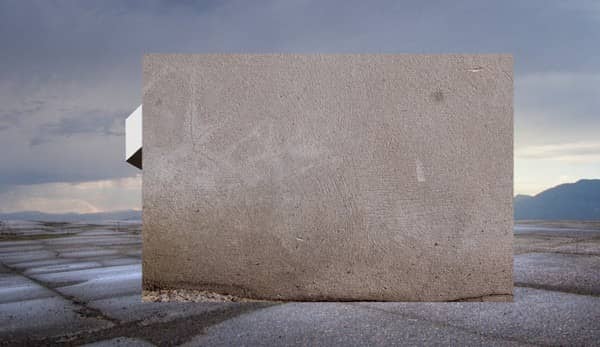
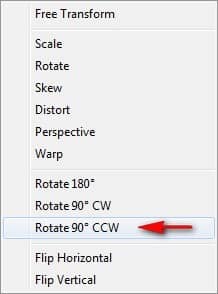
Activate the Transform tool (Ctrl/Cmd + T) and choose "Rotate 90 CCW" from the contextual menu.
The result:
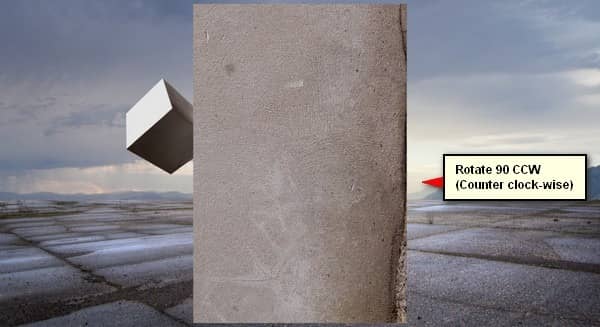
Now, distort "side 3" as shown on the images below:
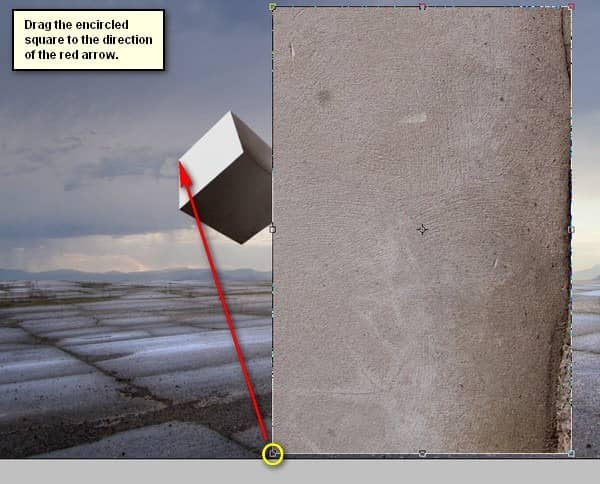
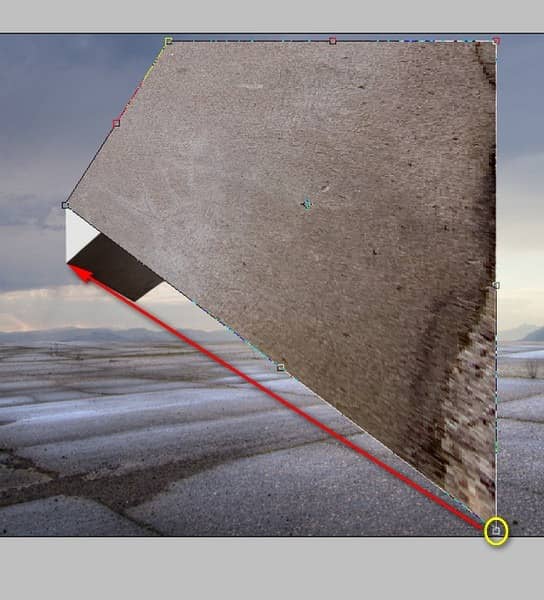
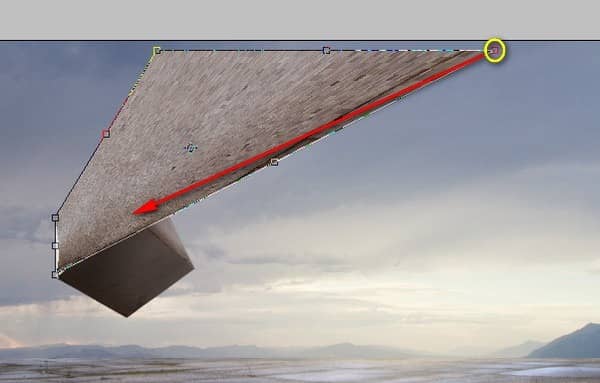
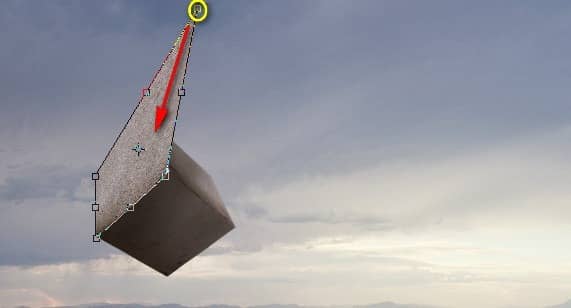
The result should be similar to this:
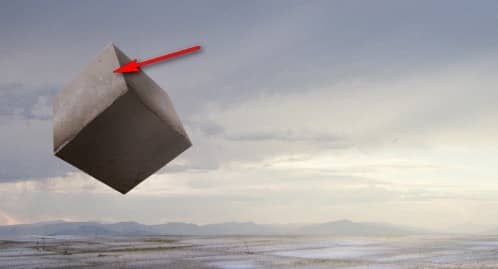
Now, let's darken this to make it blend with the light of the image; create a new layer (Ctrl/Cmd + Shift + N) and name it "darken side 3" and then create a clipping mask for this layer.
Activate the Brush tool (B) and then input the following settings:
- Brush size: 150px
- Hardness: 0%
- Opacity: 15%
- Flow: 100%
- #: 0f0600
Now, let's paint:
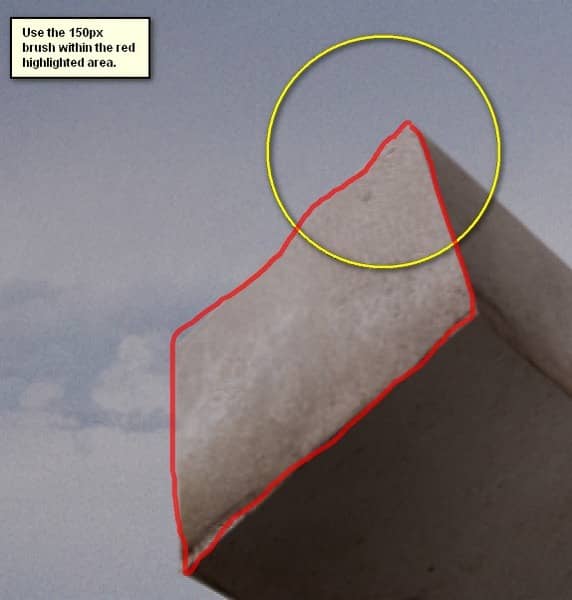
The result of that should be similar to this:
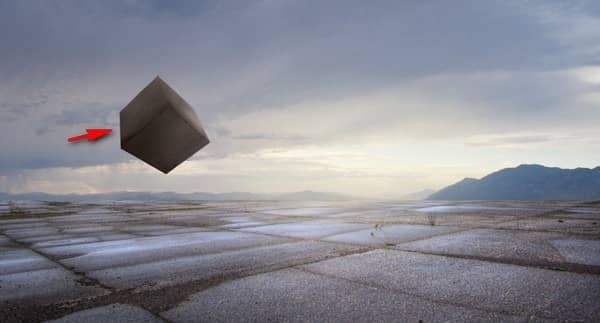
Note: For easier distorting, you may remove the visibility of the box itself. This will give you an easier time in distorting but there will be no guide. The layer visibility can be triggered through the following:
