
Now, select all the layers we’ve made from Step 4 and group them (Ctrl/Cmd + G) and name the group to “Box”.
Step 6: Add the Wanderer
In this step, we will be adding the woman who is staring and captivated by the box. To start, open “394 Look up” by WolfcatStock. We would need to create a selection area around this woman and for that we will need the Magnetic Lasso Tool.
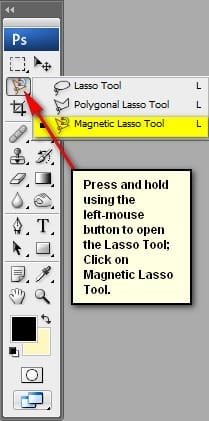
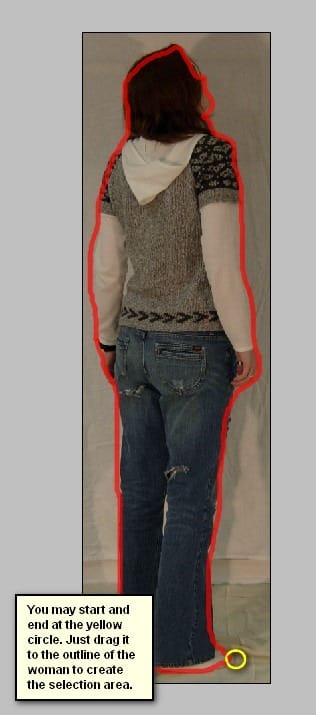
Once activated, just drag it around the woman to create the selection area.
Activate the Move tool (V) and drag this image to the canvas. Once on the canvas, rename this layer to “woman”. Position it as shown on the image below:
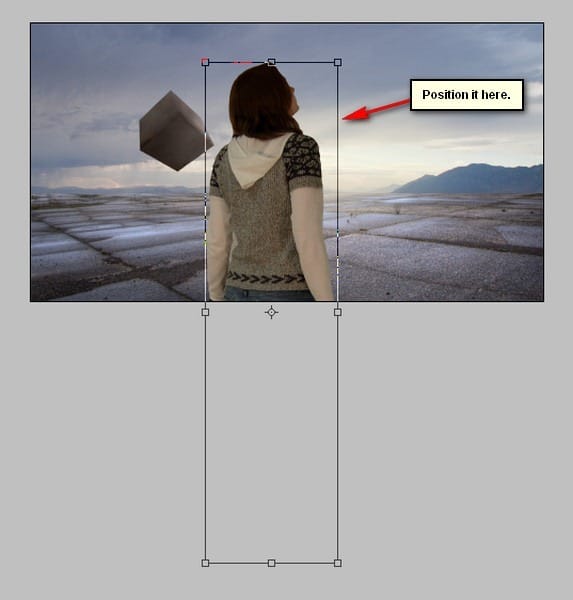
Now, we would need to reduce the size of this woman so activate the Transform tool (Ctrl/Cmd + T) and resize it as shown on the image below:

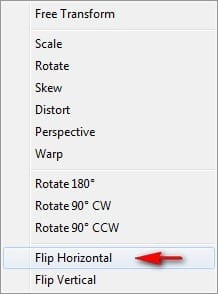
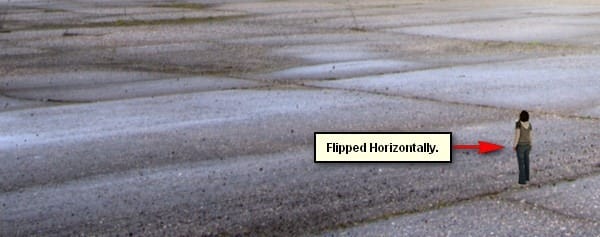
Next, activate the Transform tool (Ctrl/Cmd + T) once again and then right click on the canvas and then choose “Flip Horizontal” from the contextual menu.
The result of that:
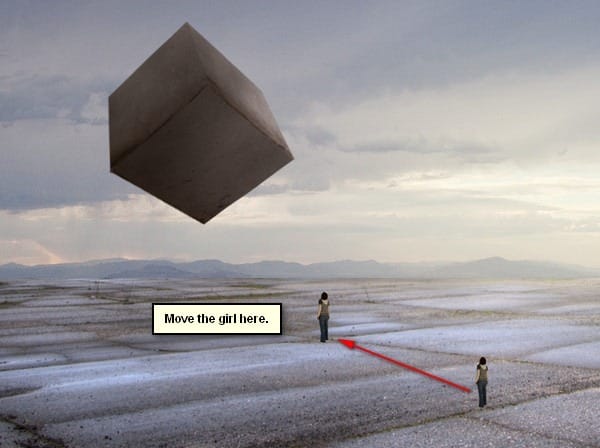
Now, let us activate the Move tool (V) and drag the image to its new position which is a little under the floating box. See image below:
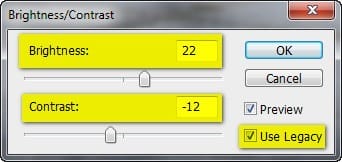
Next, let’s fix the brightness/contrast of our woman. To do that, first select the woman and then go to Image > Adjustments > Brightness/Contrast:
Once it has opened, input the following:
- Brightness: 22
- Contrast: -12
- Use Legacy: Check
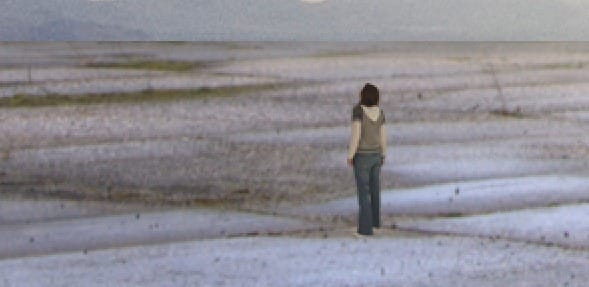
The result:
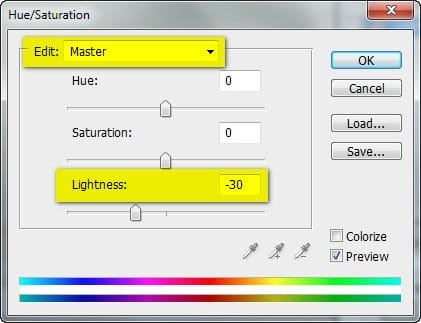
Next, let’s adjust the lightness of the image; to do that, select the “woman” layer and then go to Image > Adjustments > Hue/Saturation.
Once open, input the following:
- Edit: Master
- Hue: 0
- Saturation: 0
- Lightness: -30
The result:
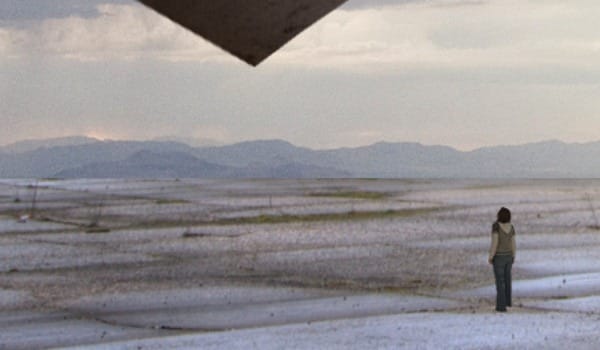
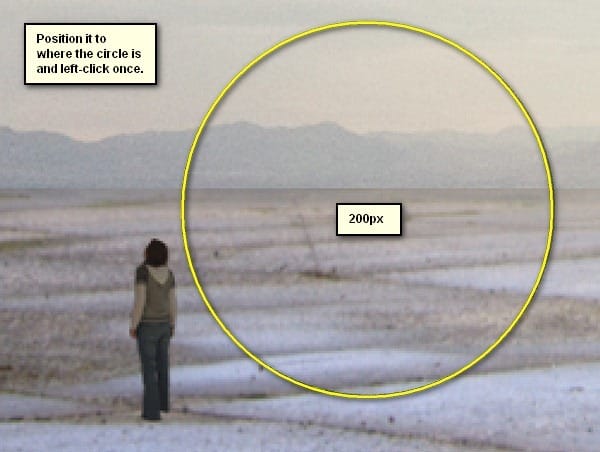
Now, to make her blend more seamlessly with the rest of the images, we would need the Eraser tool (E).
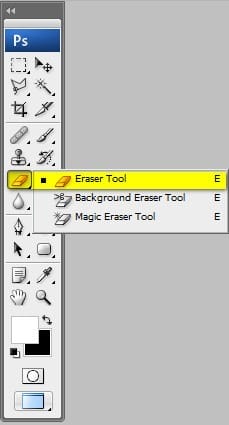
Once the Eraser tool (E) is activated input the following:
- Brush size: 200px
- Opacity: 100%
- Flow: 100%
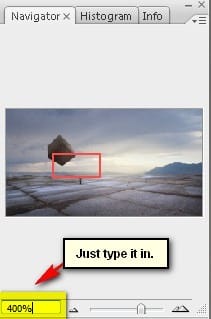
- Zoom level: 400%

To change the zoom level, simply go to the Navigator window and change the zoom level to 400%
Now, use the Eraser tool (E):
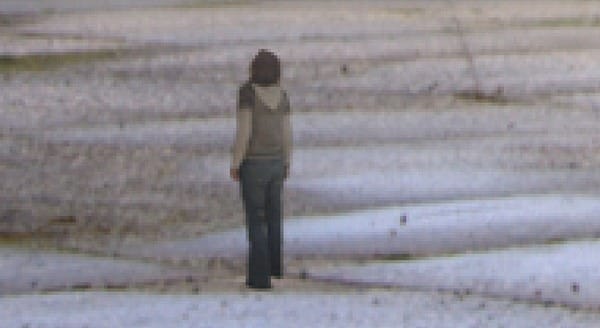
The result:
Step 7: Add the Wanderer’s Shadow
In this step, we will be adding the shadow of the wanderer. To do that, simply select the “woman” layer and duplicate it by pressing Ctrl/Cmd + J. Once duplicated, activate the Transform tool (Ctrl/Cmd + T) and right click on the canvas; click on “Flip Vertical”.
The result:
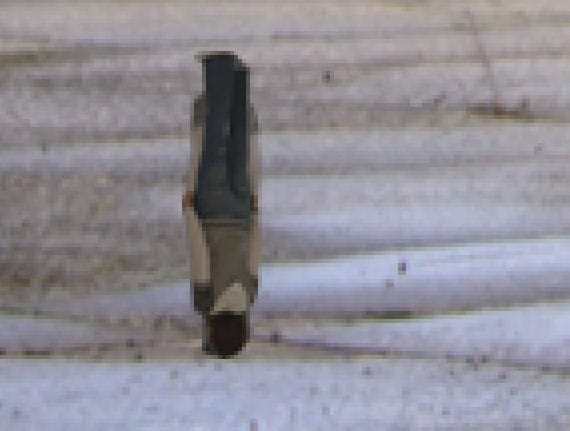
Activate the Move tool (V) and drag it down to make it look like the woman’s reflection:


Leave a Reply