Step 25
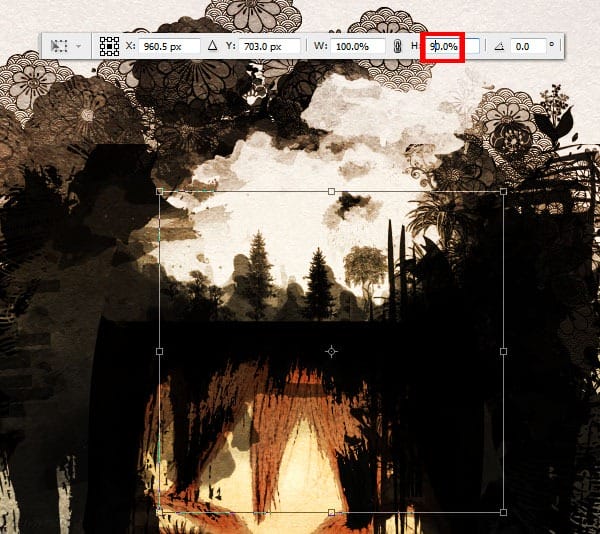
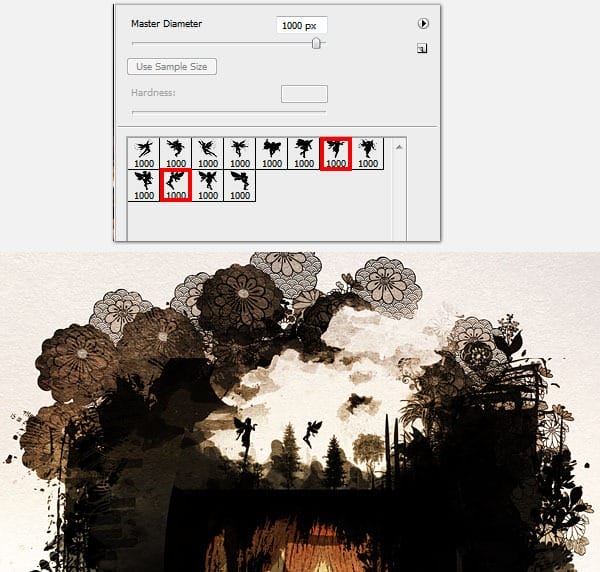
We’ll be using these fairies brushes . Create a New Layer for each fairy so that you can position and scale them individually. Below are the brushes I’ve used.
Step 26
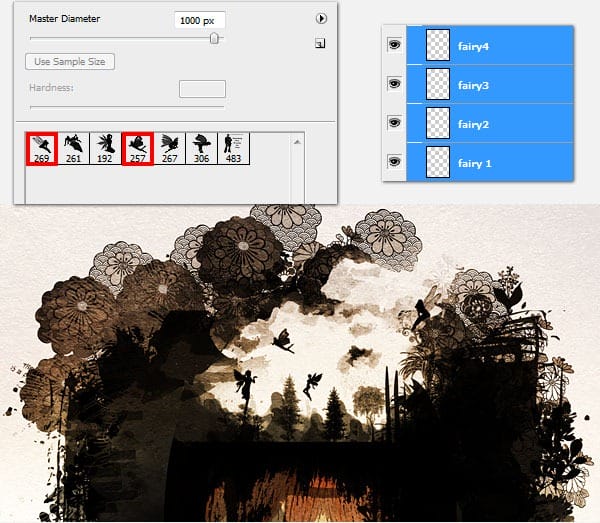
Add two more fairies from a second set of fairies brushes. Again create a New Layer for each fairy, position and scale them to fit your scene.
Step 27
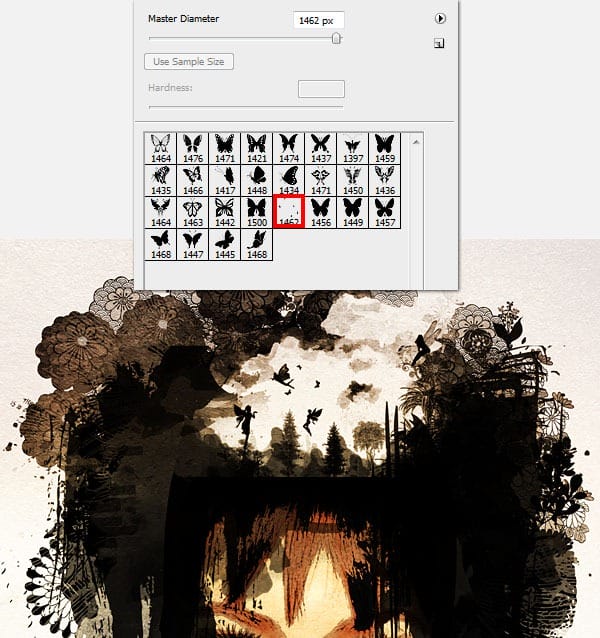
The last props we’ll be adding to the scene are some tiny butterflies. Download the butterflies brushes, create a New Layer and paint your butterflies.
Step 28
Time to add some some colors to our little world. Open this watercolor texture and move the layer below the trees and fairies. Set the layer’s Blending Mode to Darken.
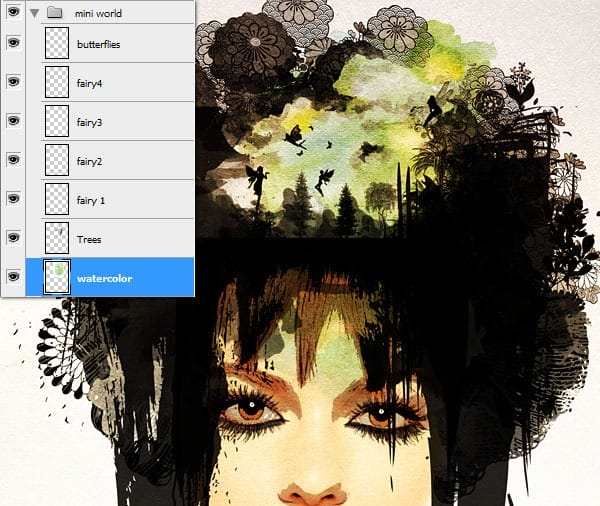
Step 29
Add a Layer Mask to the “watercolor” layer and use the watercolor brushes to remove part of the overflowing green watercolor.
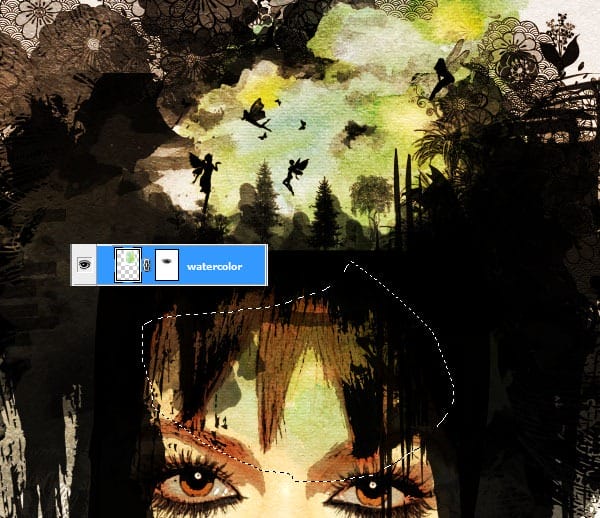
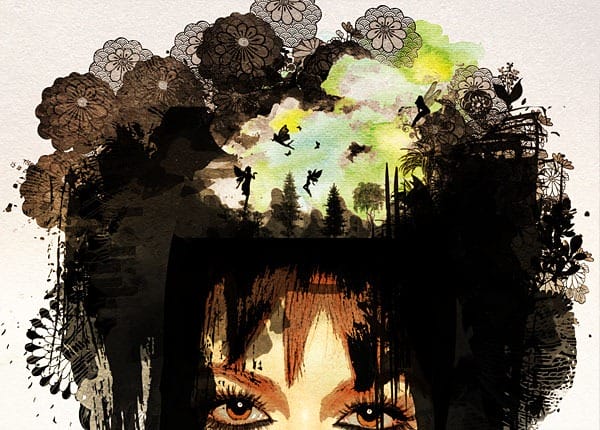
Step 30
Let’s add a flower piece to her head. Load the victorian flower brushes that you’ve used to make her clothes and select this(1), size 500px.
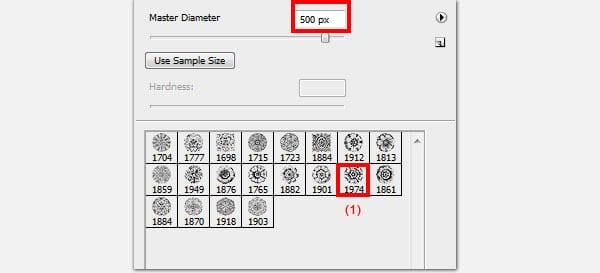
Step 31
Create a New Layer and paint using the Brush Tool (B) the selected flower in black. Disable visibility of the hair folder in order to see the flower.
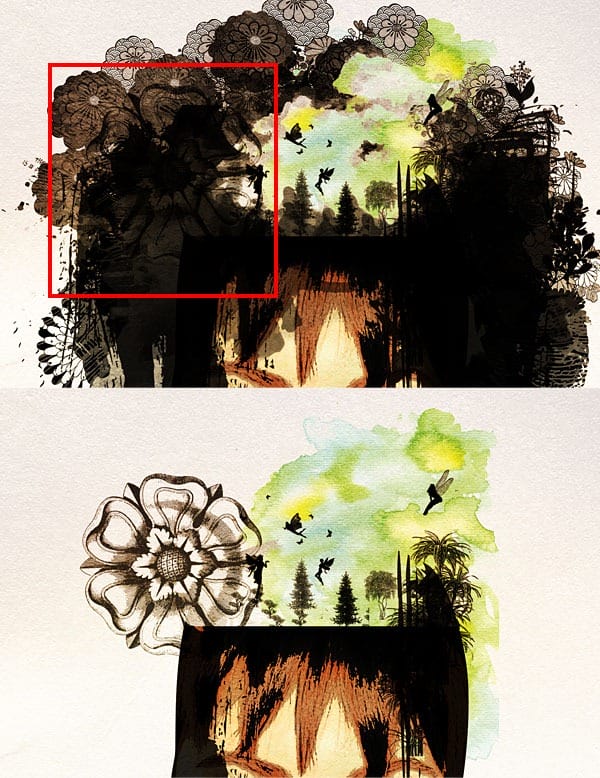
Step 32
To color the flower, create a New Folder “flower color” in which we will place the color layers. Next use the Magic Wand Tool (W), with the flower layer selected, click on the canvas outside the flower.
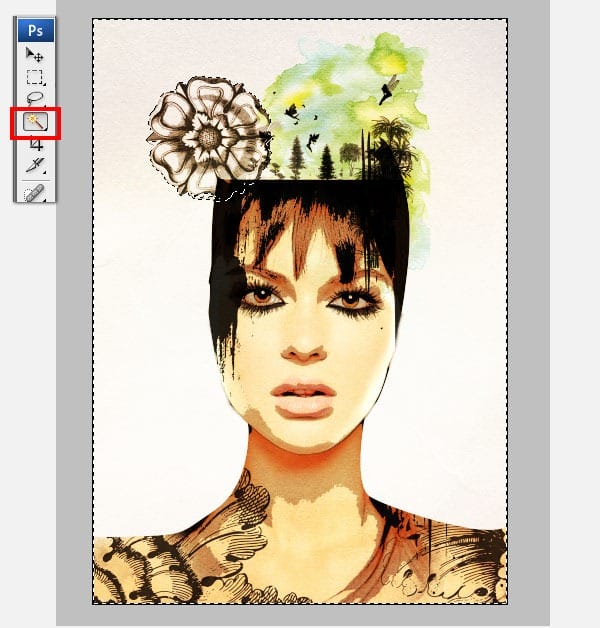
Step 33
Go to Select > Inverse (1). With the “flower color” folder selected, click on Add Layer Mask(2).
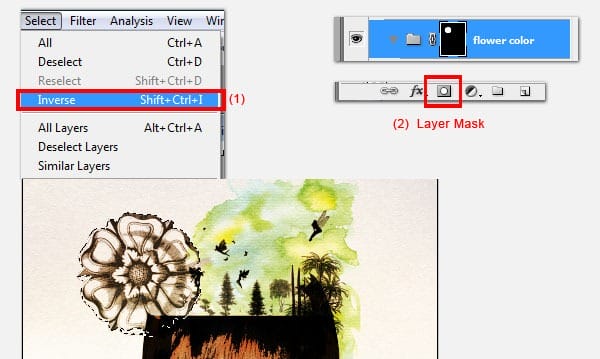
Step 34
We will first add a watercolor wash to the flower. Load your watercolor brushes and create a New Layer inside the “flower color” folder. Apply an ocre color, see example below. Use the Brush Tool (B) apply the color, some overlapping and some with lighter opacity to get a watercolor textured wash.
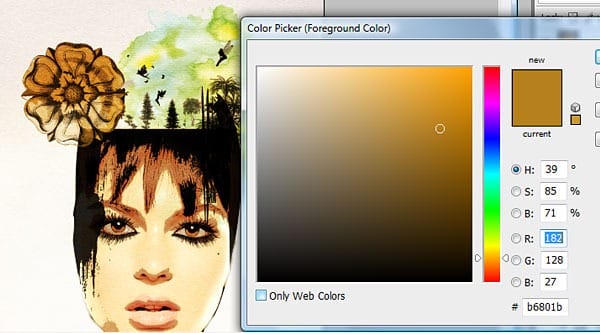
Step 35
Now create another Layer on top of the “ocre” and paint over a deep red, 100% opacity.
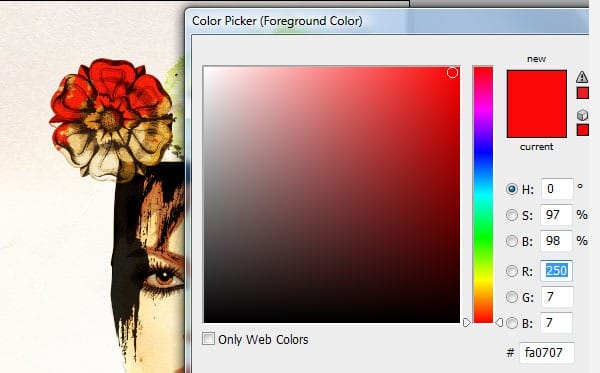
Step 36
To make the flower more interesting, let’s add a few drips of red paint. Create a New Layer on top of the “flower color” folder. Download and load these splatter brushes. Select the brush below.
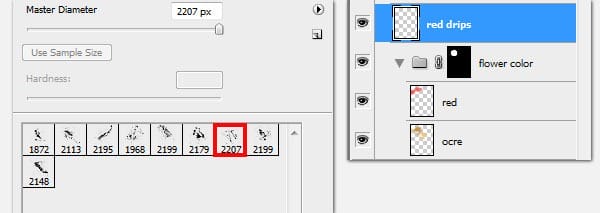
Step 37
Apply the drip as below.
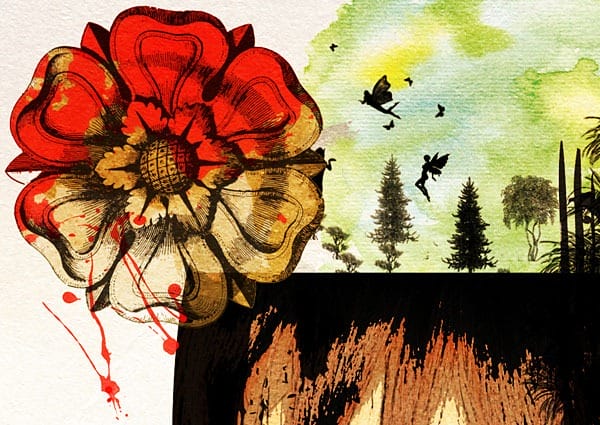
Step 38
You can now make the hair layers visible again. Using a round brush erase off (Eraser Tool (E)) the left diagonal line as it looks unatural.
3 responses to “Stylish Surreal Portrait”
-
Thanks for this. I took my own model shot and worked my way through the tutorial. Great fun. Learnt a lot.
-
Thank you for this Tutorial :) I like it a lot :)
-
that’s beautiful :) thanks for the tutorial :)


Leave a Reply