Download Lightroom presets and LUTs, absolutely free. Use the presets to add creativity and style to your photos.
Step 13
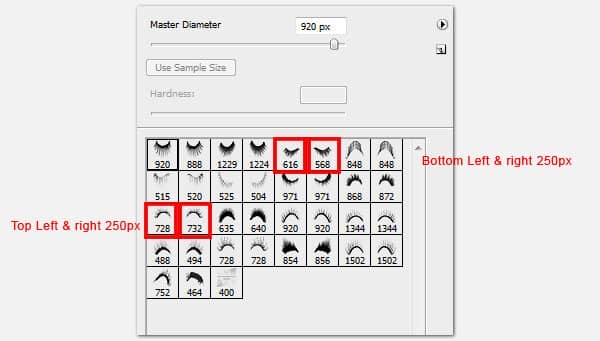
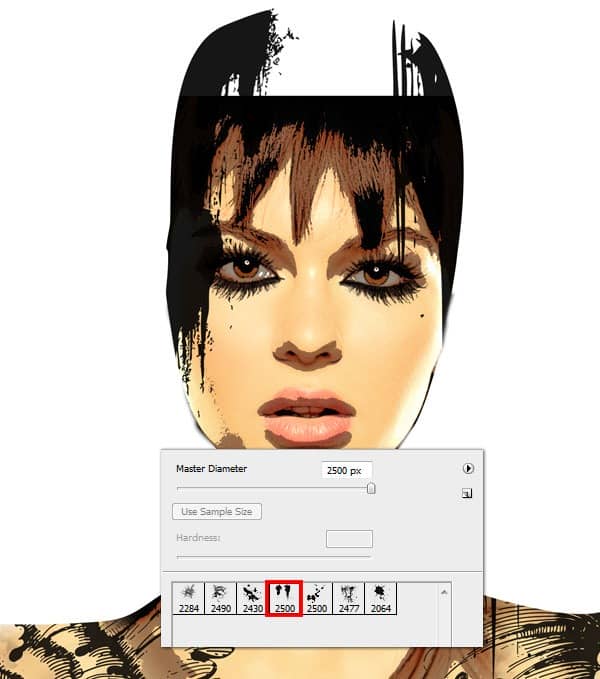
Now it's time to give her a hairstyle masterpiece! Start off by making her hair base using these splatter brushes. Create a New Layer, use the Brush Tool (B) and paint in Black with the brush shown below at its original size.
Step 14
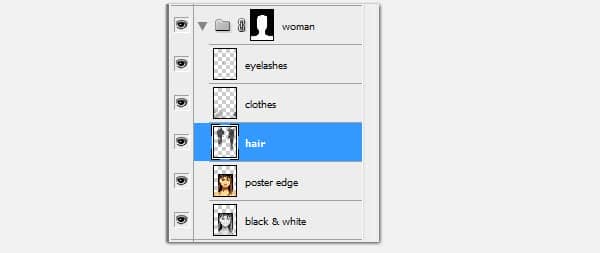
So far our layers are organized as below. Check to make sure you're on the right track. Then create a New Folder above the stack and call it “Hair”.
Step 15
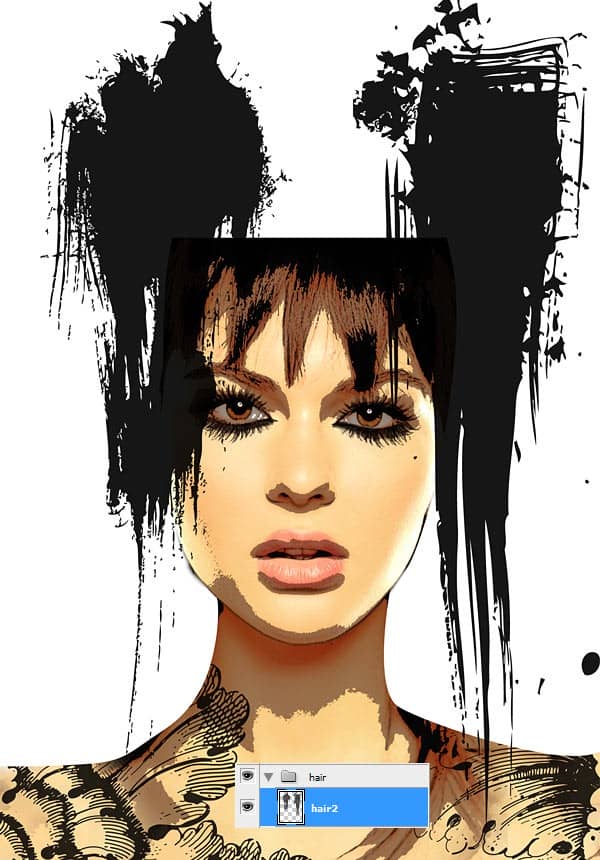
Duplicate the “hair” layer and place it in the “hair” folder above.
Step 16
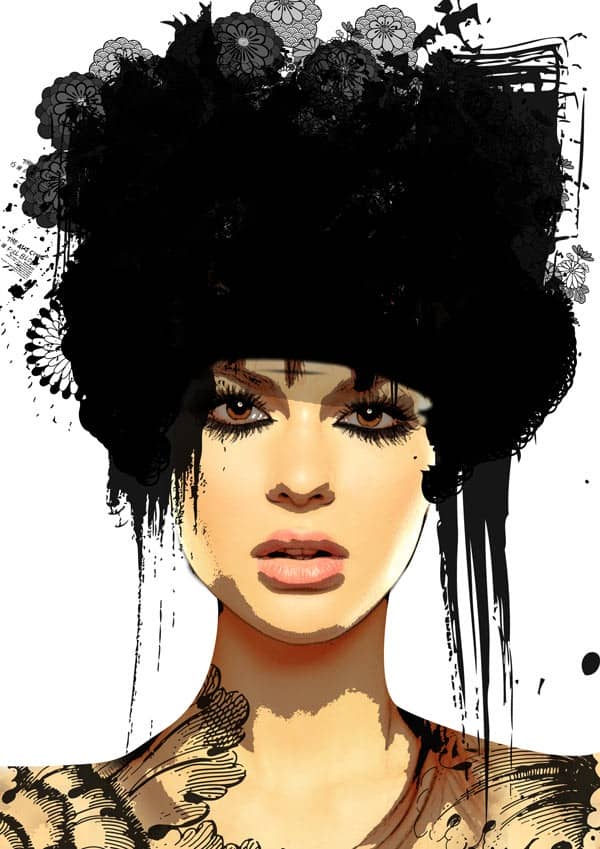
Next load the Japanese flowers brushes and Beautiful flowers brushes. Use a combination of both to create a canvas of flowers. Be wild and bold!
Step 17
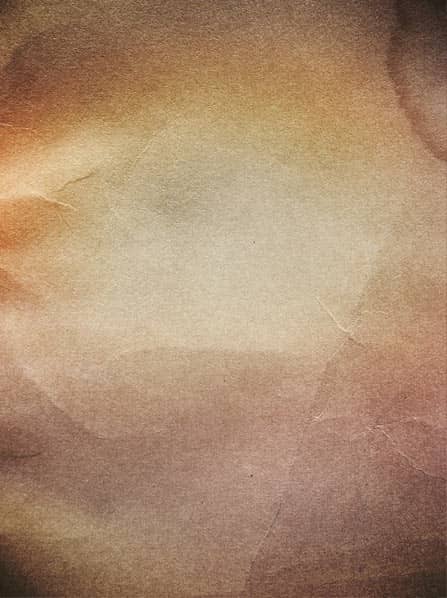
At this point, take a step back to view the overall artwork. I decided to unify the harsh contrast of smooth glowing skin gainst rough edged shadows on her jaws, neck and eyes area. Instead of getting rid of the edges, I decided to enhance them by going for a watercolor look. I chose this beautiful paper to work with.
Step 18
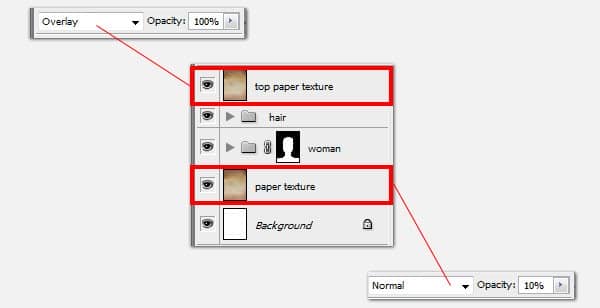
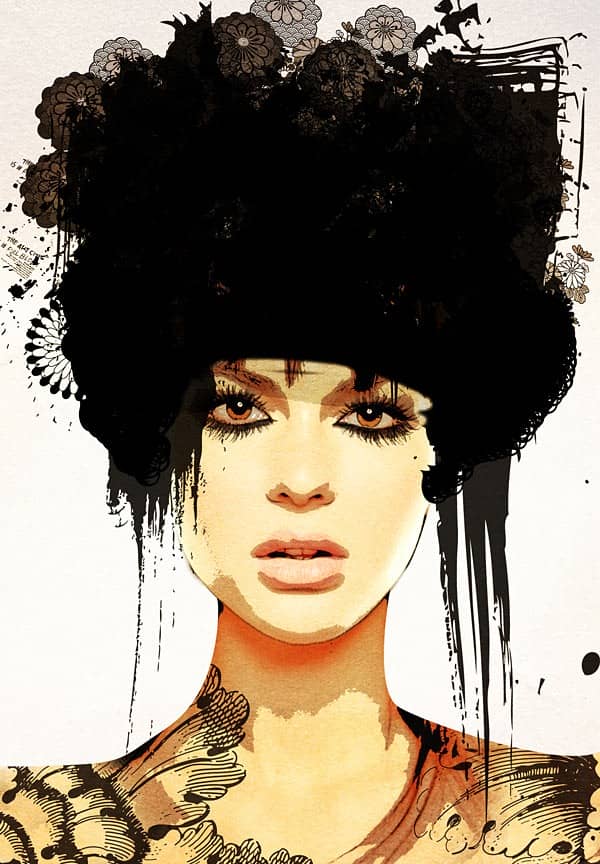
Open the paper texture and make a copy of it. Place one of it at the top of all layers and the other one at the bottom. Change the top paper texture's blending mode to Overlay. Change the bottom paper texture's Opacity to 10%. Here we have a harmonious skin tone and texture.
Step 18
The next thing to do is create a little surreal world inside her head. An enchanted world of fairies. Begin by adding a Layer Mask to all 3 hair layers.
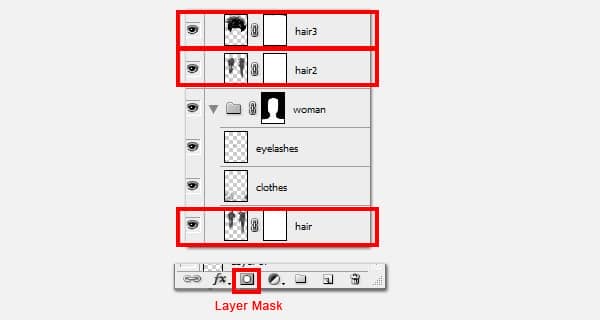
Step 20
Use these Watercolor Splatters and paint over the layer masks to erase off part of the black hair while retaining soft cloudy edges for a dreamy watercolor effect. Begin with layer “hair3”, use the Brush Tool and experiment with different brush shapes and sizes.
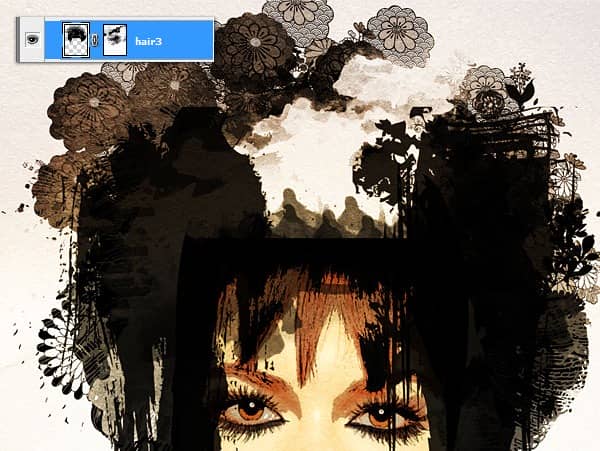
Step 21
Then continue painting on “hair2” and “hair3” layer masks.
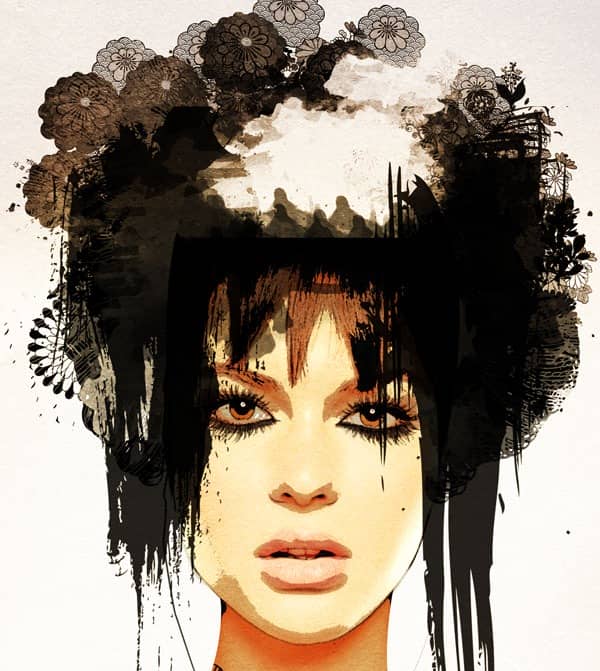
Step 22
Add little clouds in the sky by using the Eraser Tool (E). With the same watercolor brushes but much smaller brush size, work on “hair3” Layer mask.
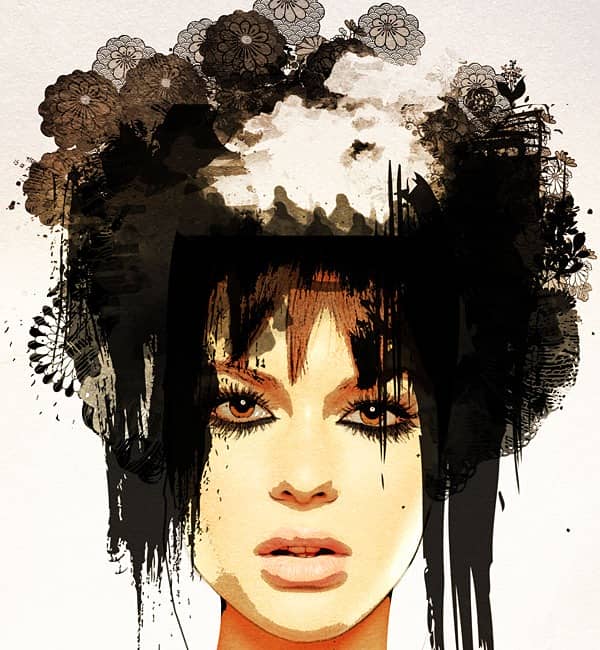
Step 23
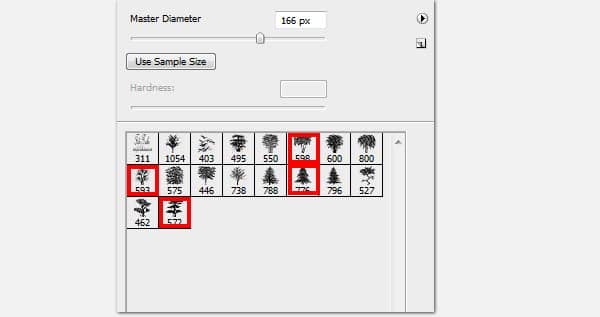
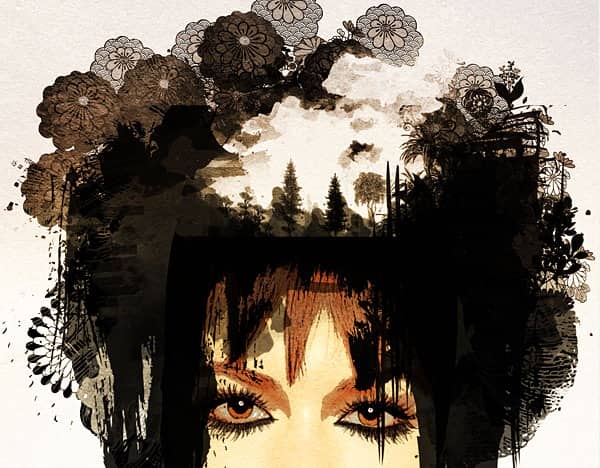
Add some trees to our landscape. Create a New Layer and use the brushes below. Again play with various sizes and opacity to achieve depth.
Step 24
Shorten the trees with the Transform Tool (Cmd/Ctrl + T) to be 90% of its original height. We need to make some space for the fairies.

3 comments on “Stylish Surreal Portrait”
Thanks for this. I took my own model shot and worked my way through the tutorial. Great fun. Learnt a lot.
Thank you for this Tutorial :) I like it a lot :)
that's beautiful :) thanks for the tutorial :)