

Step 15
Next got o Filter-Render-Difference clouds. Create a mask and erase all the parts that are just to much – so the image will lock lighter.

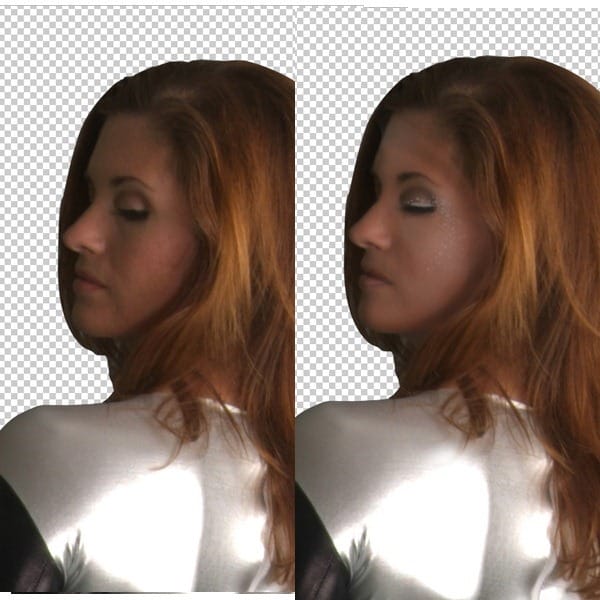
Step 16
Cut the model out. Select a basic brush and paint some glitter next to her eye.
Step 17
Now we must create an action for the mesh wing. First draw a line similar to the one in the image below on a new layer. (1.) Then start recording the following things: Duplicate the line layer (press CTRL+J) and then transform the line (CTRL+T) by rotating the second line like in the image below (2.) After you’re done with this stop the action.

Step 18
Then all you do is hit the play action button (for the action we created in the previous step) several times, untill it starts to look like in the image below. And it starts to look like a strange abstract wing. After you like the result select all this layers and merge them into one single layer (CTRL+E). You can try drawing longer lines or different shapes and apply this action for more abstract objects for different design projects.

Step 19
To change the color of the mesh, create a clipping mask for the mesh layer and just fill it with the color you want.

Step 20
Now we will create a different mesh we will use for the hair and legs. This is an easier action to make. First draw a line on a new layer, like in the image below (1.) Then start recording the next transformation: copy the layer you draw the line on (CTRL+J), then transform (press CTRL+T) and press the up key 4 times to move the line upwards. Stop the action and then hit play to repeat the transformations you recorded in this action (2.)

Step 21
After you merge all the paralel lines we created using the action in the previous step, copy this layer and using the transform function on the copy layer – rotate until the lines are perpendicular like in the image below.

Step 22
Using Transform/Warp we can curve the mesh around the earth, and erase where the cyber legs will be.

Step 23
Use different parts of the mesh for the legs as you see fit. Use the Transform/Warp to better curve the mesh around her legs.
Leave a Reply