

Step 30
Using the technique show in step 28a and 28b you can create more objects and integrate them in the image.

Step 31a
Get the splash image and mask around the splash. Dont worry about being to precise. We will fix the extra colors around the white water splash.
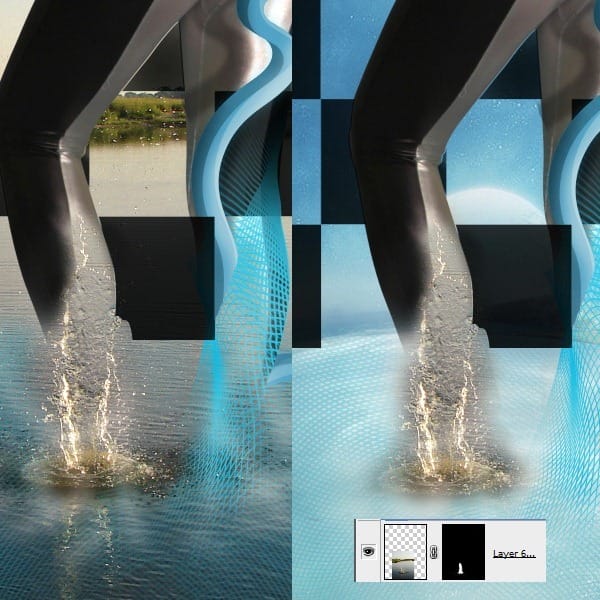
Step 31b
Create a levels clipping mask and enter a similar value for black in the output levels panel, like in the image below. This will bright up the dark areas in the splash image, making it look like some water splash vapors.

Step 31c
Multiply the splash layer, transform it, mask it etc. – to make a bigger splash effect.

Step 31d
You can use a hue/saturation clipping mask to colorize everything thats not white in the splash image in blue. That will integrate the splash even more.

Step 32
You can use some cloud brushes to create some extra water wapors around the splash and in the atmosphere of the planet to make it more cloudy.

Step 33
Now we add more colors to our work. This is a great trick to get more colors in any photo or manipulation. Merge all the layers we created in a new top layer (Ctrl+Shift+Alt+E). Copy that layer a couple of times. Now go to Image/Adjustments/Variations and create different color variations of your work and if you like a certain part of the sky, earth, model in a certain color variation, mask everything else out.


Step 34
After you are done with your colors, add unsharp mask using the values shown below to sharp everything up and you’re done!

Final Results

Leave a Reply