
Make skin look perfect in one-click with these AI-powered Photoshop actions.
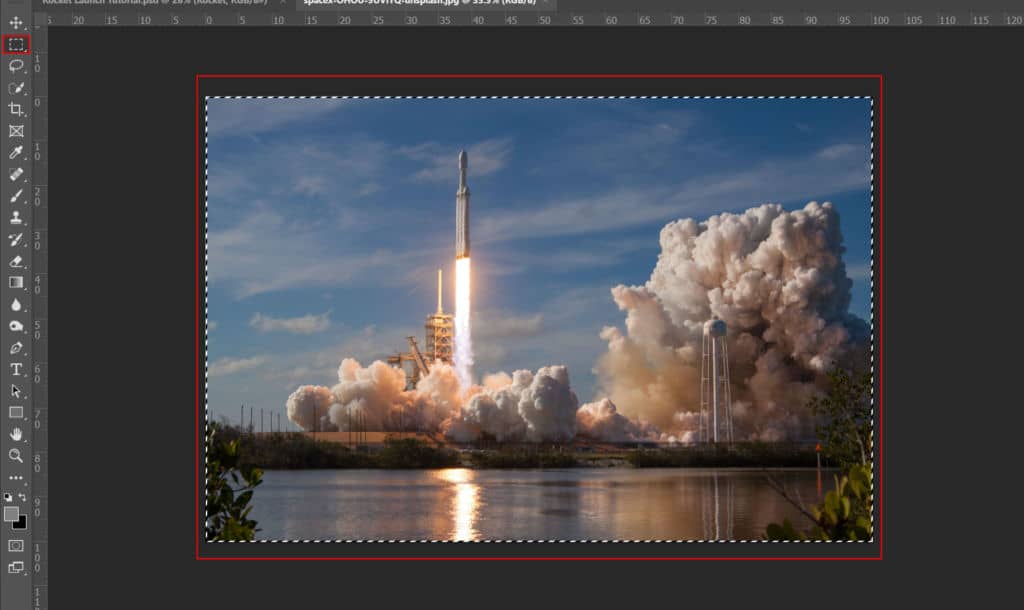
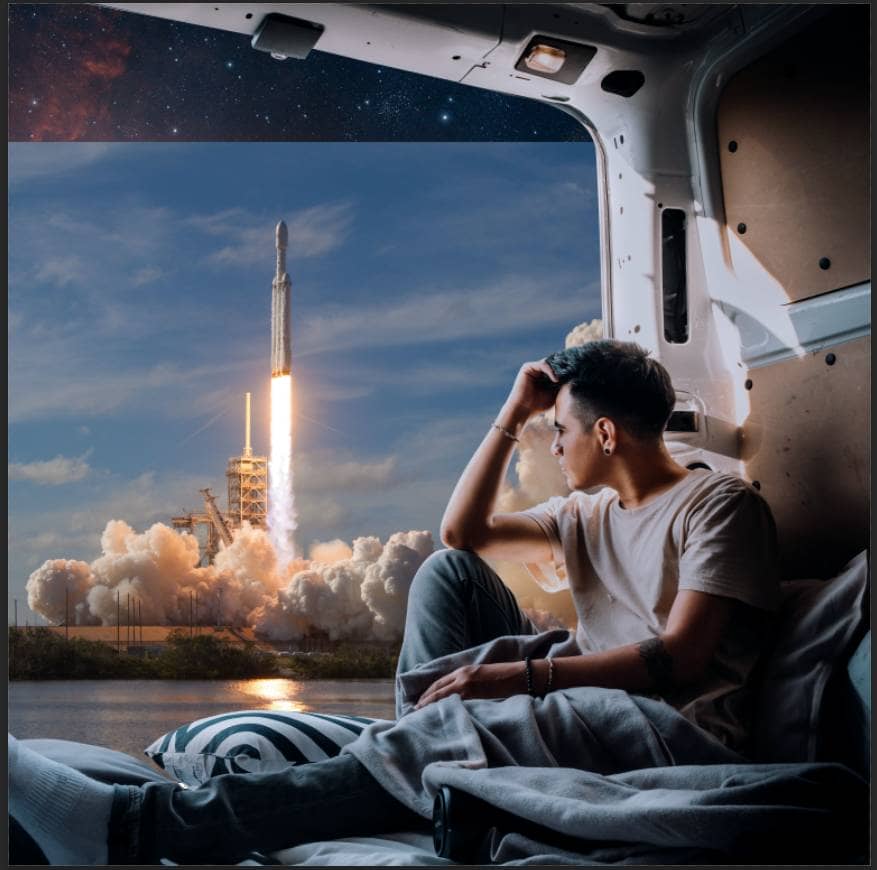
After the selection area has been created, simply copy (Ctrl / Cmd + C) and Paste (Ctrl / Cmd + V) it below the Man and Woman. Then position the image with the transform tool (Ctrl / Cmd + T). Hold Alt + Shift and resterize like image below. In Photoshop CC only hold Alt to resterize al sides together.
Step 20
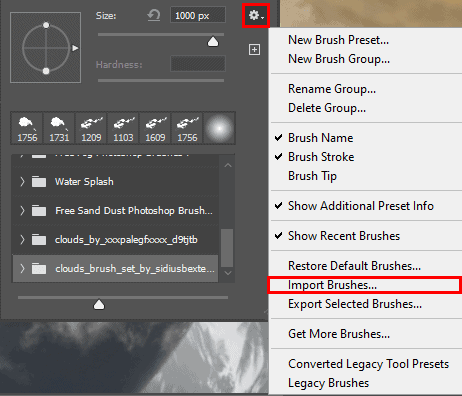
Next, we need Clouds for brush but first we need to import brushes. Select a Brush Tool(B) and right click on background. Now click on the gear icon and Import Brushes (Select a downloaded brush).

Step 21
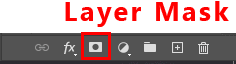
Next, use Brush Tool(B) select the first clouds brush and create a layer mask then start painting around the rocket smoke. Look picture below...
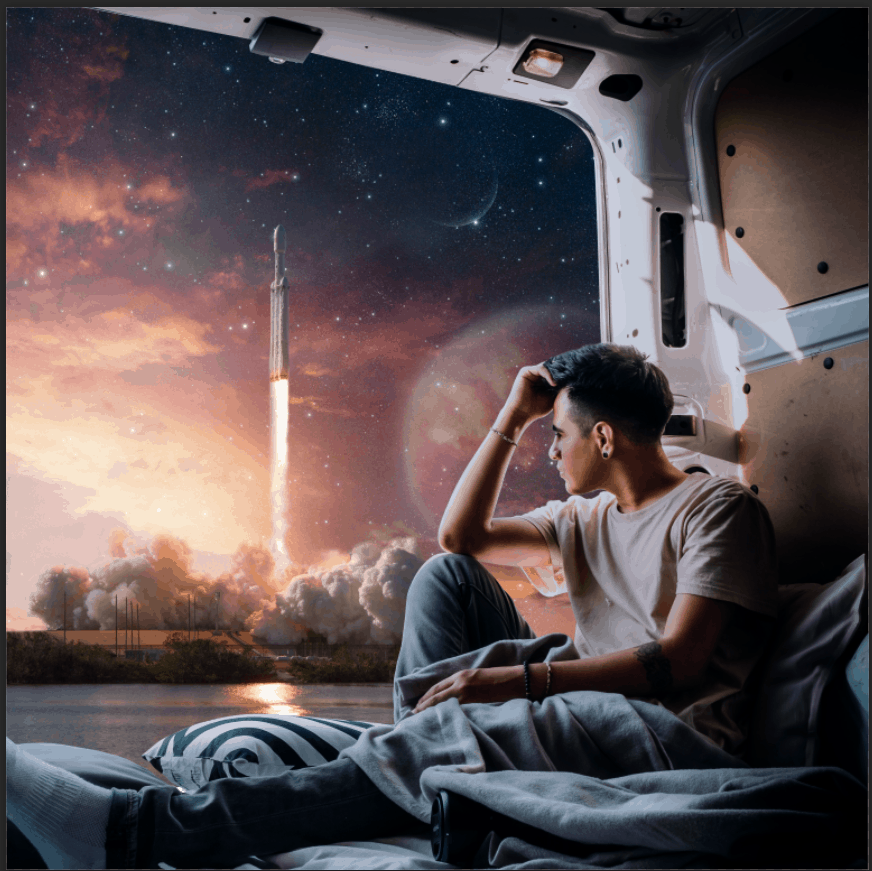
Step 22
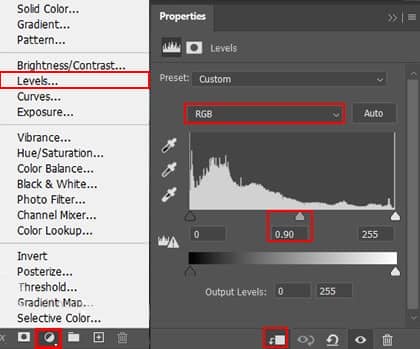
Add Adjustment Layers "Levels"
Step 23
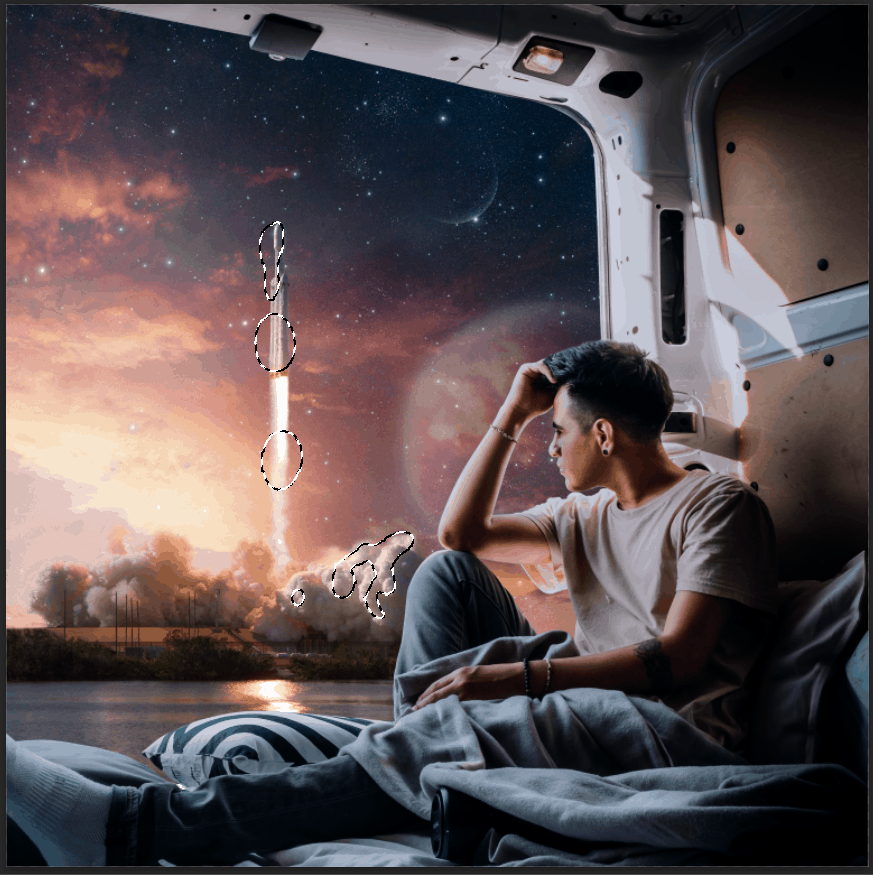
Add Adjustment Layer "Curves" and press Ctrl/Cmd + I to invert. Then use Brush Tool(B) Soft Round with foreground color white and paint on Highlight parts.
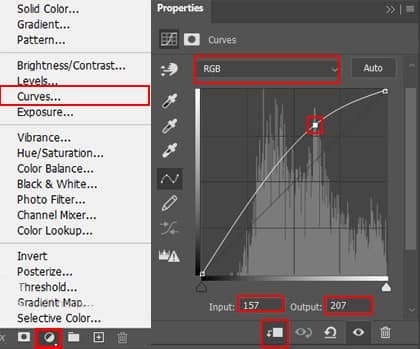
Step 24
Add Adjustment Layer "Curves" and press Ctrl/Cmd + I to invert. Then use Brush Tool(B) Soft Round with foreground color white and paint on Dark parts.
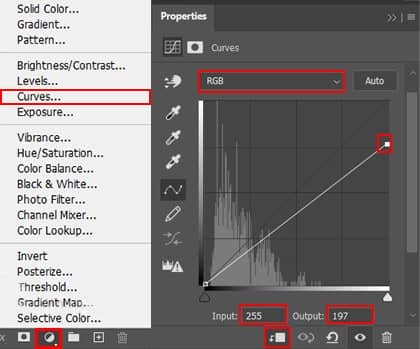
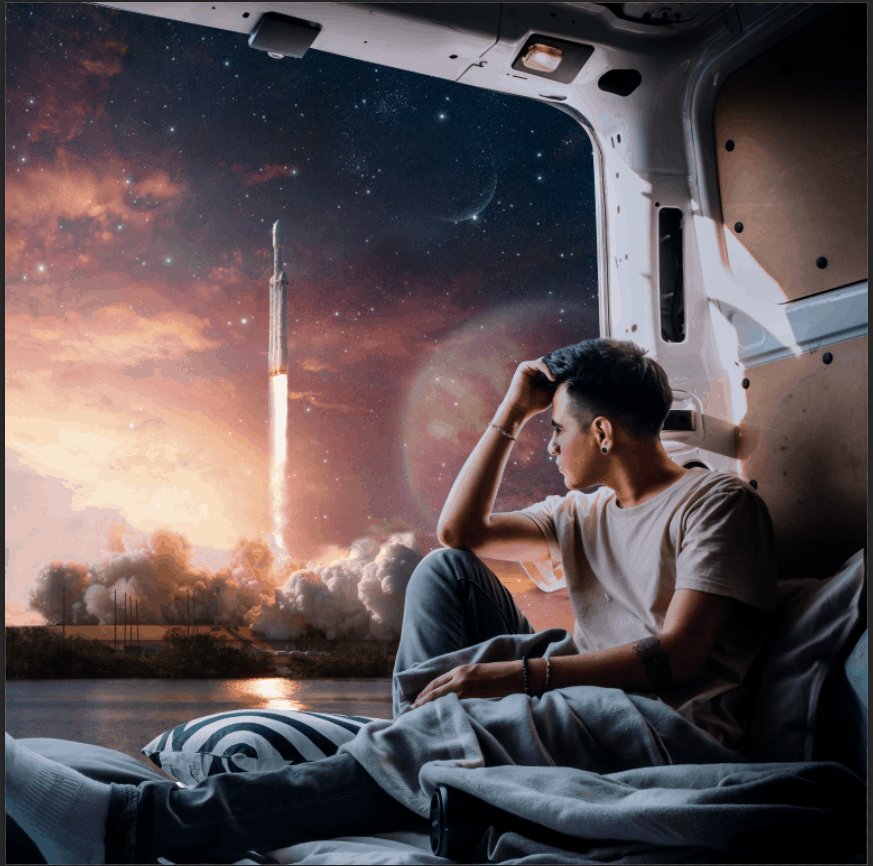
Step 25
Add Adjustment Layer "Color Balance"

Step 26
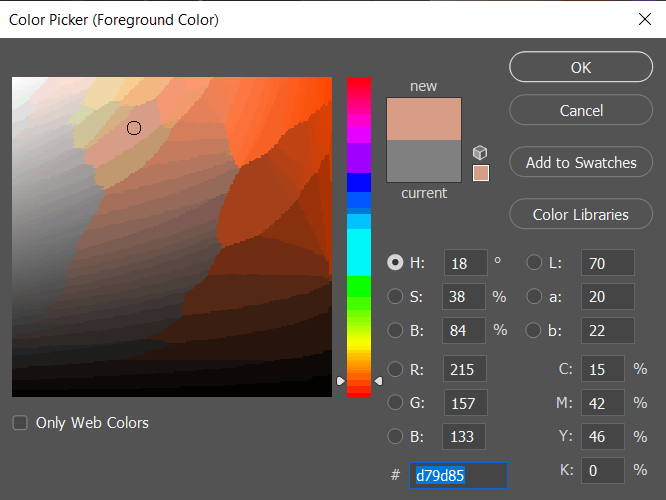
Create a new layer and use Brush Tool(B) Soft Round with foreground color Orange #d79d85 and paint the rocket. Blend mode change to Overlay with Opacity 40%.
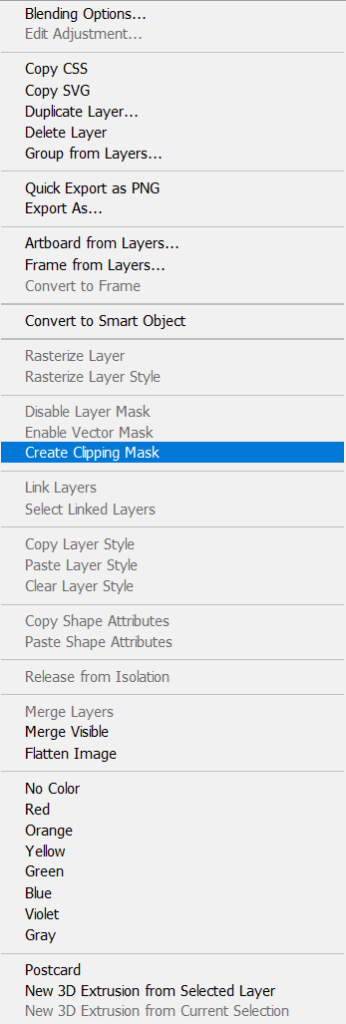
Right click on layer and select "Create Clipping Mask"
Step 27
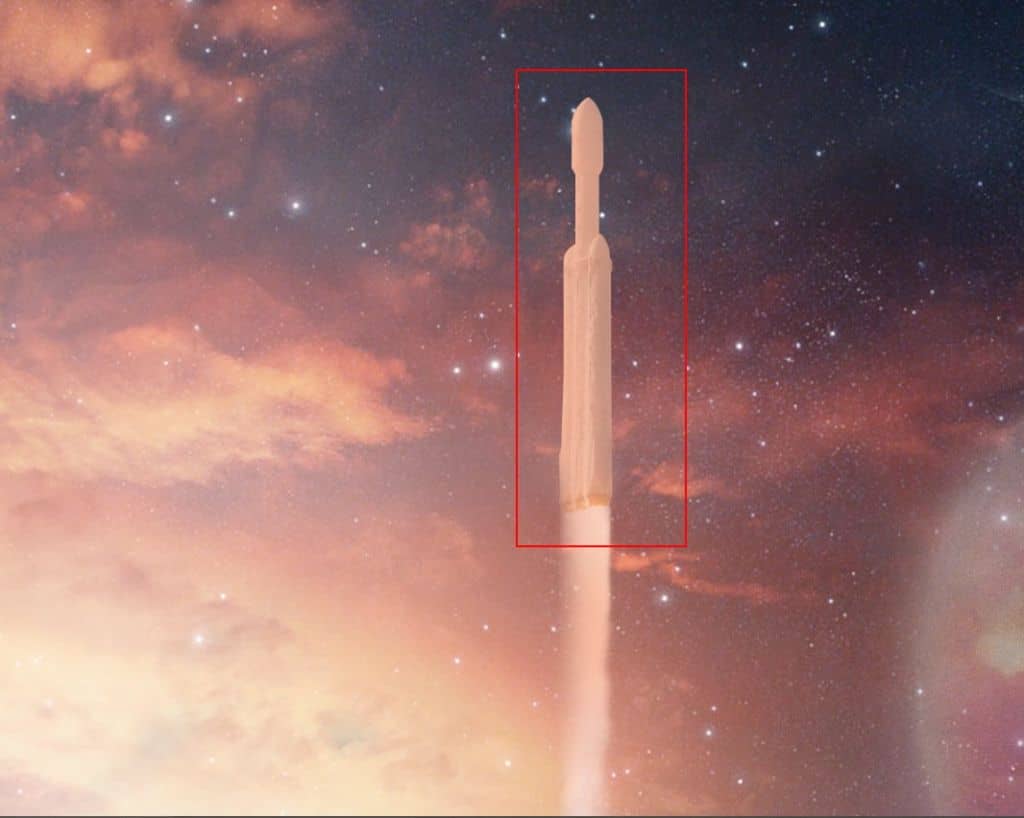
Create another layer and use Brush Tool(B) right click and open Clouds folder (check step 20/21). Flow set to 10% and start painting fog. Foreground color set white...


Step 28
Now in Layer panel go back to Color Balance(Step 6) and add another Adjustment Layer "Gradient map" Black and White (Default). Blend mode change to Soft Light with Opacity 12%.
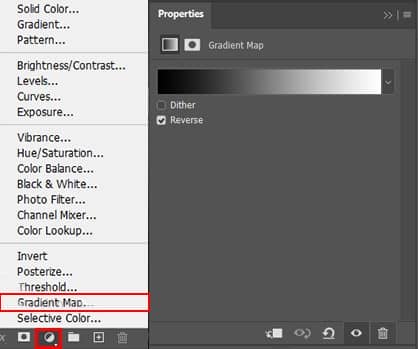
Step 29
Add second Adjustment Layer "Gradient Map" Blend mode set to Hue with Opacity 25%.
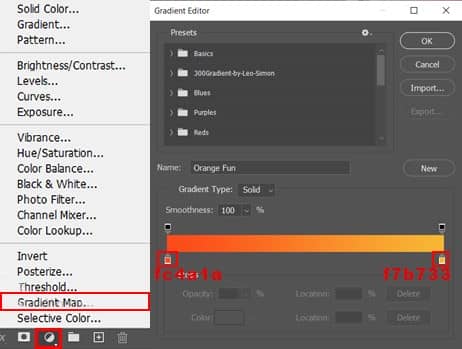
Step 30
Add last Adjustment Layer Gradient Map, Blend mode Soft Light with Opacity 75%.
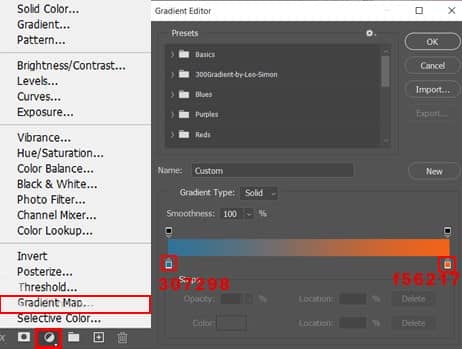
Step 31
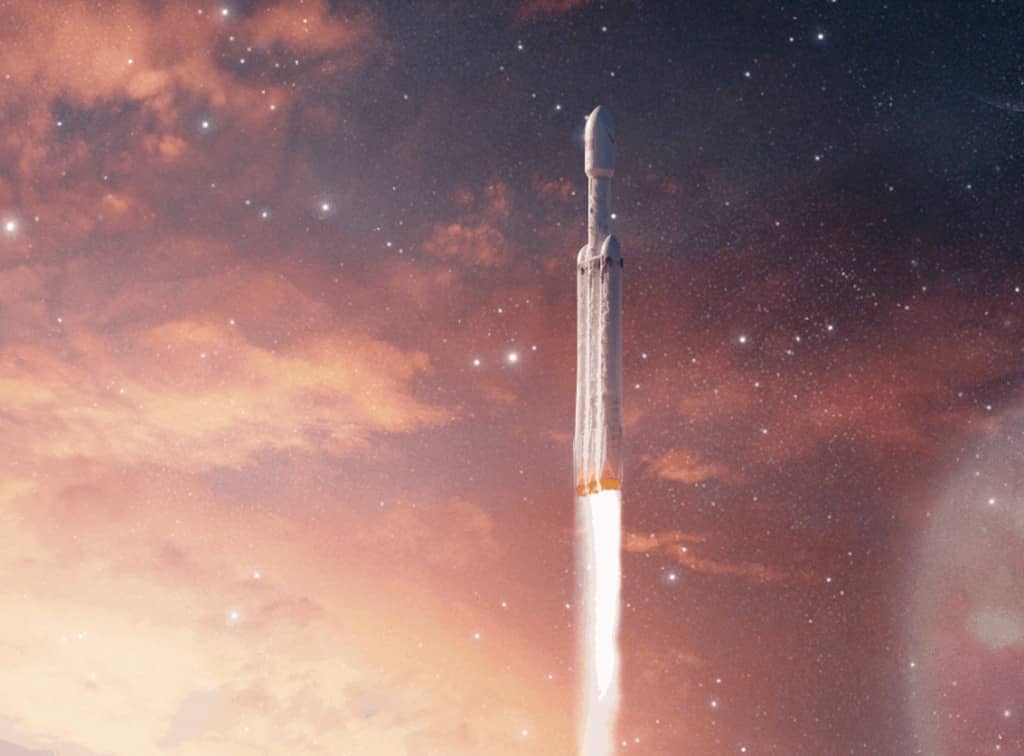
When we finished all this, now merge all layers to one. Select the last layer and hold CTRL/CMD + SHIFT + ALT + E. Now we have a final layer, right click on mouse and select Convert to Smart Object. Then go to Filter > Camera RAW Filter. At its most basic, the Photoshop Camera Raw filter allows you to use the functions of the ACR interface at any time within Photoshop.
6 comments on “How to Create a Realistic scene of Rocket Launch in Photoshop”
Hi! I have a question. With every tutorial I do, my color histograms are way different from te ones in the tutorial. This happens right from the start.. It makes it nearly impossible to follow the tutorial the right way...
Any tips?
great
just problem with your psd link :)
Great tuto, just a probllem with the psd link :)
..very good, just problem with psd link :)
My bad - it's been fixed now!