Step 25
Make a Hue/Saturationadjustment layer to desaturate the columns:

Step 26
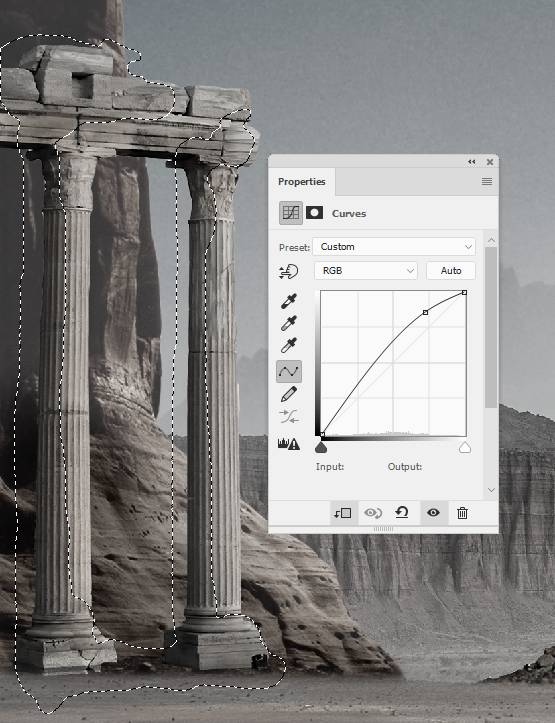
Create a Curvesadjustment layer to increase the shadow on the back of the columns. On this layer mask, paint on the rest to keep its lightness.

Make another Curvesadjustment layer to brighten the front of the columns a bit. The selected areas show where to paint on the layer mask.

Step 27
Make a new layer, change the mode to Overlay 100%and fill with 50%gray. Use the Burn Tool to strengthenthe shadow on some areas of the columns.

Step 28
Open the rock 3 image again and take the riding people to add to the left of the existing desert. Add a mask to each of these layers to remove most of the unwanted ground.

Step 29
Make some Curvesadjustment layers for each of these layers to brighten them and reduce their contrast. The selected areas show where to paint on the layer mask.


Step 30
Select all people layers and hit Ctrl+Gto make a group for them. Change the group mode to Normal 100%and make a Hue/Saturationadjustment layer within this group. Reduce the Saturationvalues to-77:

Step 31
Create a new layer and use a small brush with the color #11100dto paint the missing shadow and details of the people.

Step 32
Make a Gradient Map adjustment layer on top of the layers and pick the colors #021e38and #2cb1e2.

Add another Gradient Mapadjustment layer and pick the colors #aa2517and #00601b. Lower the opacity of this layer to 20%.

Step 33
Create a Color Balanceadjustment layer and change the Midtonesand Highlightssettings:


Step 34
Make a Curvesadjustment layer to darken the scene. On this layer mask, paint on the left and the top right of the canvas to remove or reduce the dark effect there.

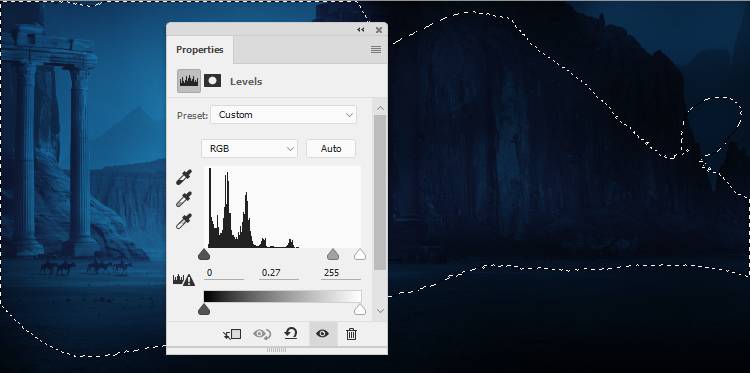
Add a Levelsadjustment layer to darken the whole scene more. Paint on the left and middle to reveal the lightness there.

Step 35
Create a Curvesadjustment layer to bring more light to the space between two rocks. Paint on the rest to keep the shadow and contrast.

Make another Curvesadjustment layer to change the contrast and color of the whole scene a little.

Step 36
Add a Photo Filterand pick the color #00ccffto complete the final effect.
4 responses to “How to Create a Ruined Landscape at Dusk with Photoshop”
-
Nice tutorial as usual Que
-
Be a bit more specific next time, but it looks very nice.
-
Cool!
-
nice work


Leave a Reply