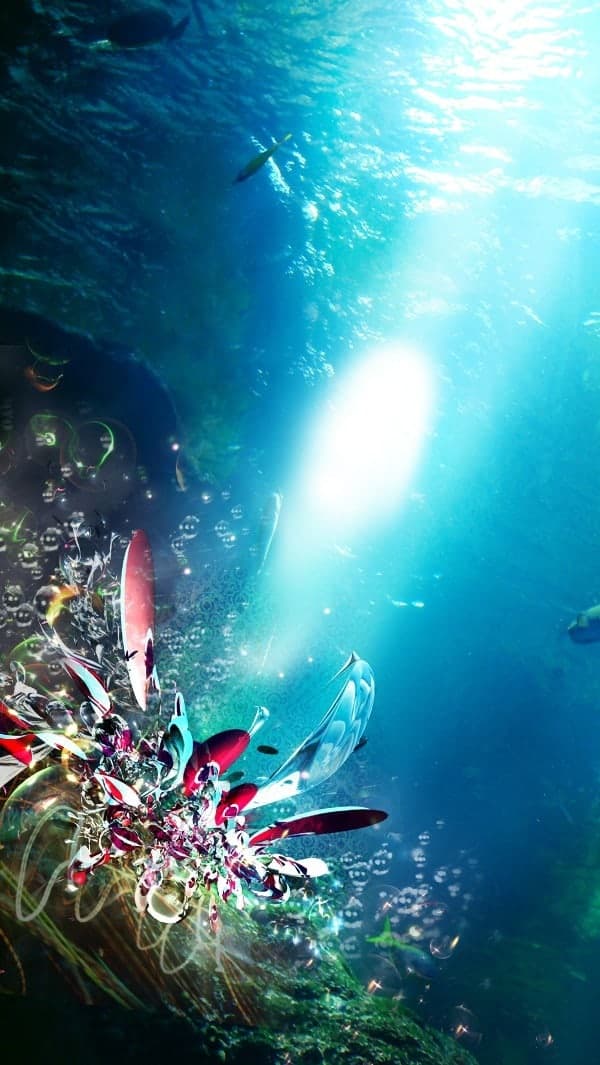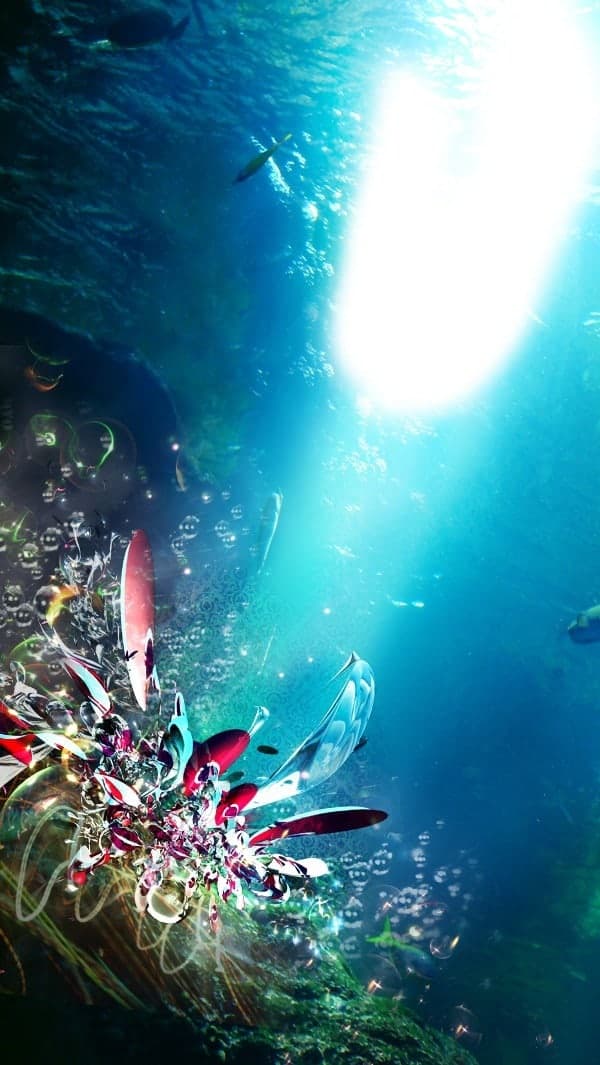
The outcome:

Step 14 – Bubbles
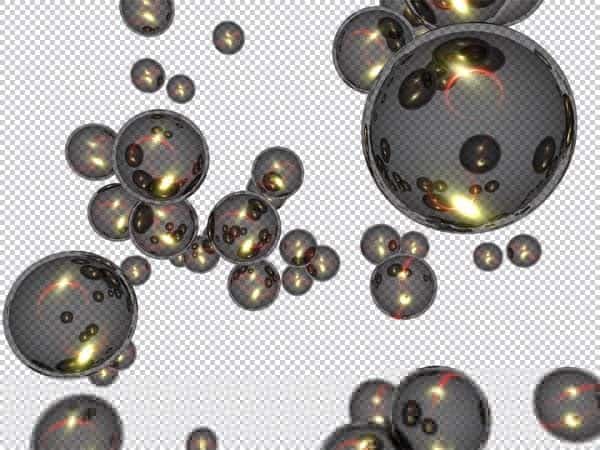
Next we’ll want to give the piece a ‘sparkly’ effect. There’re several ways to do this, you can go for lighting stock photographs which you can find on the internet quite easily, use C4D effect renders, etc. For now we’ll be using stinky666’s Bubbles. In case you’re wondering where to get those, here’s the link. If you have a slow internet connection, you can download the Bubbles first.
The main guideline for this is to set the layer’s blending mode to Screen or Linear Dodge. You can add as many as renders as you like until you like the result, however, for variety, we’ll want to decrease the area taken from a single source, and increase the number of sources. It’ll make the piece look more customized and less cut&paste-ish.
So I started off with this (007):

Choose the best location to place it. This step is rather difficult to be explained, basically you’ll need a good artistic intuition. Place it close to the focal point in a way that will complement it instead of crowding. Erase a little if necessary.
Just like this:

Set it to Screen 100% and you’ll have this.

Step 15 – Variety of Bubbles
Similar concept and technique, but now we’ll be using this. (047)

The position.

Screen 100%

Step 16
Next, Bubbles 049 from stinky666’s Bubbles Pack.

Screen 80%

Step 17
Bubbles 023.

Screen 100%

Step 18
Bubbles 041. Don’t mind the repetition, patience is virtue.

Screen 100%

Step 19 – Last Bubbles!
Bubbles 001.

This time I’m going to adjust the colors a little. Go to Image > Adjustments > Color Balance and apply the following values.

Set it to Linear Dodge 100%.

Step 20 – Lighting
I realized that ‘streak of light’ wasn’t bright and dramatic enough. It’s probably not going to be eye-catching if we leave it that way. So grab a white soft brush with 0% hardness and brush it like this, then set it to Hard Light 30%.

Click on a new layer and repeat the step. This time Hard Light 35%.

Another new layer at Hard Light 20%. Don’t be lazy to do everything in one layer, because as you add more layers, the lighting from each layer can overlap, thus giving a more desirable result.

So you should have something like this for now.
6 responses to “How to Create an Underwater Abstract Art in Photoshop”
-
Elle, Glad you got value from the post. I think it’s great too. And, I think people often unstmedeirate the curiosity and adventurous spirit in these age groups!
-
Thankyou for share bz this is extremely nice and useful
-
Some of these tutorials are extremely good, magazine like. Thanks for sharing!
-
Thank you for the tutorial. It turned into my first photoshop project; took me a few hours and some frustration, especially at the beginning, but I feel I understand it much better now :) your directions were also very clear!
-
I really can’t find the C4D craze from stinky666, can you maybe share the picture or a link to the picture?
-
كلشي ما فتهمت


Leave a Reply