Step 44 – Finishing Touches
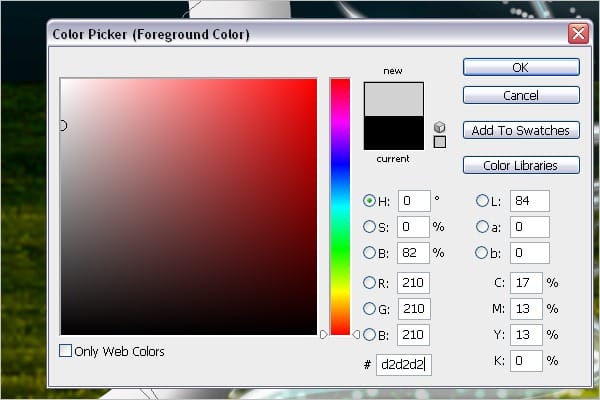
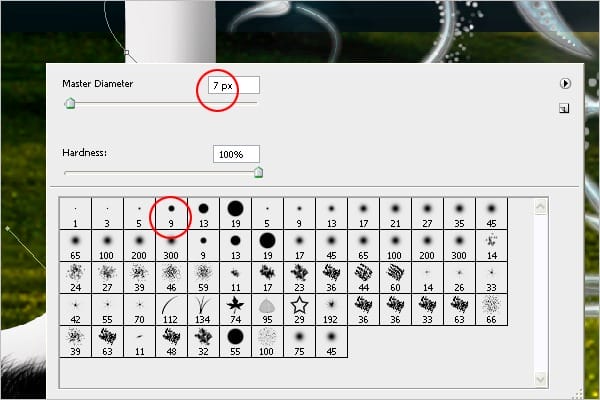
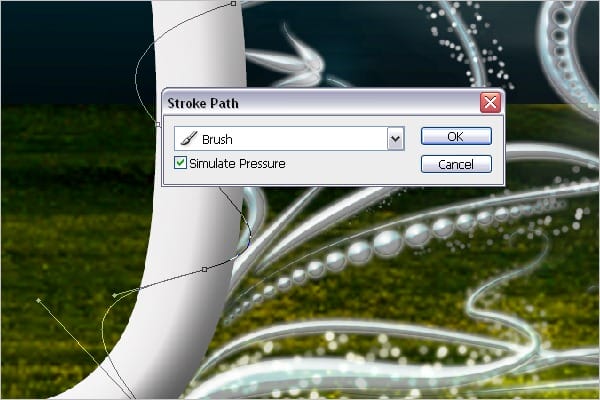
Select the pen tool (P) > Create a curve path as shown below > Select the foreground as a gray color (#d2d2d2) > Select the brush (B) > Right click on the screen > Choose hard round brush 9px > Brush size = 7px or 8px > Choose pen tool (P) > Right click on the screen > Choose Stroke Path > Select brush and activate “Simulate Pressure” to give smooth edges.


Step 45 – Erasing the Curve
Erase the curve to create a 2D view. Choose the Eraser tool (E) > Right click on the screen > Choose hard round brush 9px. Start erasing the top
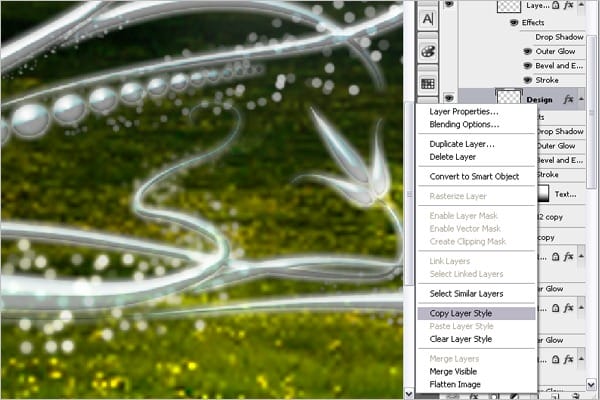
and bottom shapes. Next, create the same effect that you did to the floral design. Select the floral design layer > Right click the layer > Choose copy layer style. Now Select the current curve layer > Right click the layer > Choose past layer style. Once you select the layer and duplicate it, flip it to left side of the text.


Step 46 – Add Shadow to the Curve
Finally, add shadow to the curve. Select the curve layer and duplicate both the layers > Remove the layer style > Fill the shape with gray > Bring the layer 3px down. Your shadow is ready. Your final image will look like this:
![Final-Design[7] Final-Design[7]](https://cdn.photoshoptutorials.ws/images/stories/ElegantTypographyonVistaBackground_1102E/FinalDesign7.jpg?strip=all&lossy=1&webp=82&avif=82&w=1920&ssl=1)
Final Results
![Final-Design[7] Final-Design[7]](https://cdn.photoshoptutorials.ws/images/stories/ElegantTypographyonVistaBackground_1102E/FinalDesign7.jpg?strip=all&lossy=1&webp=82&avif=82&w=1920&ssl=1)

3 responses to “Elegant Typography on Vista Background”
-
LINK is Broken.
Download Floral Design
http://myphotoshopbrushes.com/brushes/id/244 -
I have to purchase the grass image?
-
Gorgeous but it will not appear good on non symmetrical letters.


Leave a Reply