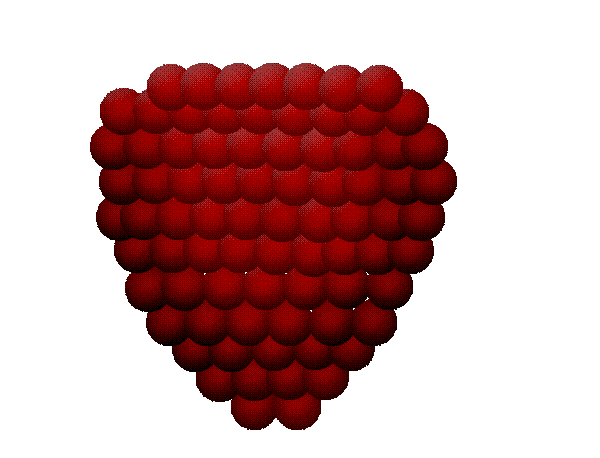
Step 22
Now take the Dodge Tool, (right-click the burn tool), and using a brush size of 168, a range of Highlights, and an exposure of 17%, brush lightly over the berry, focusing especially on the center.

Step 23
Now that we’re done with the base of our berry, it’s time we put it together and move on. Remember the leave window? Open it up, highlight all of the leaf layers and drag and drop them on the group icon to put them in a group. Rename this group to ‘Leaves’.
Hit T then click on ‘Leaves’. In the workspace, drag the leaves from their window onto the berry window to copy and paste them in one easy step. Resize to fit, then open group and rotate and place leaves how you choose. Click on ‘Leaves’ group, drag and drop on ‘New Layer’ icon ![]() to duplicate group, head to Edit > Transform > Flip Horizontal>, then open ‘Leaves’ duplicate and position to fit:
to duplicate group, head to Edit > Transform > Flip Horizontal>, then open ‘Leaves’ duplicate and position to fit:

Step 24
Select all layers (Berry and Leaves groups 1 & 2), hit T, hold shift, and size it down a bit to make some room for the stem:

Step 25
Make a new layer then take the Pen (P). Click once directly above the leaves in the center (1), click again about an inch above that slightly to the left (2), then anchor one more point in the center (3). Right-click the pen tool and select Add Anchor Point Tool, then click and drag 3 slightly to the right to give your stem a curve.

Step 26
Set your color to #6c8f07. Select the brush and change the size to 7 and the hardness to 0%. Go back to the pen tool, right-click the path that we’ve made, and click stroke path. Make sure it’s set to Brush and the Simulate Pressure box is unchecked. Hit ok, then press enter.

Step 27
In the layer’s panel, move the stem layer to just above the berry and below the leaves. Double click and apply the following settings:
- Inner Shadow: Distance: 5 – Size: 6. Leave all the other settings at default.
Now that we’ve added our stem, we can put all layers in a group. Select all and drag and drop onto group icon, then rename your group, ‘Berry’. We can finally go back to our first window, our jungle scene, and start constructing the final picture.


Leave a Reply