
Step 28
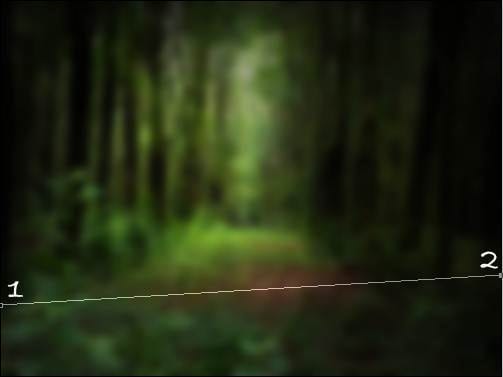
After going back to your blurred jungle scene and making a new layer (call it ‘Vine’), change your fore color to #77aa01 and your brush size to 7 with 0% hardness. Take the pen tool (P) and make the following points:
Step 29
Right-click the pen tool and select Add Anchor Point Tool and make the following points. After anchoring the points, click and drag slightly in various directions to give a somewhat bumpy, twisty look:
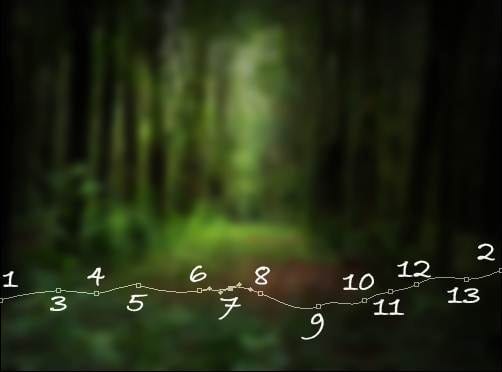
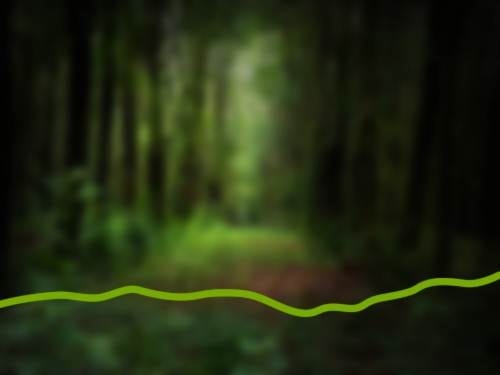
Once you’re done, right-click and select stroke path w/simulate pressure then hit enter to complete:
Step 30
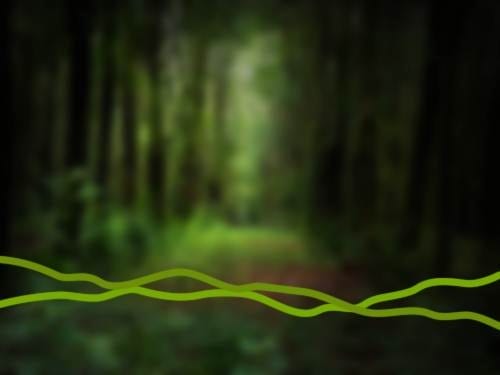
Make a new layer and repeat the process, changing the curves for slight variations:
Step 31
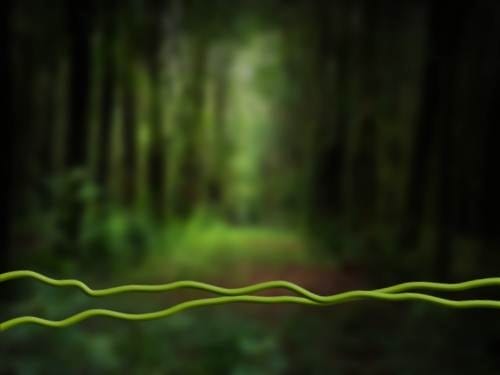
Now you have two vines! Double-click on either one and apply the following settings:
- Bevel and Emboss: Depth: 100% – Direction: Down – Size: 5 – Soften: 0 – Angle: -137 – Altitude: 30 – Highlight Mode Opacity: 44% – Shadow Mode Opacity: 67%.
Click Ok, then right-click layer > copy layer style. Right-click second vine layer > paste layer style, then position vines however you like:
Step 32
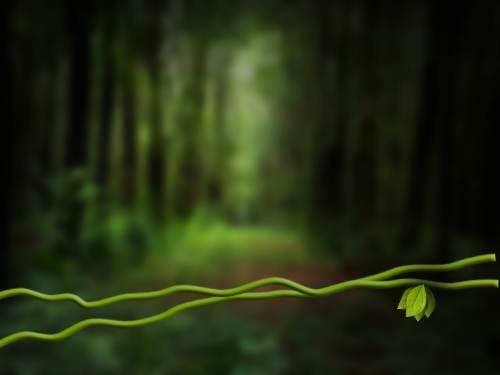
Go back to your Leaves window, and drag and drop the group onto your jungle scene as you’ve done with the berry. You’ll need to resize to fit on the vine:
Step 33
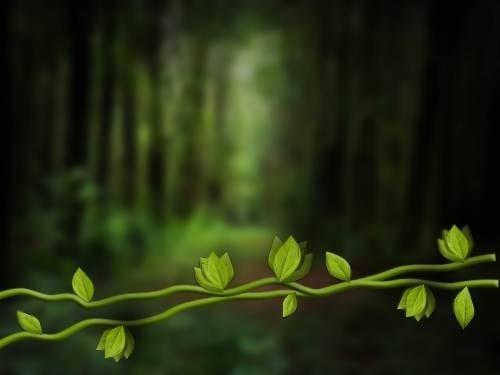
Continue adding leaves and bunches of leaves by duplicating the group (drag and drop onto new layer icon). You can open the group and hide some leaves to vary the bunch sizes. You can also resize to vary leaf sizes.
Step 34
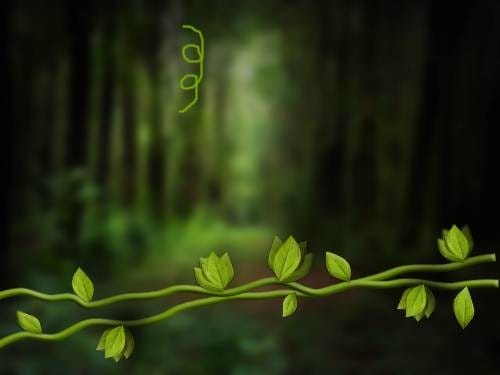
Change your brush size to 3 and on a new layer (name ‘Twist’) with your fore color still at #77aa01, draw a large loopy figure as shown:
Step 35
Right-click the layer and click paste layer style (this will apply the same settings as the vine), then resize and place on vine as shown:
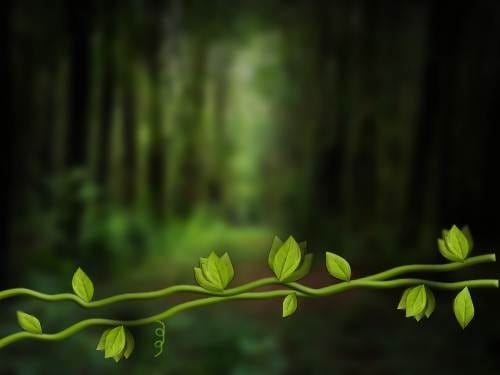
Duplicate and place in 3 more places: one on each end of each vine. Now select vines and twise layers and drag them all into a group. Call it ‘Vines 1’.

Step 36
Open up your berry window as it’s time to add the berries! Click once on the group name ‘Berry’, hit V on your keyboard, and then click and drag your berry onto your jungle scene. You’ll definitely need to size it down! Once it’s a considerably size, place it on the lowest vine, being sure to connect the stem with the vine:
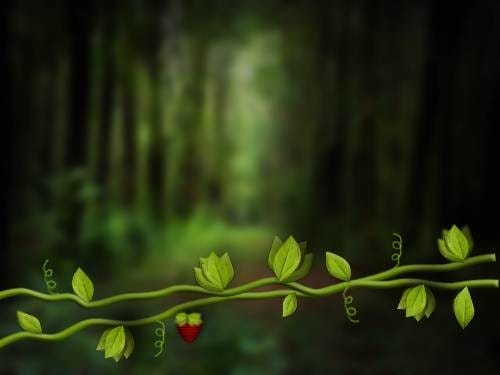
Step 37
Merge the berry group by right-clicking and selecting merge group. Then, hold down Ctrl and click on layer thumbnail to select the contents. Make a new layer then move it directly beneath this layer. Hit D to change colors back to default then fill selection with black. Press Ctrl +D to deselect then head over to Filter > Blur > Gaussian Blur and enter a radius of 3.5 pixels. Finally, hold Ctrl and click on berry layer, then drag and drop onto new layer icon to duplicate. Hit V, then move your new twin berry to the right of the upper vine:


Leave a Reply