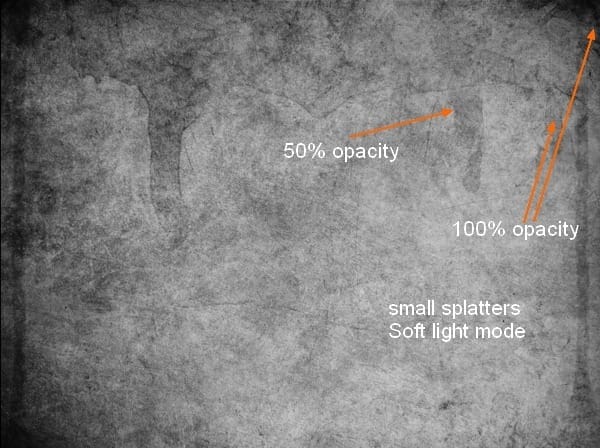
Step 6
Create a new layer and set foreground to white. Use cobweb brush, number 1064 ( or your choice) to paint on background, then transform ( hit Cmd/Ctrl+T) to do it, place it at the top right of picture:

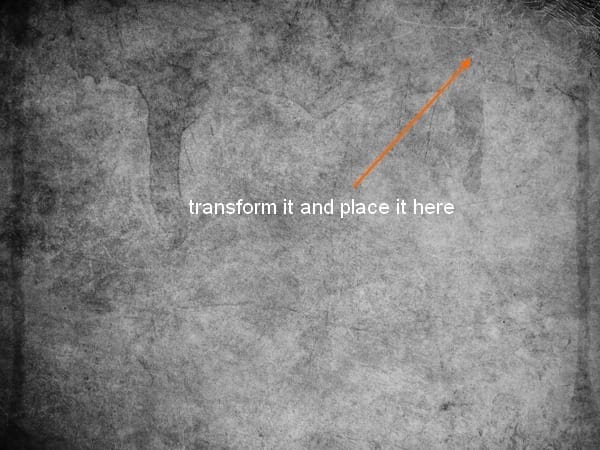
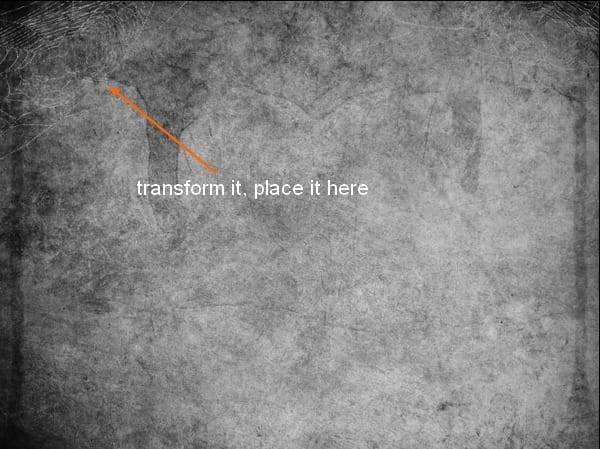
Continue with a new layer, I use this brush again and position it at the top left. Remember you should transform it to get a different look from the right.
Step 7
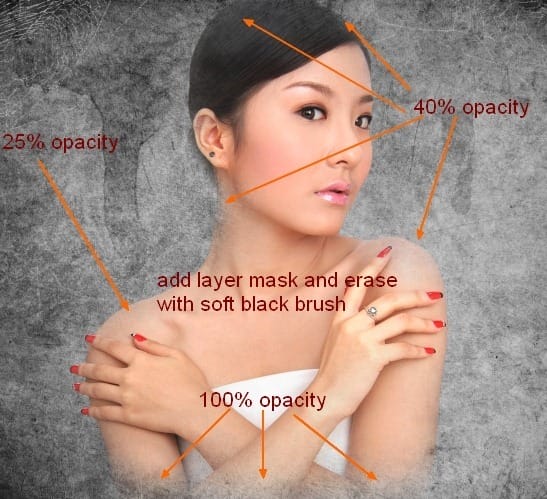
Open model stock. Use any tools you’re familiar with to make a selection around model, then copy it into a new layer. Move extracted model into our document, place her at the center:

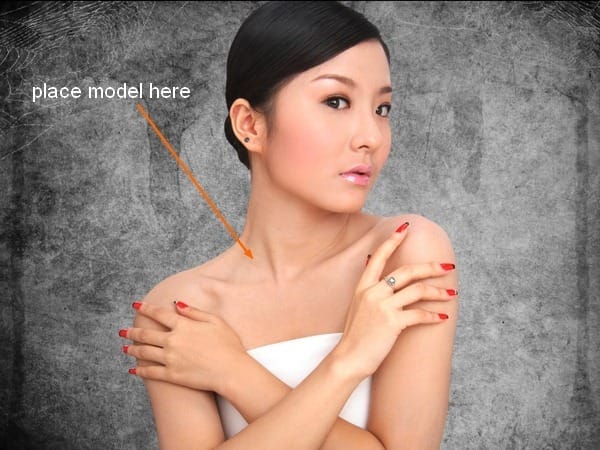
Add layer mask for model and use soft black brush to erase around model to make her blend with background. As you see in the screenshot, I vary brush opacity for different parts of model:
Step 8
The model looks so saturated against the background. So I use some adjustment layers with Clipping Mask option to correct the color and brightness of model. Make a Hue/Saturation layer above model layer with settings below ( Layer-New adjustment layer-Hue/Saturation) and down saturation to -100:

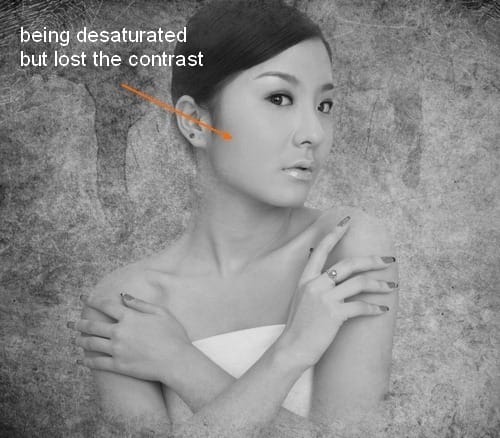
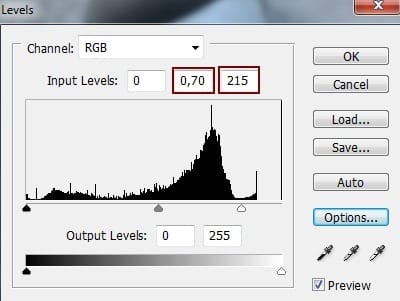
As you see, model is desaturated but lost the contrast. So I make a Levels layer ( with Clipping Mask) to fix it. Go to Layer-New adjustment layer-Levels. Change value of midtones and highlights ( down the midtones but increase highlights) :
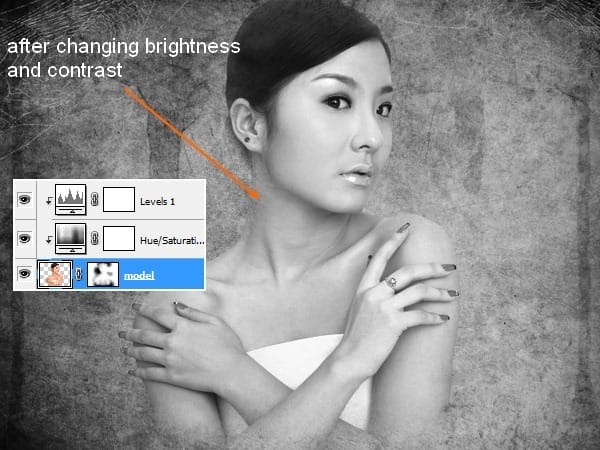
This is result we get:
Step 9
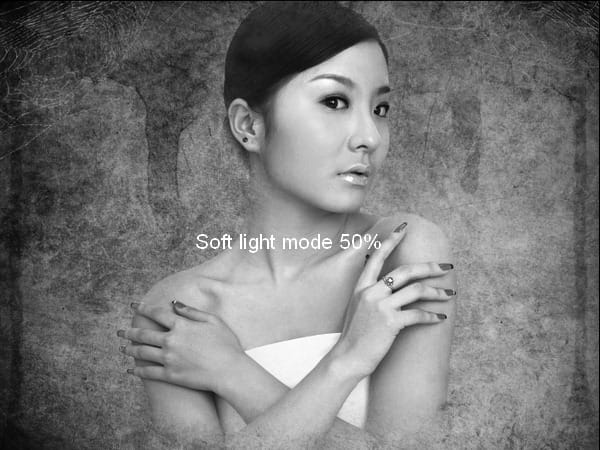
I want to change the brightness and darkness on some parts of model and background so I create a new layer and use soft black brush with different opacities. Paint around background edges, model and set the mode to Soft light 50%:

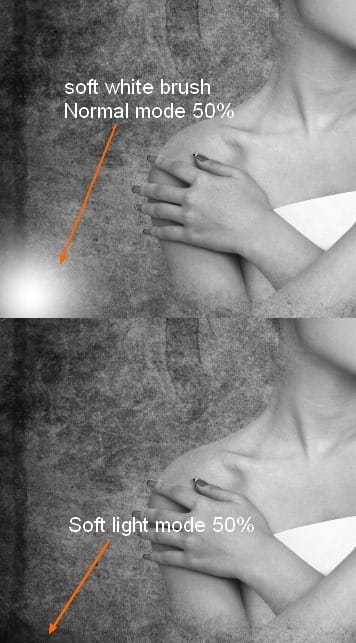
A new layer and I use soft white brush to paint on the bottom left of background as I want to brighten it a bit. I set the mode as Soft light 50%:
Step 10
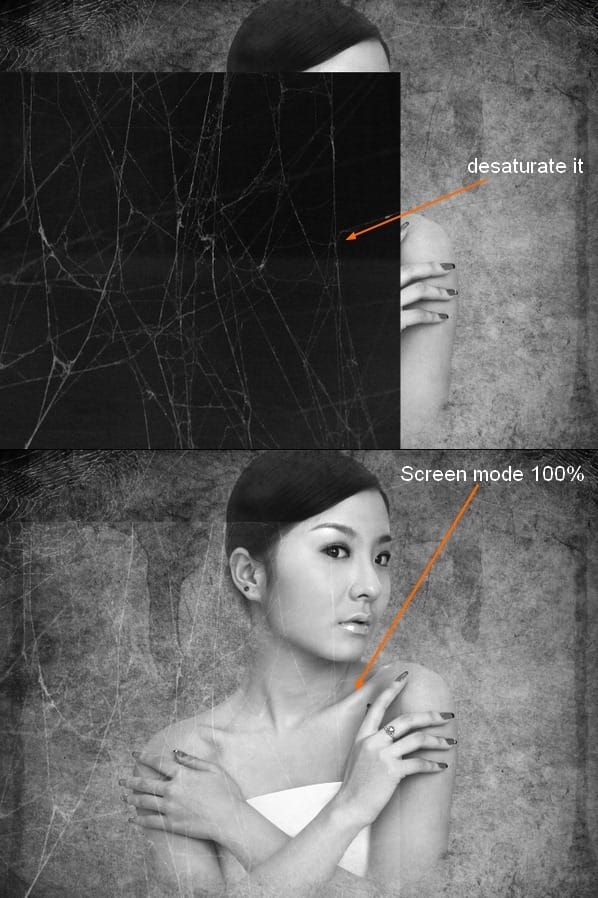
Open cobweb texture. Drag it into our picture and resize it as shown below:

Hit Cmd/Ctrl+Shift+U to desaturate it as we did in step 1 and change the mode to Screen 100%:
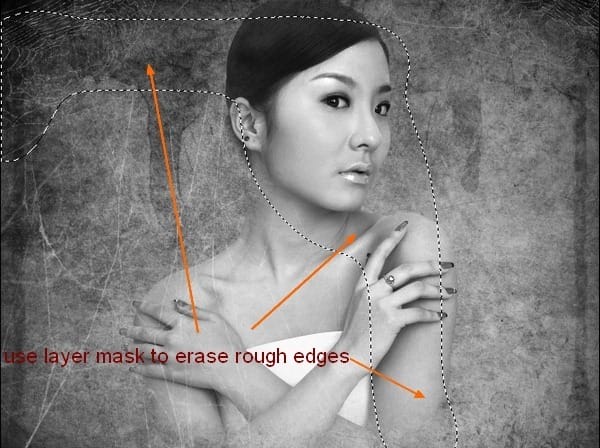
Add layer mask and erase any rough edges:
Step 11
Duplicate this layer twice and place them around model. You can flip or transform it to get your desired effect. You can see my result below:
15 responses to ““The Pain” – Create this Eerie Abstract Photo Manipulation”
-
I think the instruction is pretty good however when I enter some of the values for the blood colors they don’t look like yours ….not sure if that is because I have an older version or what.
-
Which step are you not getting the right color for?
-
-
You can turn this artwork into a symbolism of the Hong Kong police force by putting the blood in one eye only.
-
Where is the pain? She looks pretty comfortable! lol
-
cool
-
Wonderful tutorial..Thanks for sharing.
-
your work is amazing …..well done xx
-
it was great.can you please send this instruction to my email.
-
cool!
-
yes girl.
-
wow what a great tut, thank you very much <3
-
Great tutorial, thank you very much :) Easy to follow and an awesome result! Cheers
-
Can’t download the model stock, please reupload it! Thanks for the tut!
-
i love it^^
-
excellent! better remove the earring and ring,redo the nails pure black


Leave a Reply