Luminar AI lets you turn your ideas into reality with powerful, intelligent AI. Download the photo editor and see how you can completely transform your photos in a few clicks.
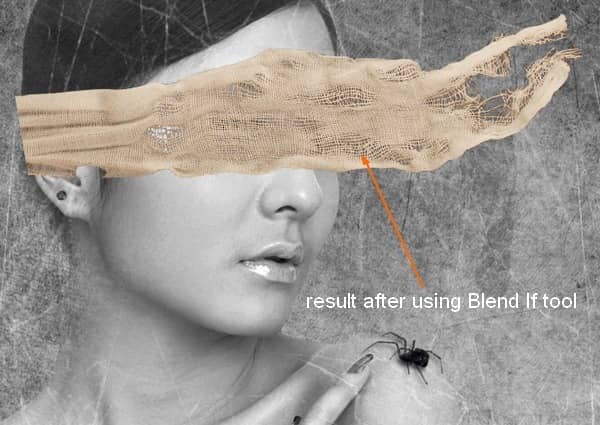
Step 20
Duplicate this layer, apply Flip Horizontal and move it to the left:
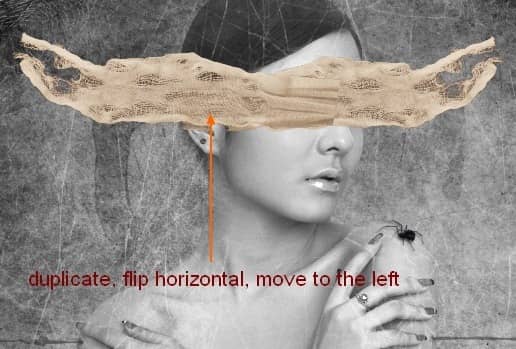
Step 21
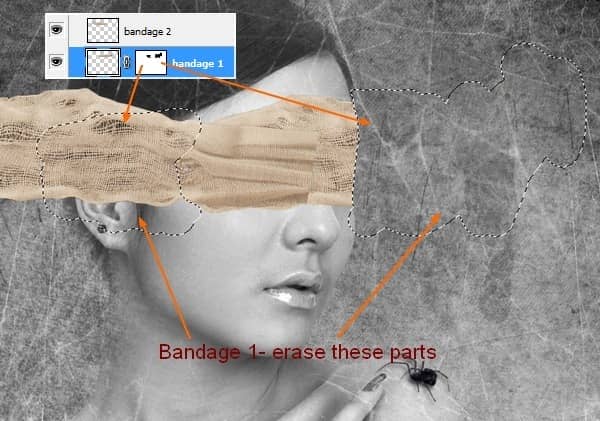
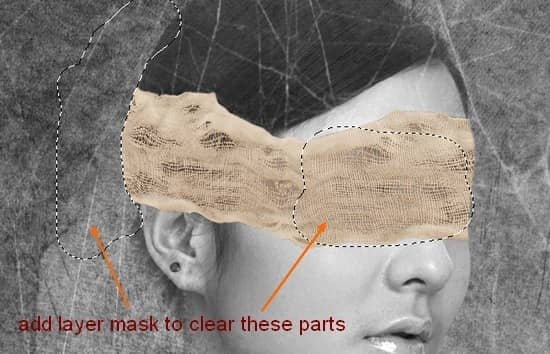
Name them as "bandage 1", "bandage 2". With bandage 1 layer, I add layer mask and use hard black brush ( remember to choose brush with very big hardness, 90-100%) erase unecessary parts as shown below:
With bandage 2 I use transform tool ( hit Cmd/Ctrl+T) and choose warp mode to warp it around model head:
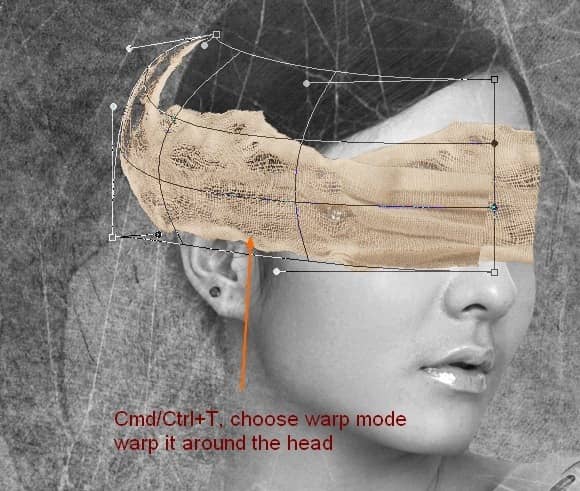
Add layer mask and use hard black brush on layer mask to clear unecessary parts:
Step 22
Now we will group bandage layers to be easier to edit them together. Choose bandage 2 layer, hit Cmd/Ctrl+G to make a group with this layer inside.
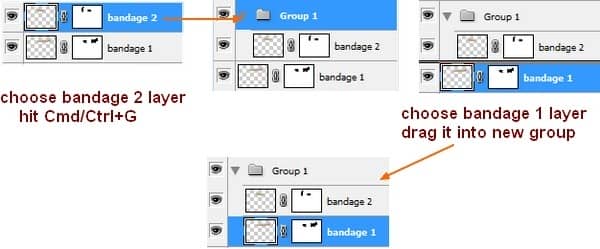
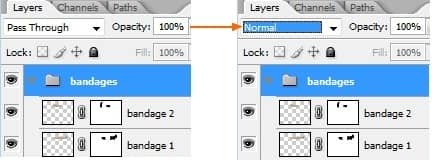
Choose bandage 1 layer and drag it into new group. Name this group as "bandages". Change the mode of this group from Pass Through( default mode of group) to Normal.
Step 23
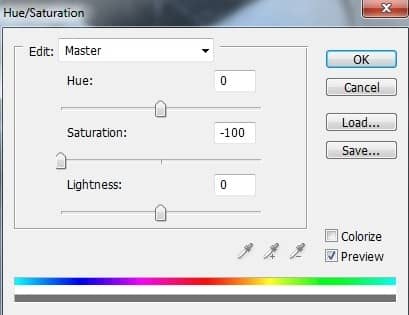
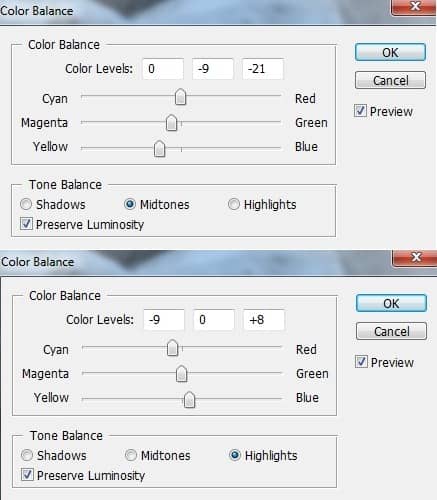
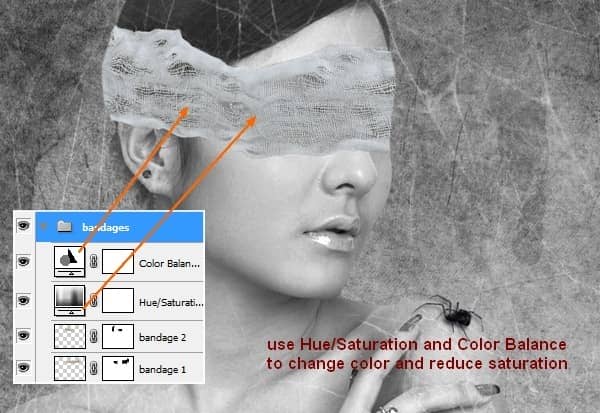
On bandage 2 layer, create two new adjustment layers to change color and reduce saturation of bandages. Because the mode of group is changed to Normal ( no Pass Through) so these two adjustment layers only affect the layers inside this group ( bandages).
Step 24
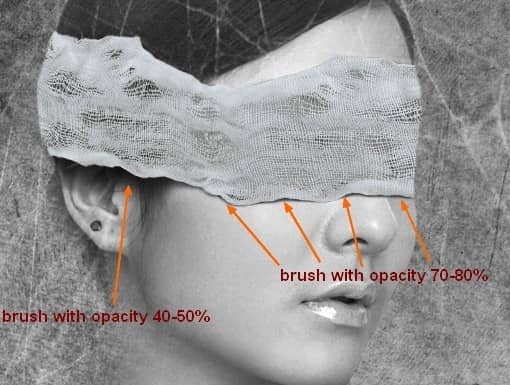
To make the bandages look more realistic, we will add shadow for them. Create a new layer under bandage group. Use soft black brush with different opacities to paint under them.
Step 25
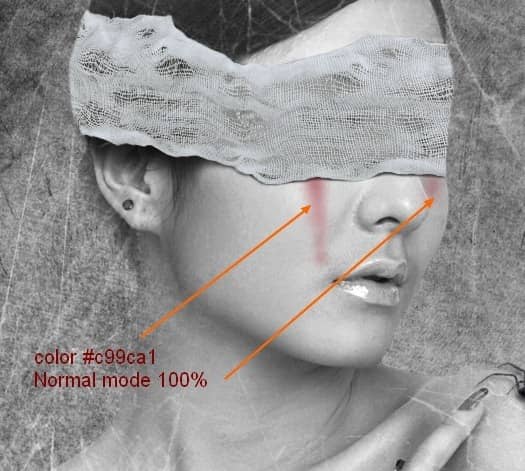
Now we'll add some blood to model face. Create a new layer above bandage shadow one ( and under bandage group) and set foreground to #c99ca1. Use soft brush to paint along the cheeks. This step is to create some blood stains:
Step 26
Create a new layer and use glossy blood splatter brushes with color #970314. Use any blood one you like and paint on left model cheek and transform it to be fit.
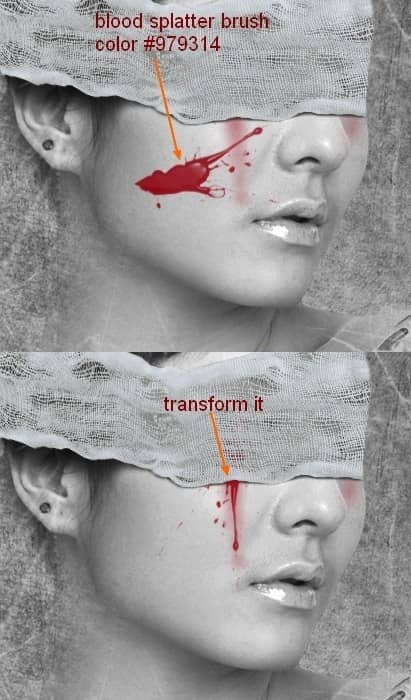
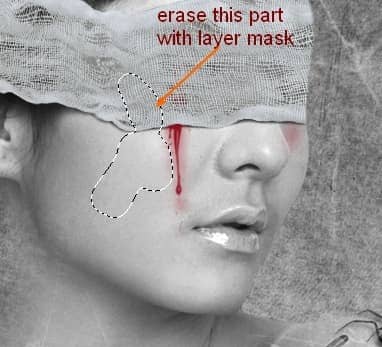
Add layer mask to clear any parts you don't find suitable.
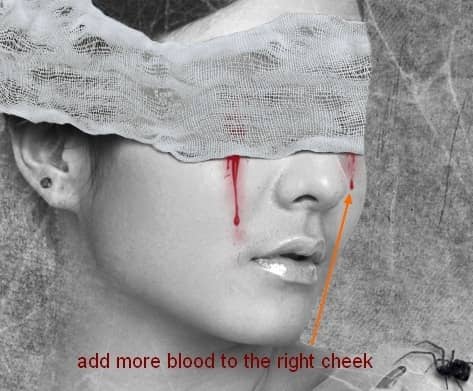
Create a new layer again and continue painting on the right side of model cheeks. I use a smaller brush and transform it as I usually do.
Step 27
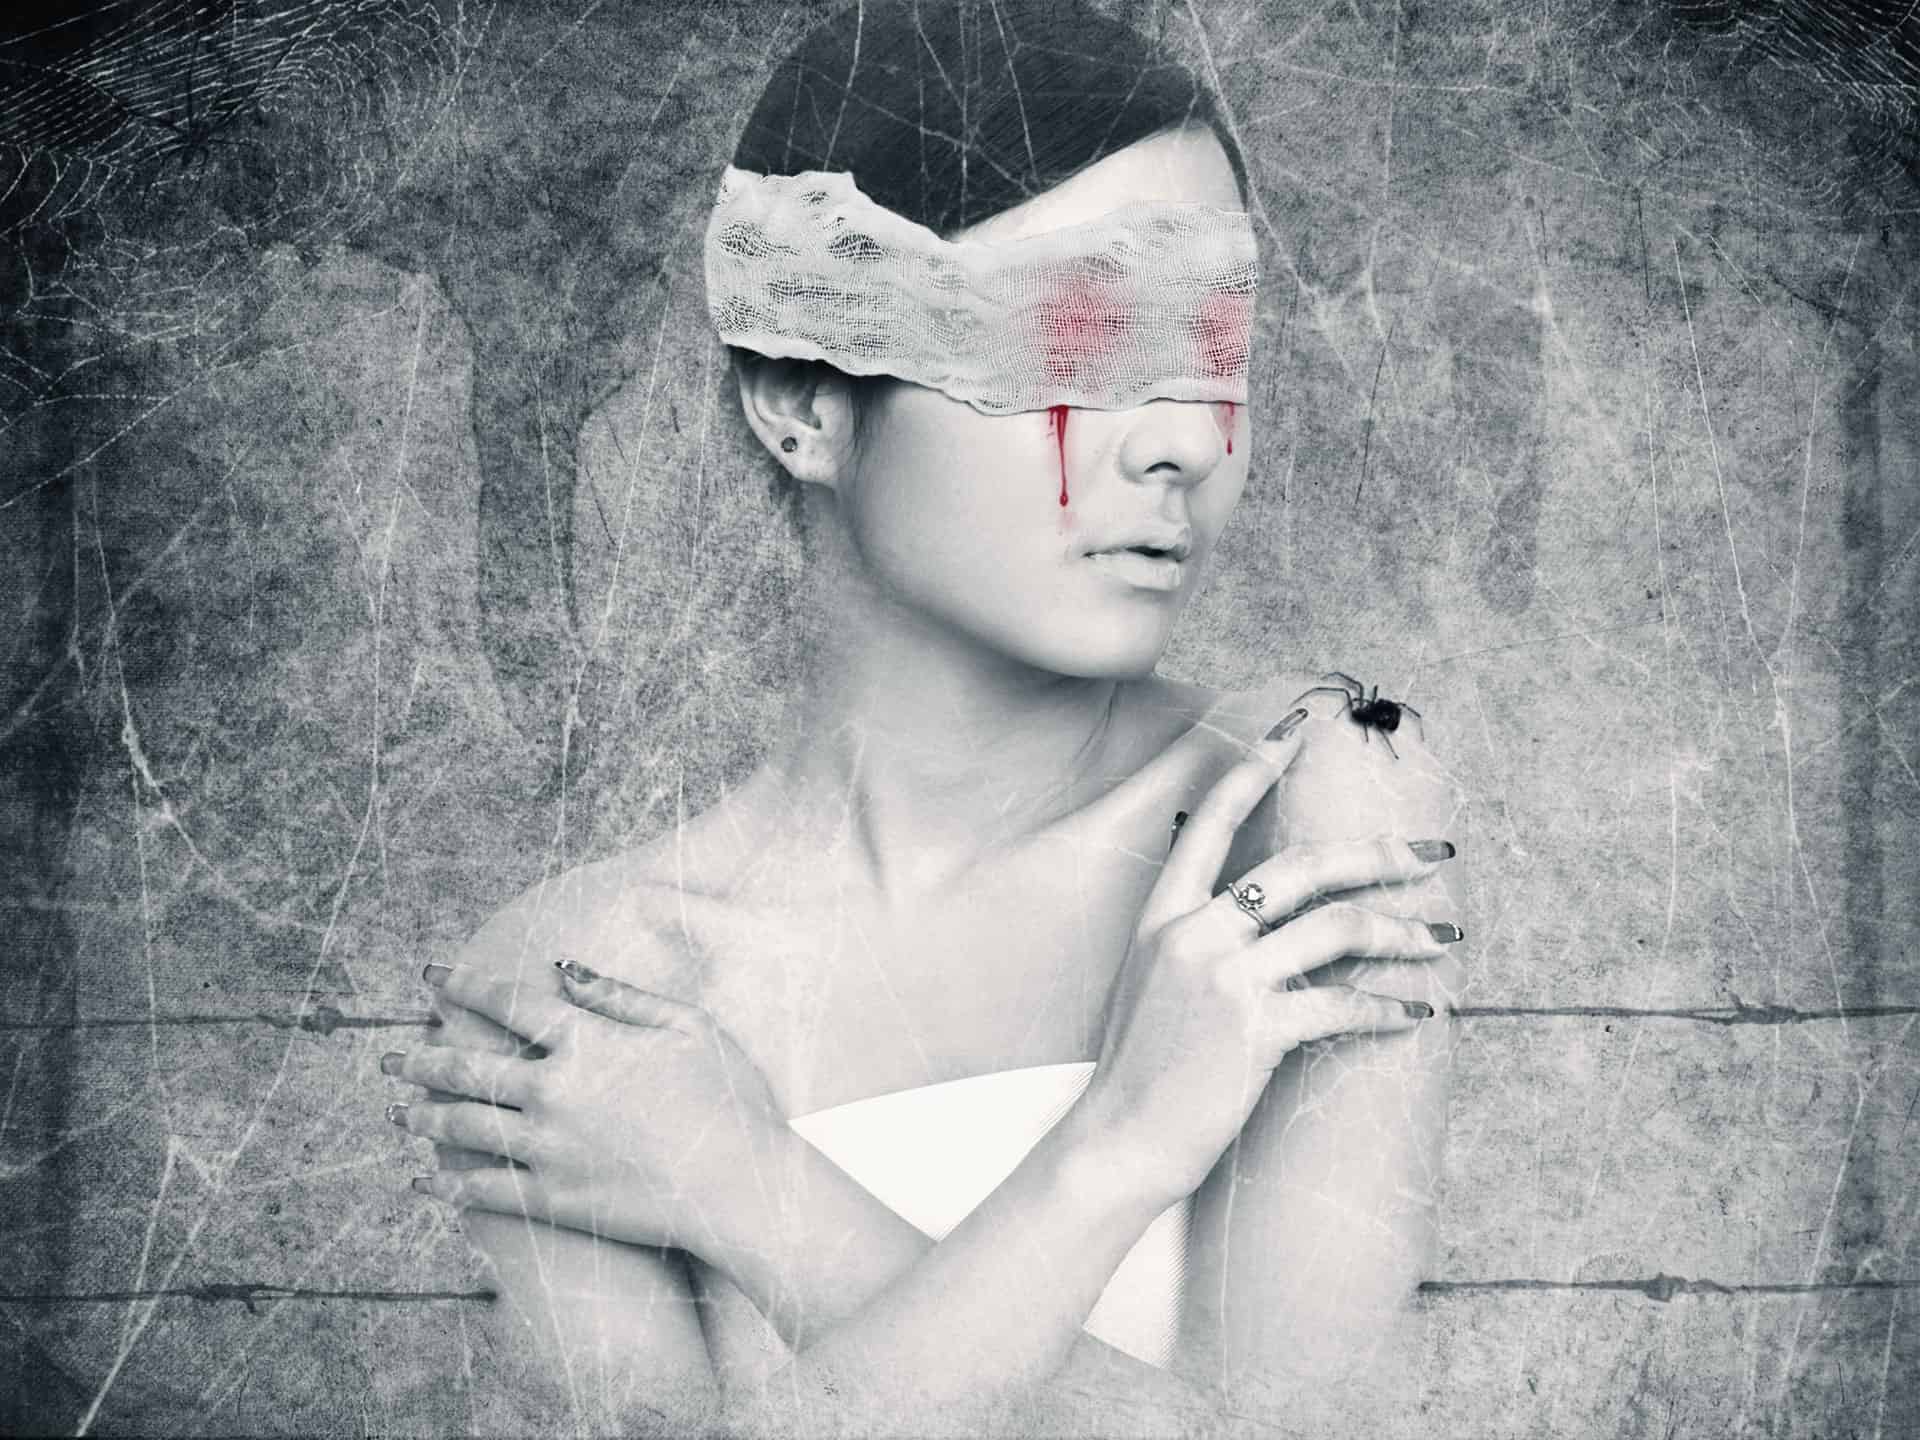
In this step we'll add some soaked blood effects on bandage ( blood from the eyes). Create a new layer above bandage group, name it " blood wet" or whatever you like. Use soft brush with color #979314 paint on the eye parts covered by bandage. Change the mode to Soft light 100%:

15 comments on “"The Pain" - Create this Eerie Abstract Photo Manipulation”
I think the instruction is pretty good however when I enter some of the values for the blood colors they don't look like yours ....not sure if that is because I have an older version or what.
Which step are you not getting the right color for?
You can turn this artwork into a symbolism of the Hong Kong police force by putting the blood in one eye only.
Where is the pain? She looks pretty comfortable! lol
cool
Wonderful tutorial..Thanks for sharing.
your work is amazing .....well done xx
it was great.can you please send this instruction to my email.
cool!
yes girl.
wow what a great tut, thank you very much <3
Great tutorial, thank you very much :) Easy to follow and an awesome result! Cheers
Can't download the model stock, please reupload it! Thanks for the tut!
i love it^^
excellent! better remove the earring and ring,redo the nails pure black