Download Lightroom presets and LUTs, absolutely free. Use the presets to add creativity and style to your photos.

Step 24
Move the converted road layer below the Castle group in the layer palette. Press Ctrl + T to resize and position it as shown below.


Step 25
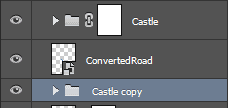
Duplicate the Castle group and press Ctrl + T to resize and position it as shown below. Move this group below the “ConvertedRoad” layer. Name this group Castle Copy.

Step 26
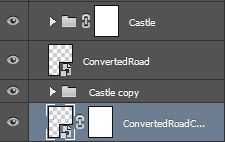
Duplicate the “ConvertedRoad” layer and move it below the Castle Copy group. Resize and position it as shown below. Name this “ConvertedRoadCopy”.

Step 27
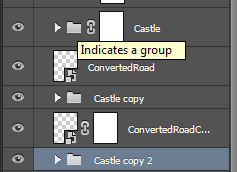
Finally, duplicate the Castle group again and move it below the “ConvertedRoadCopy” layer. Resize and position it as shown below.

Step 28
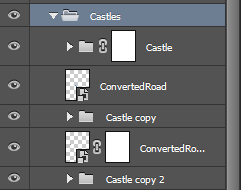
Select all the castle groups and the roads and group them together. Name this group “Castles”. Remember the trick I taught you at step 18? We are going to use it here too. Change the blending mode of the “Castles” group from Pass Through to Normal.
Step 29
In the Castles group create a Curves Adjustment layer and drag the curve down to darken. In the layer mask paint with a round soft black brush over the top of the castles to prevent the darkening effect from happening there.
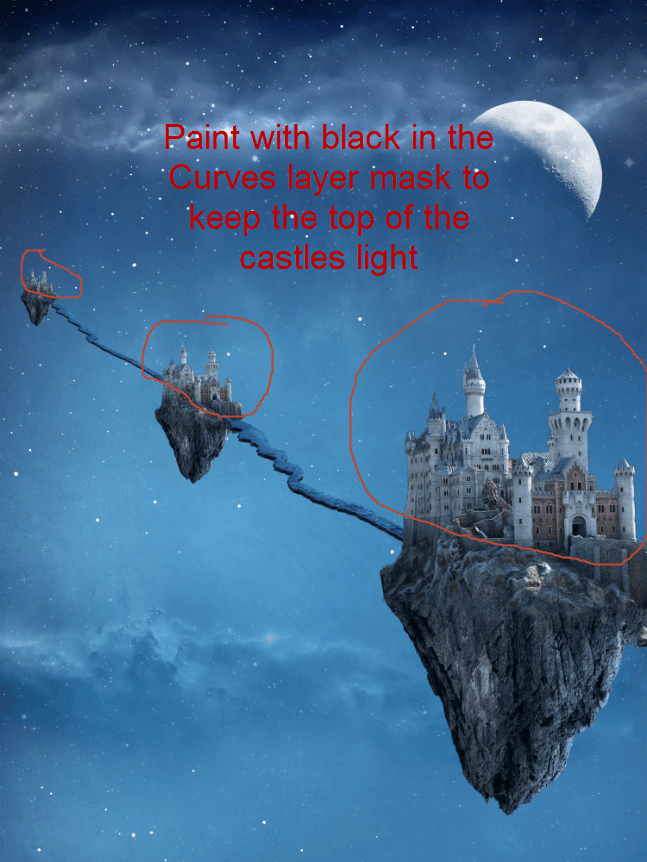
Step 30
Create a new layer and with a round soft white brush paint at 2-5px paint the top left parts of the castles. This will create the illusion of specular highlight.
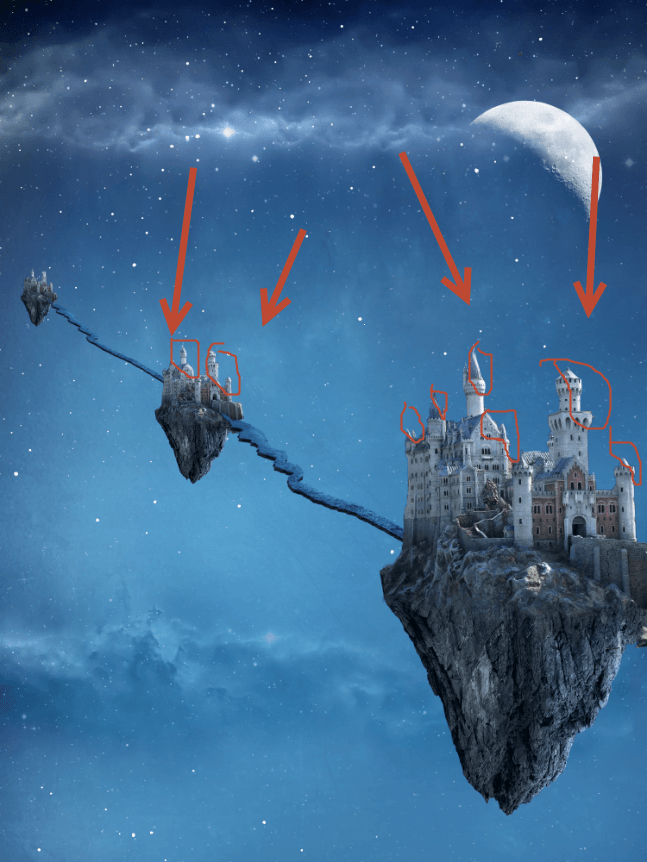
Step 31
Create a new layer and with a round soft white brush paint at 2-5px paint the top left parts of the castles. This will create the illusion of specular highlight.
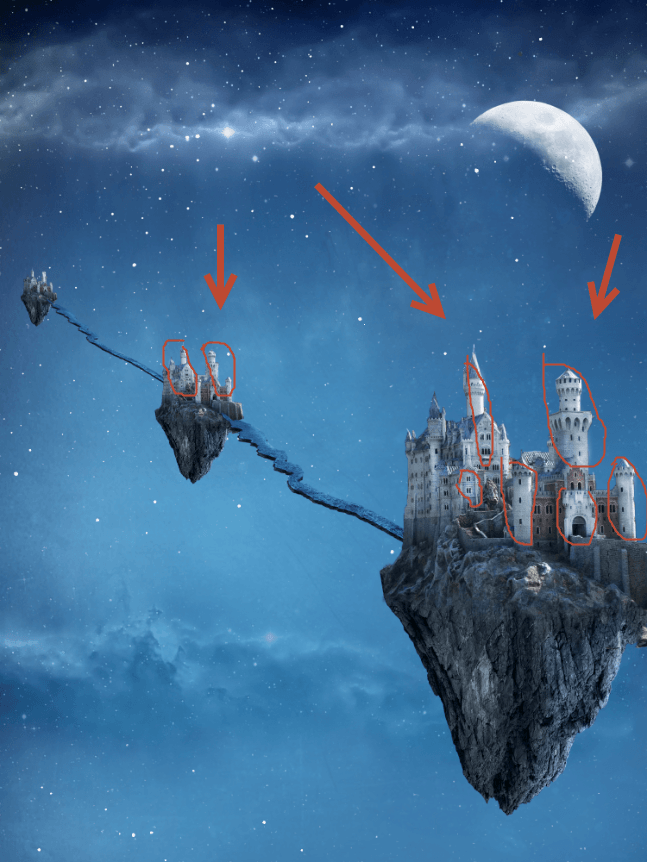
Step 32
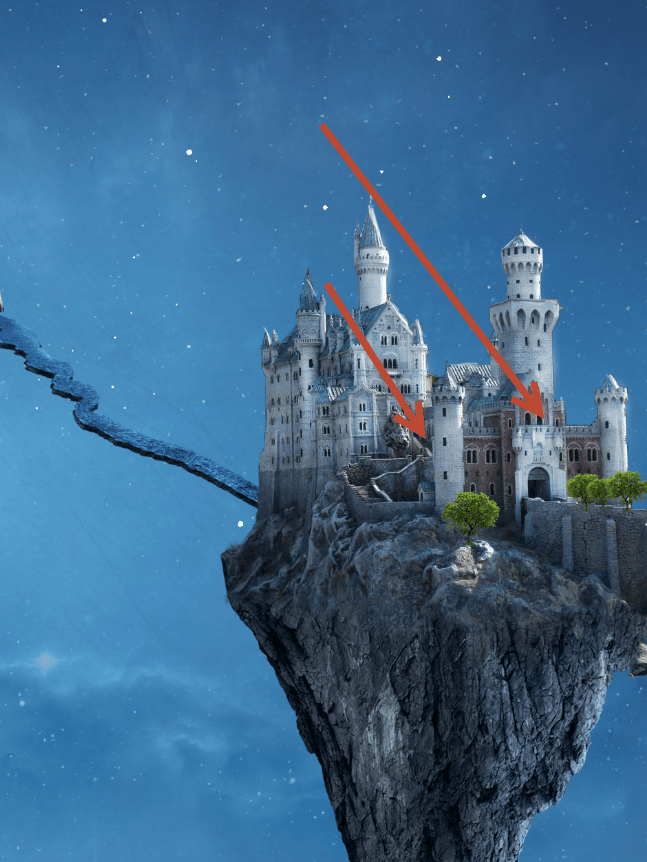
Open file Tree. Copy and paste the tree into our image. Convert it into a smart object and resize and position the tree as shown below.

Step 33
Duplicate the tree layer a couple of times and move and resize the duplicated layers to create the illusion of some vegetation on the castle rocks. Group all the tree layers together. Name the group “Trees”.
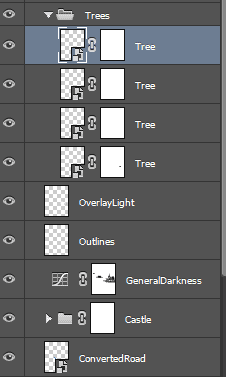
Step 34
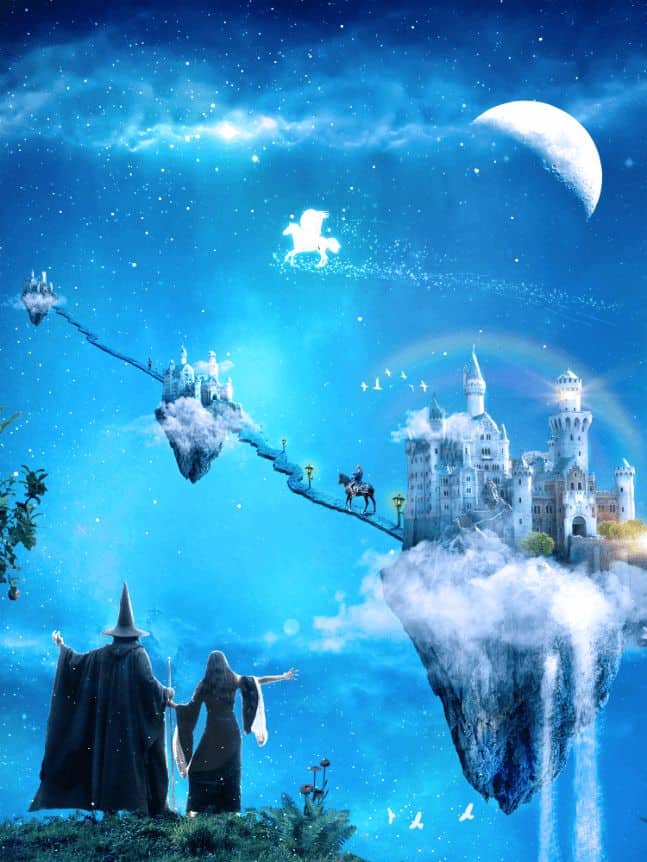
Open the file “Rider”. Using the pen tool or the quick selection tool select the rider. Copy and paste it into our scene. Name the layer “Rider” and convert it to a smart object. Resize and position the layer as shown below.

Step 35
Create a new layer and move below the “Rider” layer in the layer palate. With a round black soft brush paint some shadow below the rider. Change the blending mode to Multiply and name it “Shadow”. If the effect is too strong lower the opacity of the “Shadow” layer.


11 comments on “A Wizard and His Pupil - Create a Fairy Tale Manipulation in 75 Steps”
Interesting
?
nice photo editing tutorial
Bro i wanna talking to you plez send ur mobile no i u gave my no it s reason the reason is i love ur tutorial and i learning a awesome photoshop skills so u help me
I tried your tutorial and the result is fascinating. Thank you so much for sharing your work with us!!!
in step 19, when adding a new curve layer, this affect the entire image, not just the road, what am i doing wrong?
Step 7 doesn't work = (. It just turns the floating island into the exact color that you copy rather than actually blending the color with the island.
Did you change the blending ode to color?
Awesome resources.Huge collection.Great job.Very useful post.
Tutorial looks great but i am unable to fetch its resources.
that is not their problem