Turn any photo into a dot grid artwork with these Photoshop actions. You'll get great results with dots that change size. They get larger in brighter areas and smaller in darker areas. Free download available.
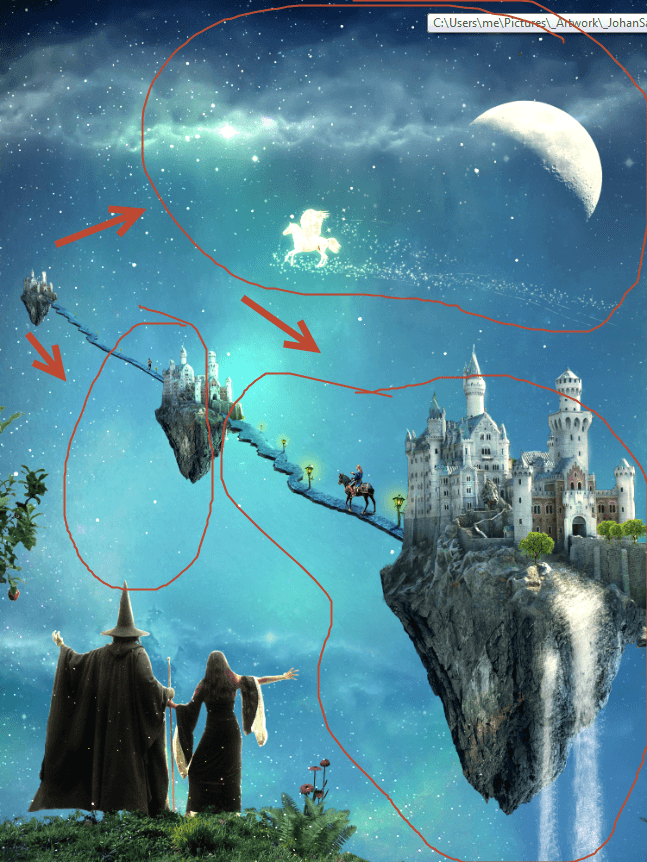
Step 65
Import the Cloud brushes. On a new layer (or more new layers) paint white clouds over each castle. Group the cloud layers together and name the group “Clouds”.
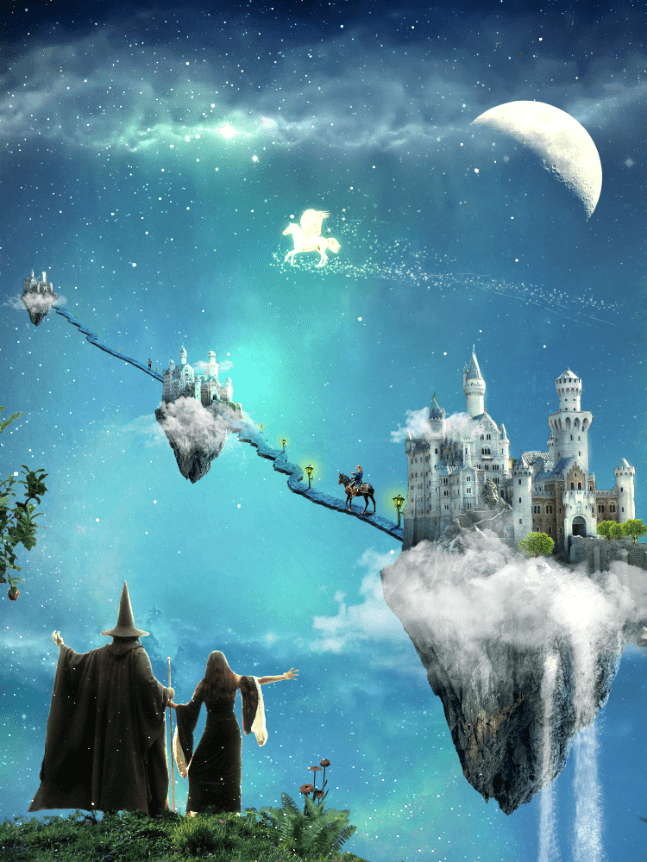
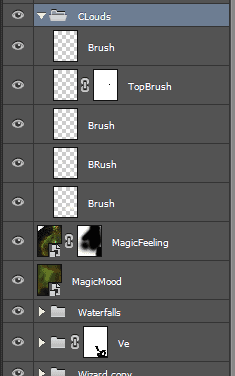
Step 66
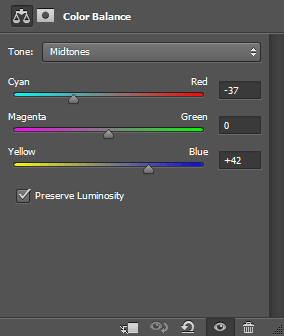
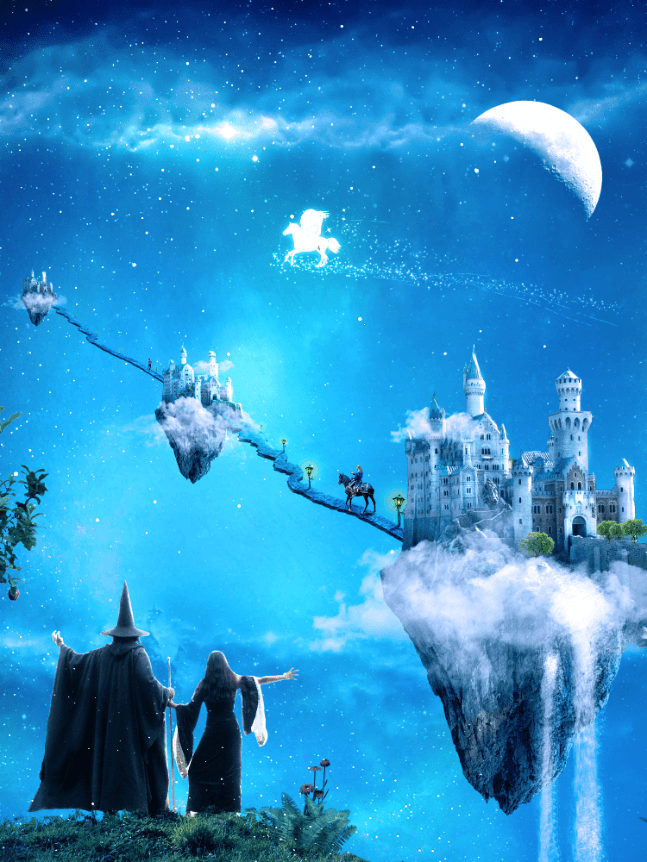
Create a Color Balance Adjustment layer and use the settings shown below. By doing this we will subtly unify our scene and change the hue towards blue.
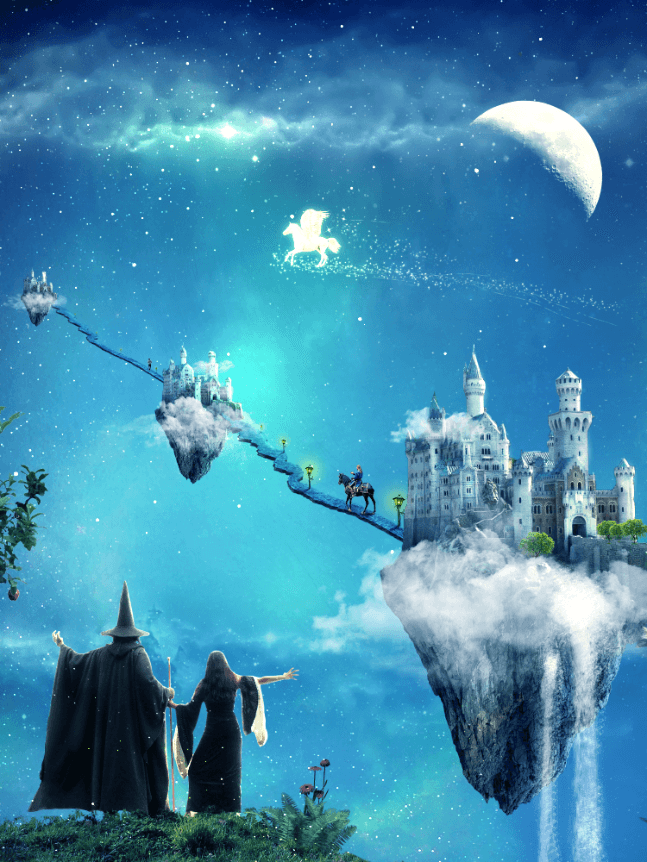
Step 67
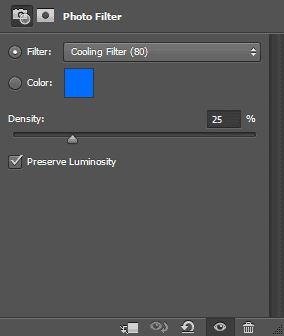
For further unification create a Photo Filter Adjustment layer and use a cooling filter.
Step 68
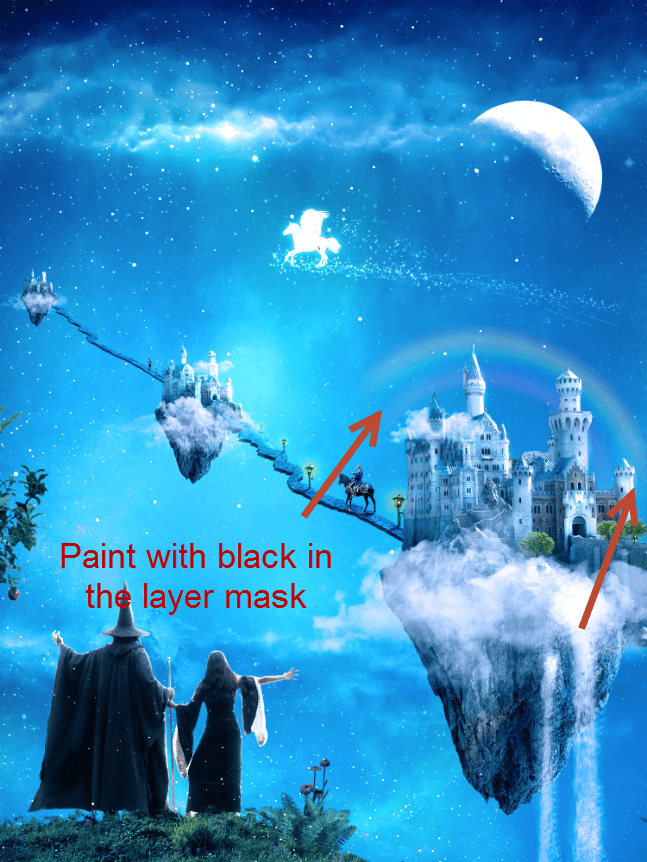
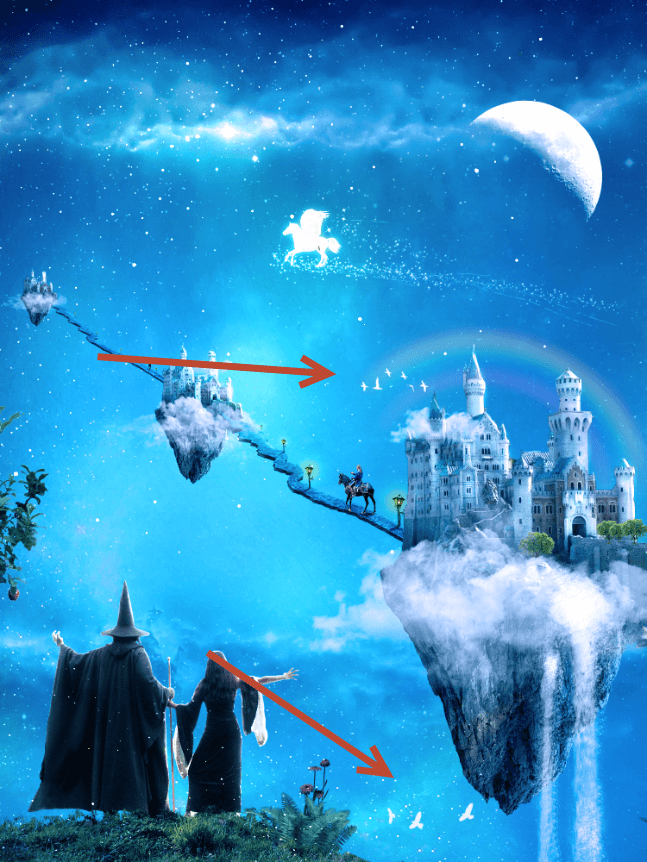
Open the file “Rainbow”. Copy and paste the rainbow into our scene. Change the blending mode to Linear Dodge and lower the Opacity to 27%. Resize and position the rainbow over the first castle. Add a layer mask and with a black brush mask the ends of the rainbow.
Step 69
Import the birds brush. Create a couple of new layers and on each paint some white birds.
Step 70
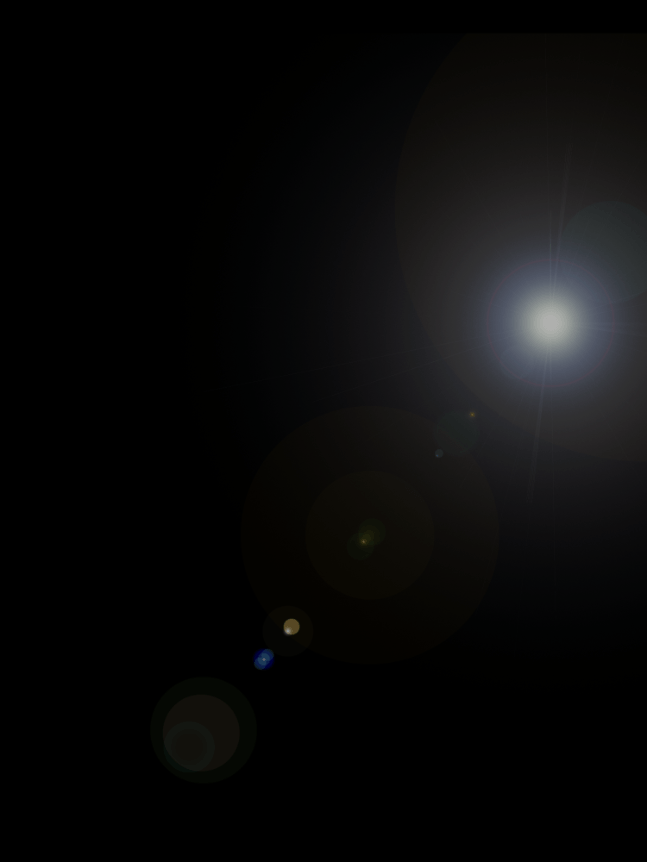
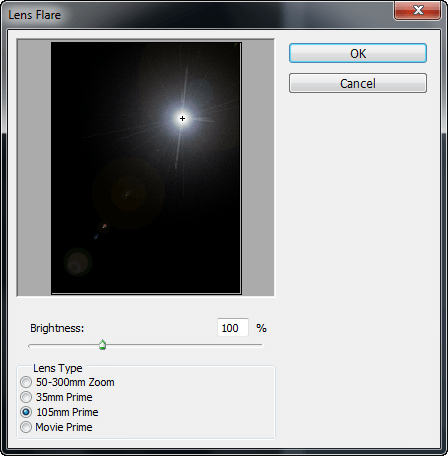
Create a new layer and fill it with black. Go to Filter > Render > Lens Flare. Lower the Opacity of the layer to 69%.
Step 71
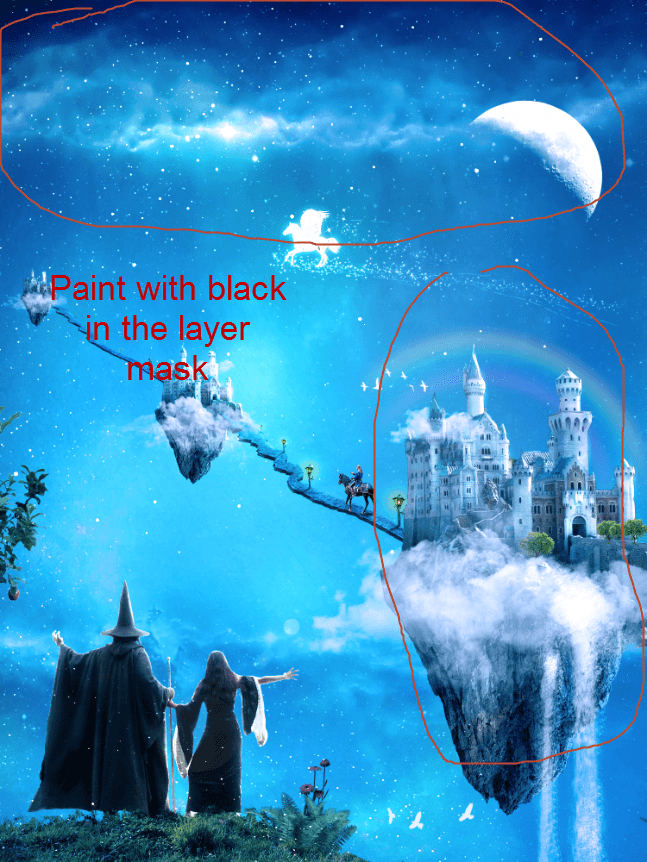
Change the lens flayer layer blending mode to Screen. Add a layer mask and paint with a black brush in the indicated areas.
Step 72
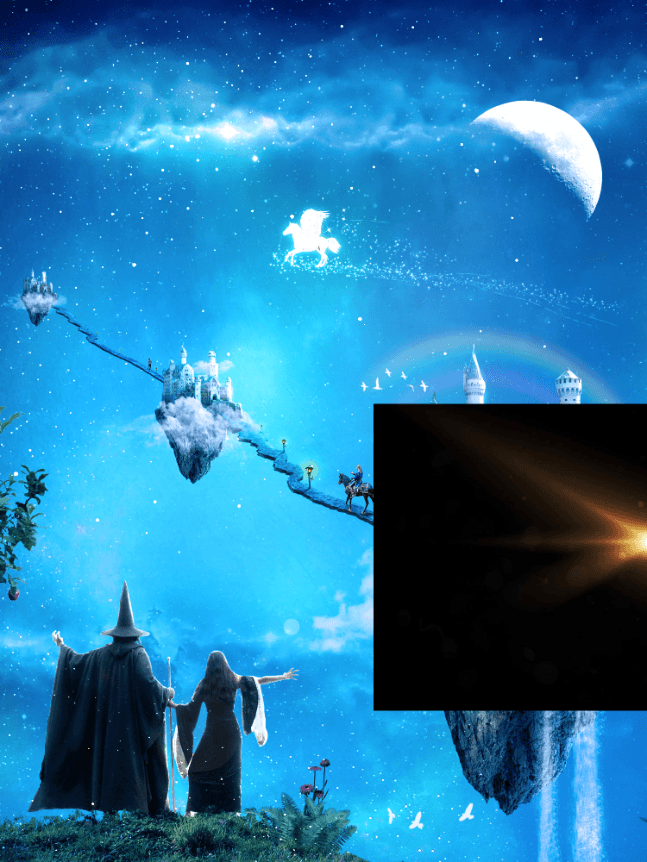
Open the “Lens Flare” file. Make a selection of the top left sun with the rectangular marquee tool. Copy and paste into our image. Convert it into a smart object. Resize and position as shown below. Name the layer “Sun”.
Step 73
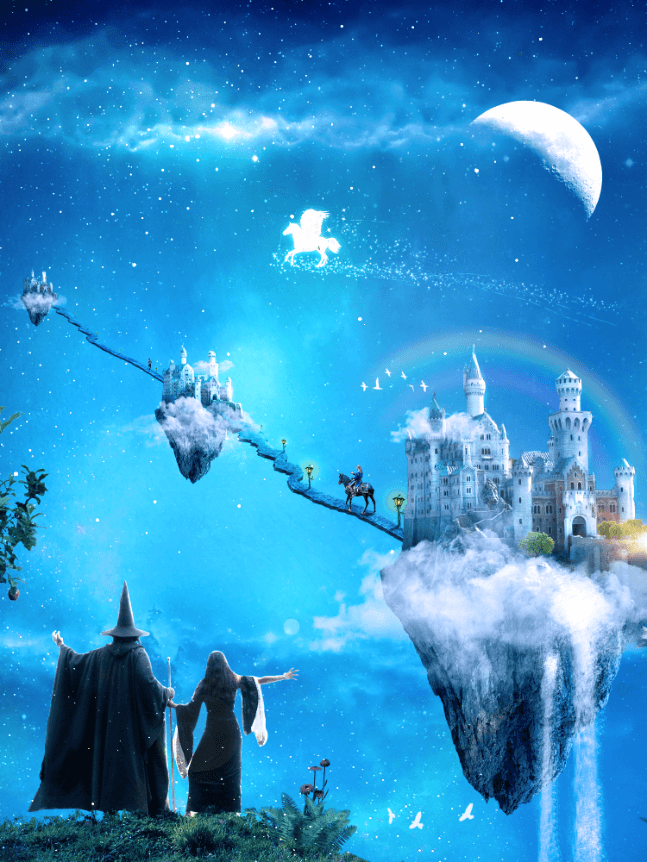
Change the blending mode of the “Sun” layer to Screen.
Step 74
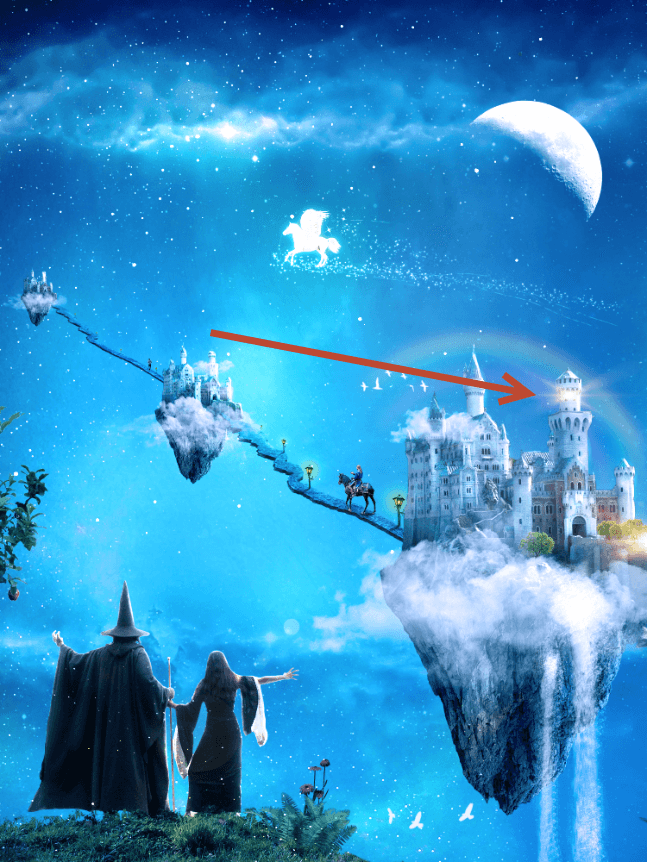
Duplicate the “Sun” layer and move it in the tower of the bigger castle.
Step 75
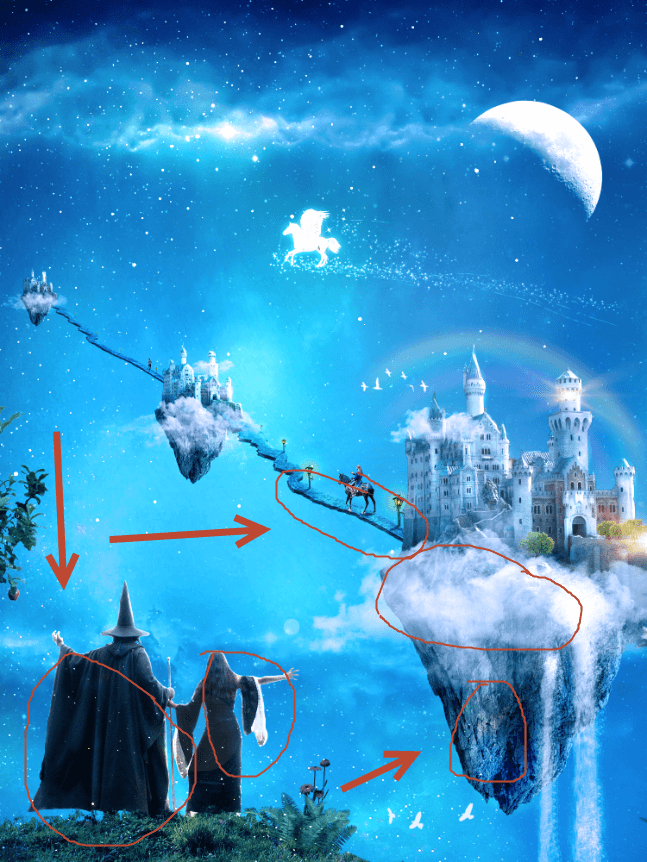
Create a new layer and change the blending mode to Overlay. With a white brush paint some highlights as indicated below.
Download the PSD
Final Results
![final-results[1] final-results[1]](https://cdn.photoshoptutorials.ws/wp-content/uploads/2014/08/finalresults11.png?strip=all&lossy=1&quality=70&webp=70&avif=70&w=1920&ssl=1)
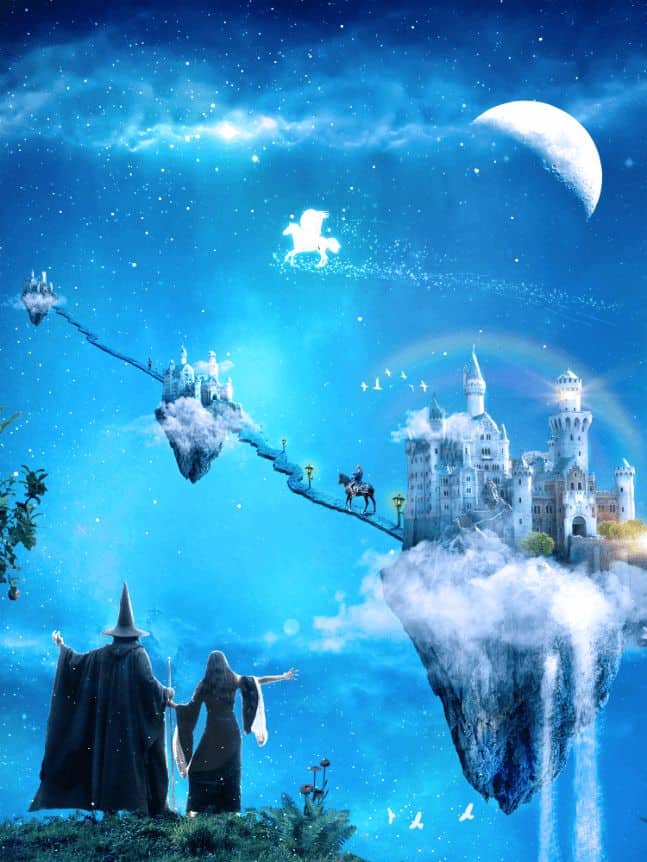

 Thanks for following this tutorial. I hope that despite the hard work involved in finishing this tutorial you had some fun and learned some Photoshop tricks. You are welcome to visit my
11 comments on “A Wizard and His Pupil - Create a Fairy Tale Manipulation in 75 Steps”
Interesting
?
nice photo editing tutorial
Bro i wanna talking to you plez send ur mobile no i u gave my no it s reason the reason is i love ur tutorial and i learning a awesome photoshop skills so u help me
I tried your tutorial and the result is fascinating. Thank you so much for sharing your work with us!!!
in step 19, when adding a new curve layer, this affect the entire image, not just the road, what am i doing wrong?
Step 7 doesn't work = (. It just turns the floating island into the exact color that you copy rather than actually blending the color with the island.
Did you change the blending ode to color?
Awesome resources.Huge collection.Great job.Very useful post.
Tutorial looks great but i am unable to fetch its resources.
that is not their problem