Make your artwork look like they're from an alternate universe. These Cyberpunk presets work with Photoshop (via the Camera Raw filter) and Lightroom. Download all 788 presets for 90% off.
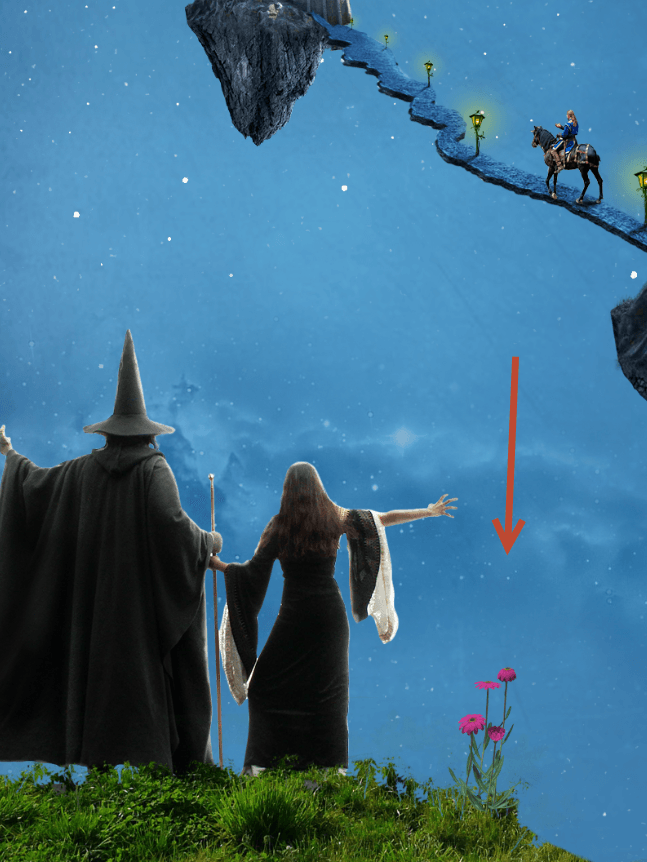
Step 54
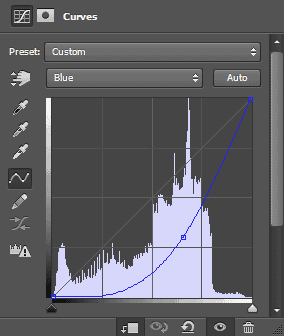
Let’s make our daisy a little bit warmer. Create a new Curves Adjustment layer and clip it to the daisy layer. Use the settings shown below for the curves layer.
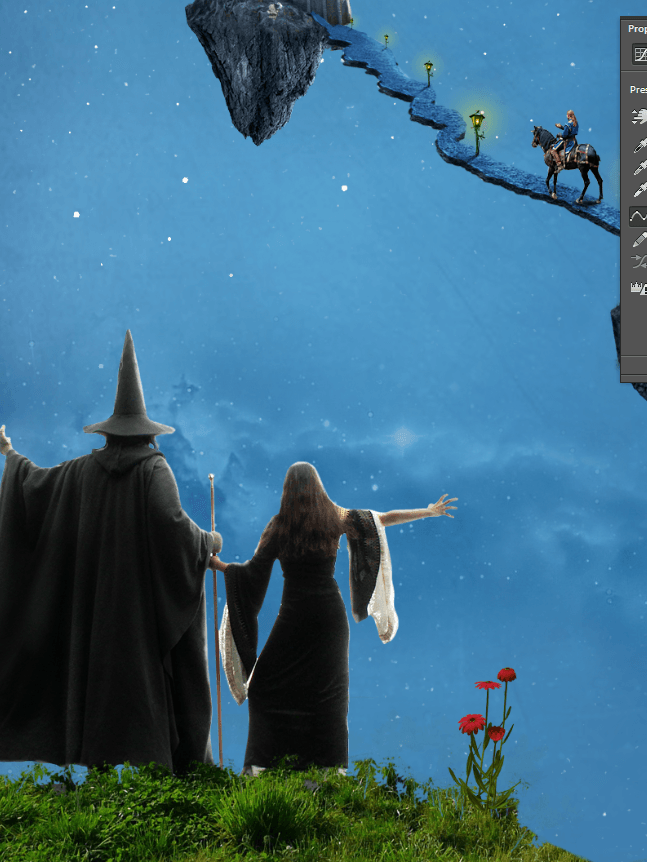
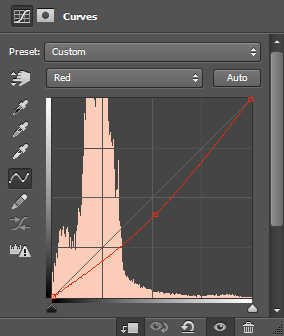
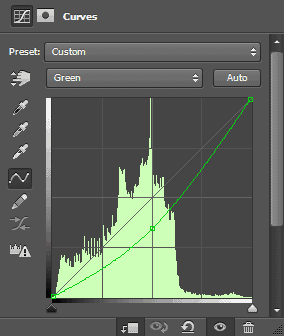
Step 55
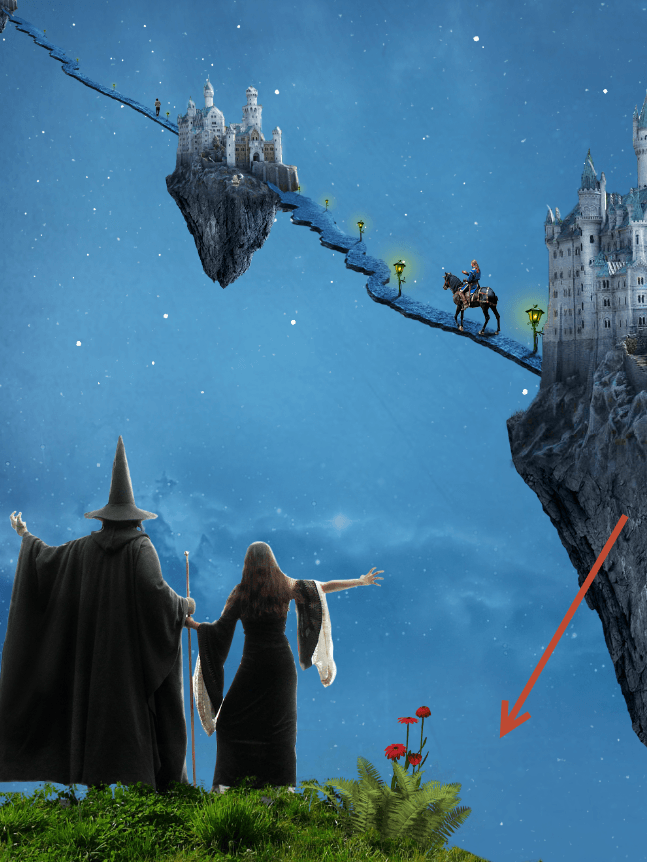
Open the file “Fern”. Copy and paste the fern into our scene. Convert it to a smart object. Position and resize it as shown below.
Step 56
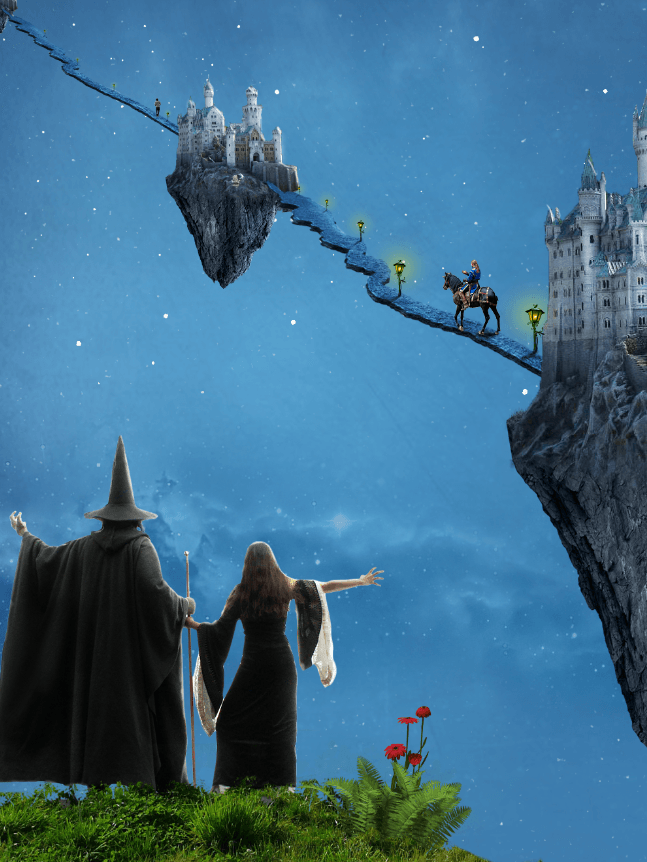
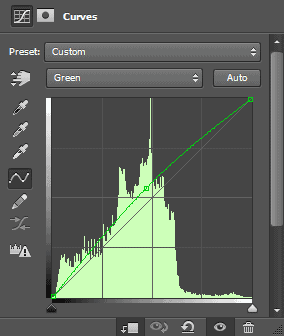
Let’s color correct the fern. Create a new Curves Adjustment layer and clip it to the fern layer. Use the settings shown below for the curves layer.
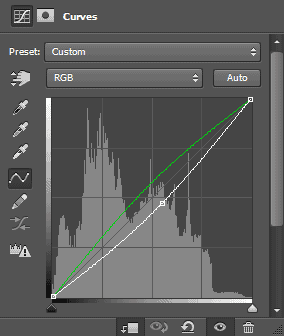
Step 57
Open file “Bush”. Copy and paste the bush into our scene. Convert it to a smart object. Place the brush all the way to the left so only a little of the bush will be visible.
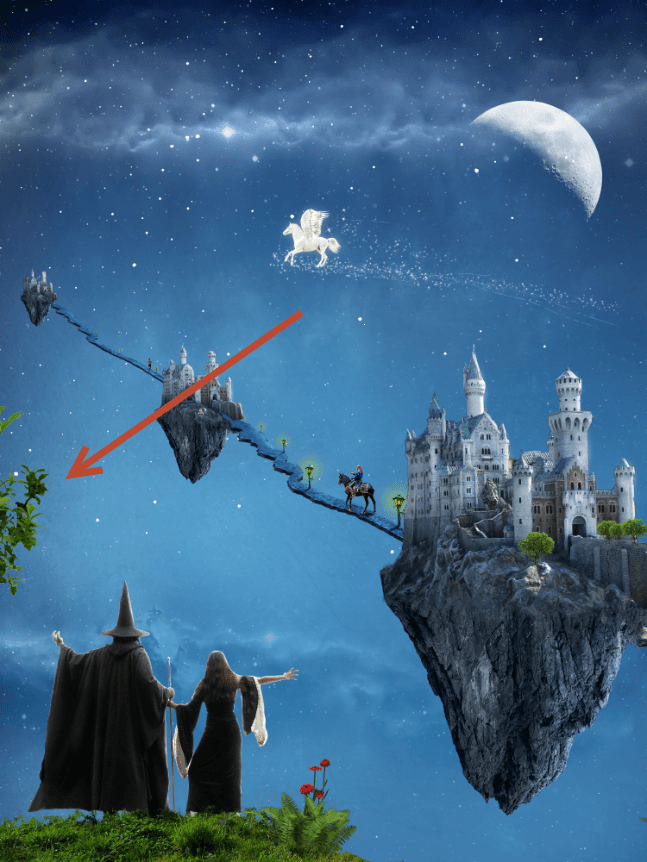
Step 58
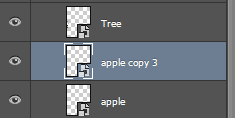
Open file “Apple”. Copy and paste the apple into our scene. Convert it to a smart object. Resize and position the apple as shown below. Duplicate the apple layer again and move it behind the tree.
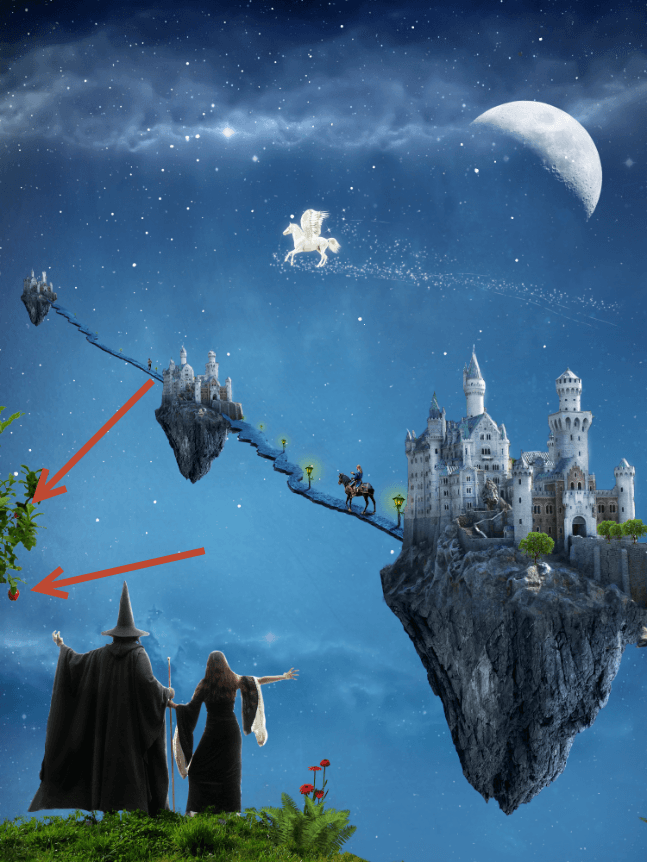
Step 59
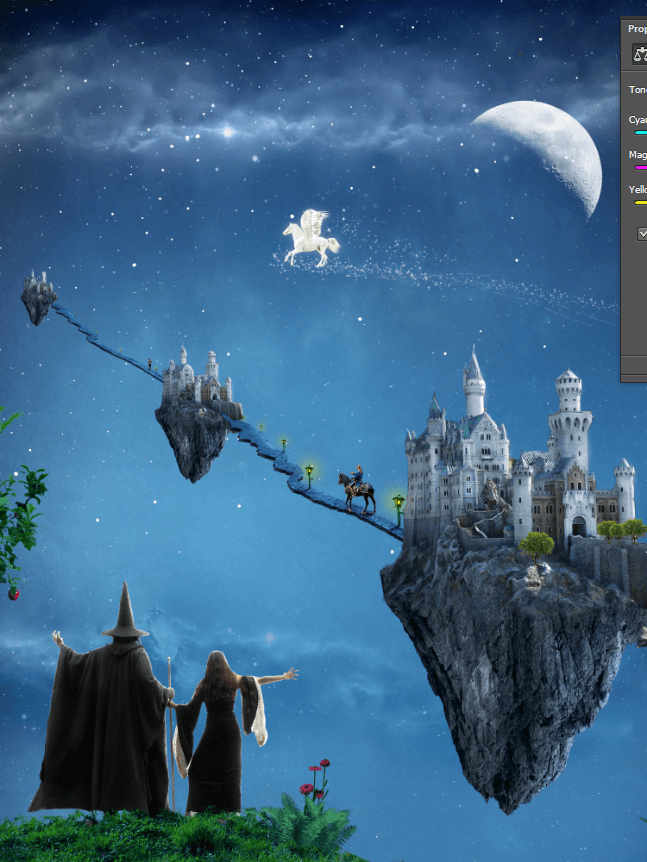
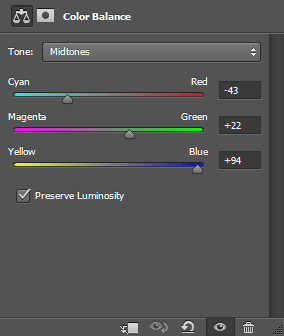
Group all the grass related layers together (including the fern, daisy, tree and apples). Name the new group “Vegetation” and change the blending mode to Normal. Inside the “Vegetation” group create a Color Balance Adjustment layer and use the settings shown below.
Step 60
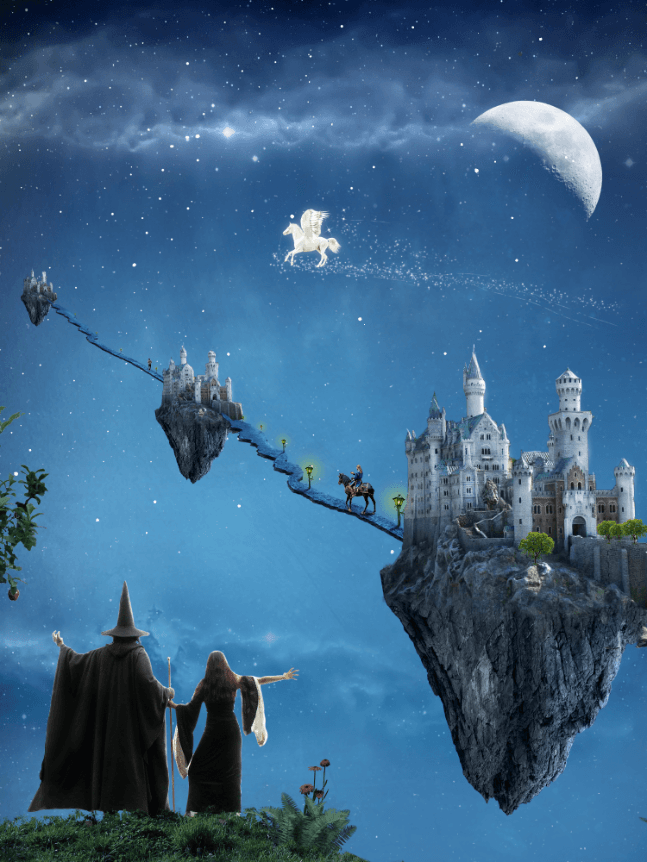
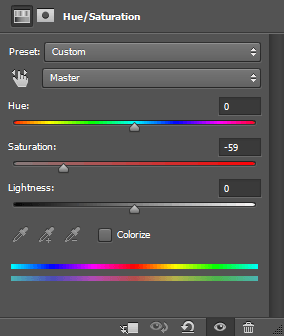
Create a Hue/Saturation Adjustment layer inside the “Vegetation” group and drag the saturation slider to the left in order to desaturate the vegetation a bit.
Step 61
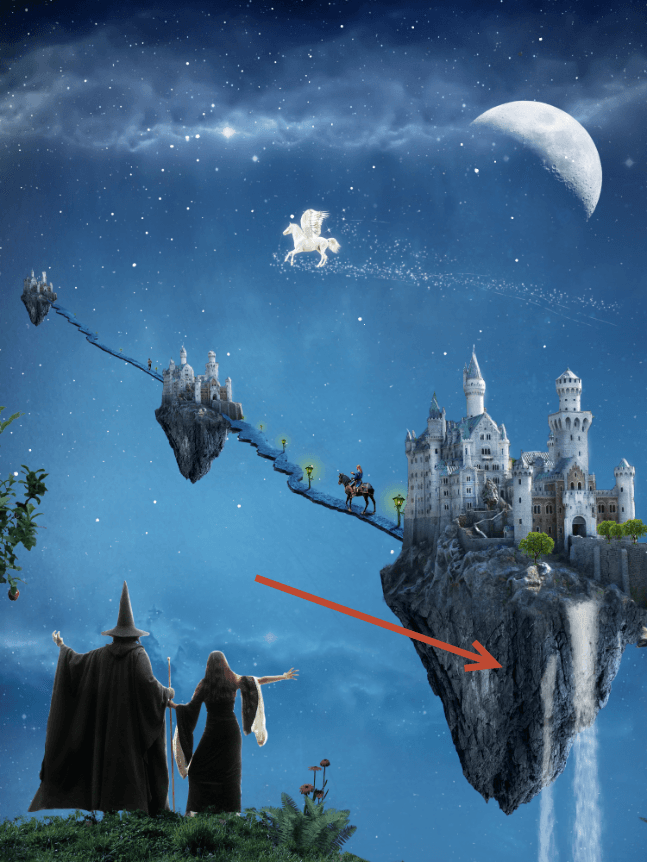
A fantasy scene wouldn’t be complete without some waterfalls. Import the waterfall brushes and create a new layer. Choose a waterfall you like and with white as a foreground color create a waterfall. Lower the opacity of the layer to 60-70%. Repeat the step again to create a secondary waterfall.
Step 62
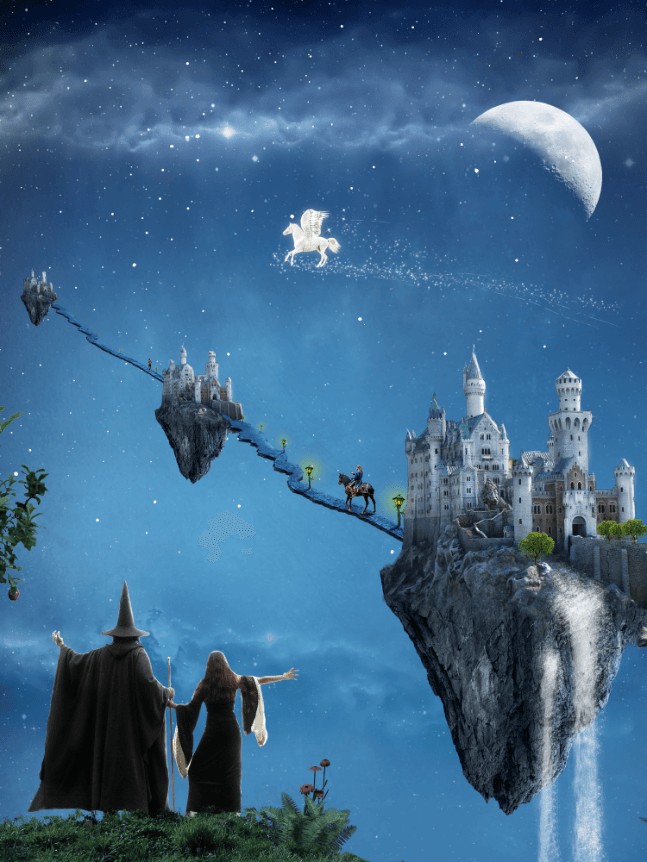
Create a new layer and choose a foam brush from the imported waterfall brushes. Create some foam around the waterfalls.
Step 63
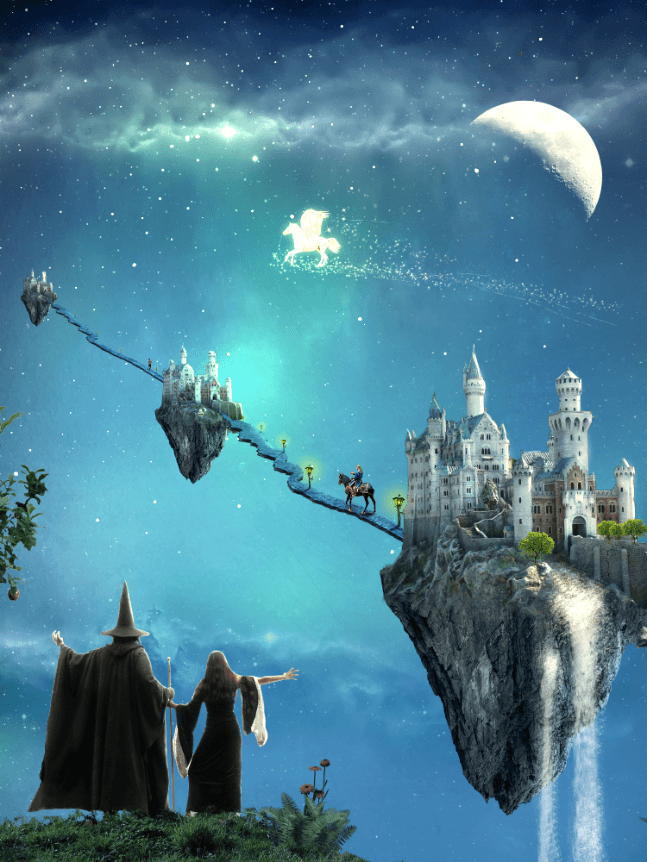
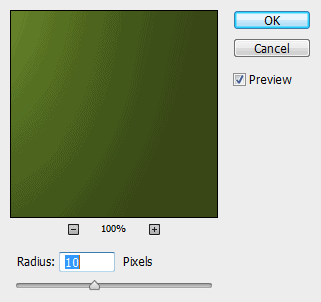
Let’s create a magic mood. Open the file “Nebula”. Select all (Ctrl + A), copy and paste into our scene. Apply some Gaussian Blur (10-15px) and change the blending mode to Color Dodge. Lower the Fill to 75%.
Step 64
Go to the “Nebula” file again, select all, copy and paste into our scene. Change the blending mode to Color Dodge and add a layer mask to the nebula layer. In the layer mask paint with black the indicated areas.
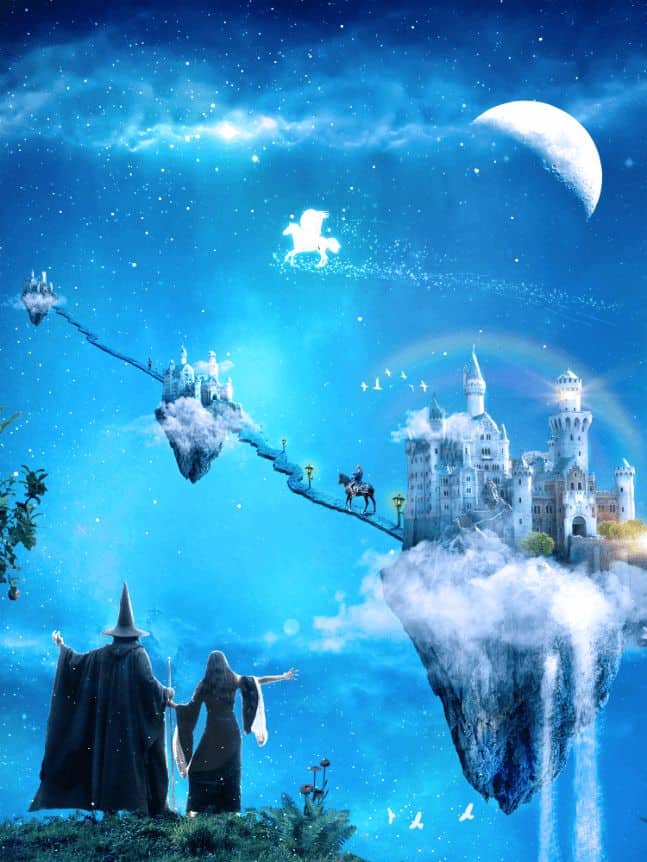


11 comments on “A Wizard and His Pupil - Create a Fairy Tale Manipulation in 75 Steps”
Interesting
?
nice photo editing tutorial
Bro i wanna talking to you plez send ur mobile no i u gave my no it s reason the reason is i love ur tutorial and i learning a awesome photoshop skills so u help me
I tried your tutorial and the result is fascinating. Thank you so much for sharing your work with us!!!
in step 19, when adding a new curve layer, this affect the entire image, not just the road, what am i doing wrong?
Step 7 doesn't work = (. It just turns the floating island into the exact color that you copy rather than actually blending the color with the island.
Did you change the blending ode to color?
Awesome resources.Huge collection.Great job.Very useful post.
Tutorial looks great but i am unable to fetch its resources.
that is not their problem