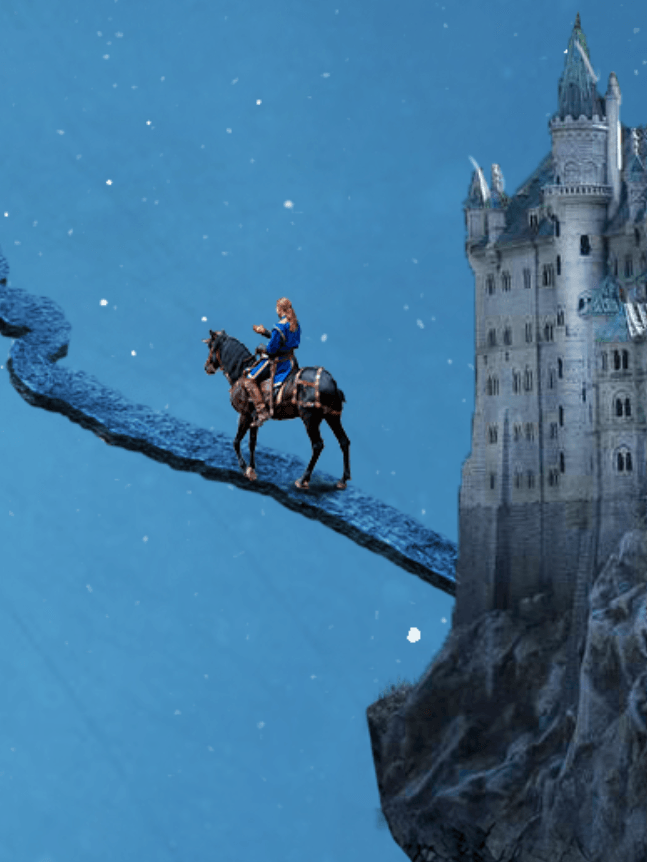
Step 36
Open file “Wall Lamp” and select the lamp. Copy and paste the lamp into our scene. Convert it to a smart object. Resize and position the lamp as shown below.
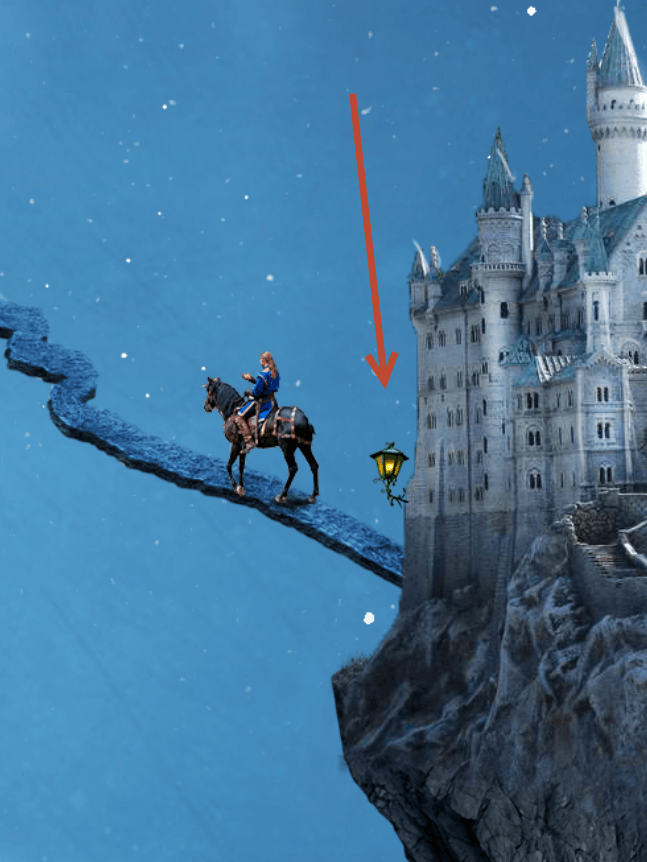
Step 37
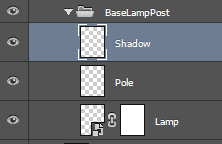
Create a new layer. Sample a green color (#103d2d)from the lamppost and with the chalk brush paint something resembling a pole coming down from the lamp.
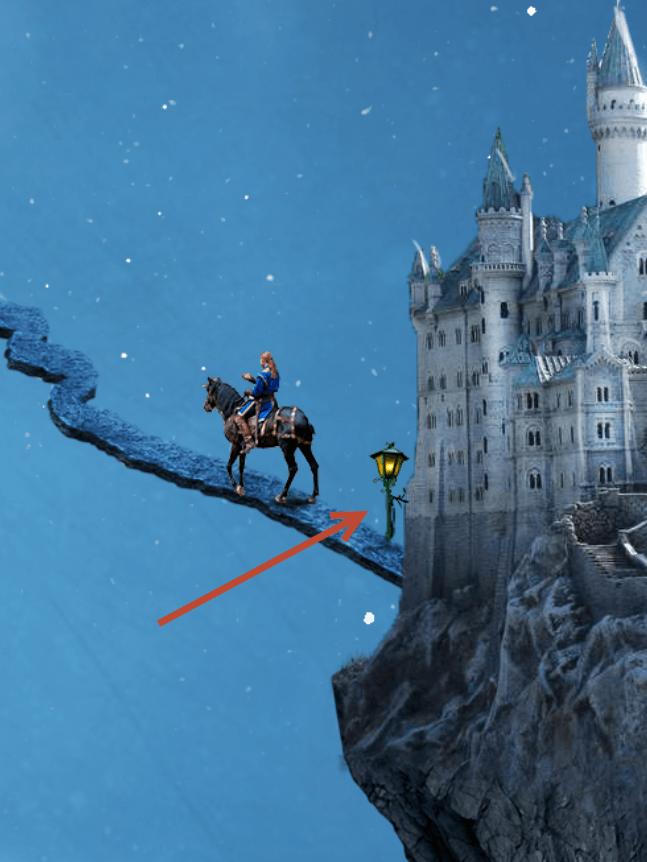
Step 38
Create yet another new layer and with a round soft black brush paint a shadow coming down from the lamp post. Change the blending mode of the shadow to Multiply. Finally, group all the lamp layers together and name the group “Base Lamp Post”.
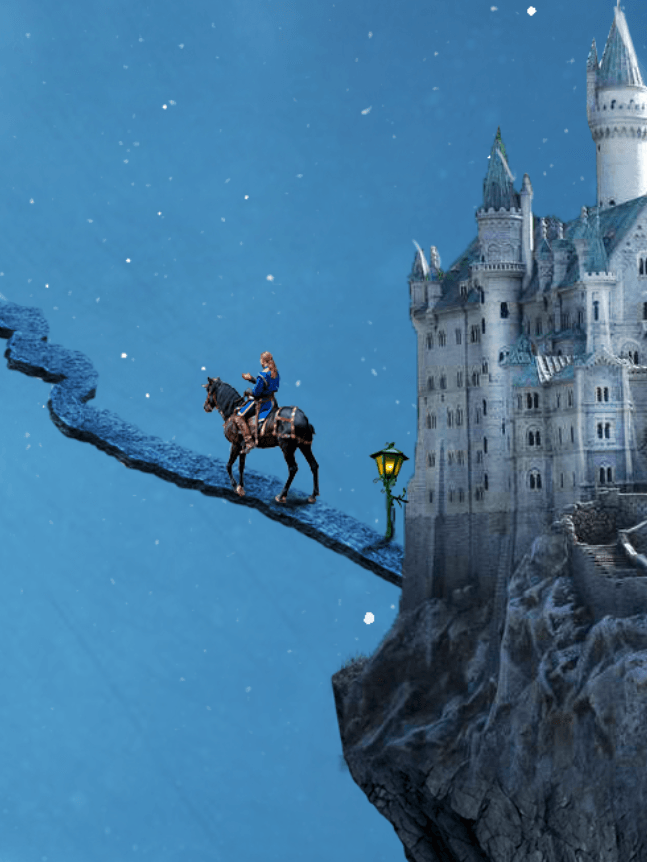
Step 39
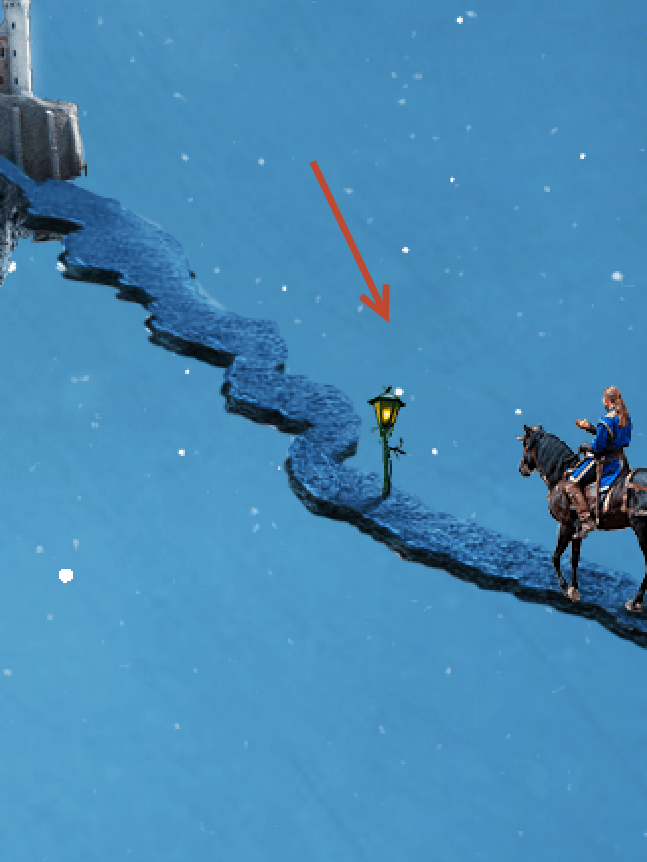
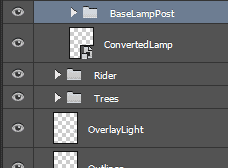
Duplicate the “Base Lamp Post” group and convert it to a smart object (right click the layer and choose Convert to Smart Object from the drop down menu). Name the new layer “Converted Lamp”. Resize and position it as shown below.
We do this because this graphic element is very small and not prone to change. Also having too much smart objects will increase the size of our document and by converting a group to a smart object we reduce the layer clutter.
Step 40
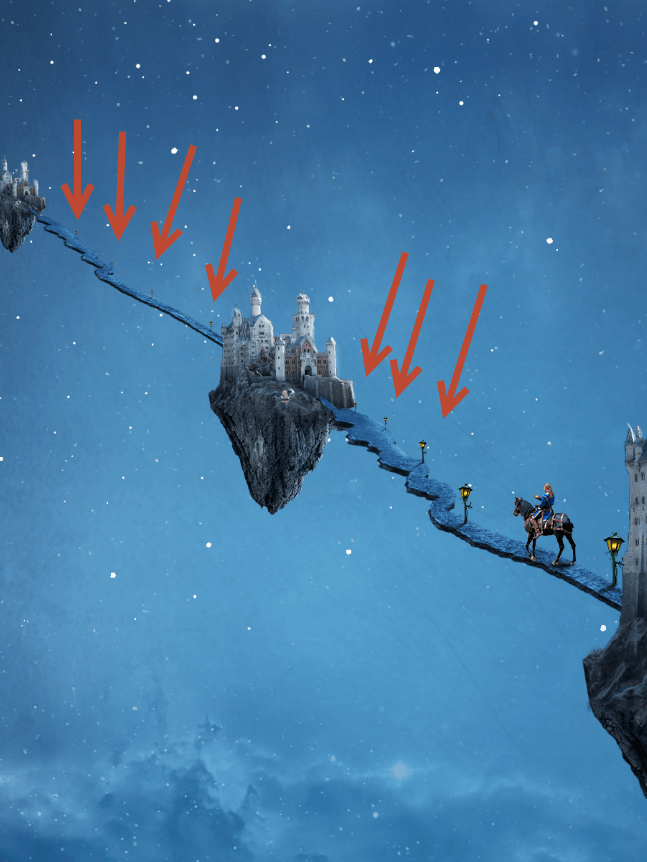
Make some more duplicates of the “Converted Lamp” layer. Resize them and place them along the road as shown below. The further a lamp it is from us the smaller it should be to create the illusion of perspective.
Step 41
Create a new layer and change the blending mode to Soft Light. Choose a yellow color (#ffee32) and with a round soft brush at 20% Opacity paint some light around the lamps. If the effect is too strong lower the Opacity. Name this layer “Lamp Light”. Group all the lamp related layers (including the light) and name the group “Lamp Posts”.
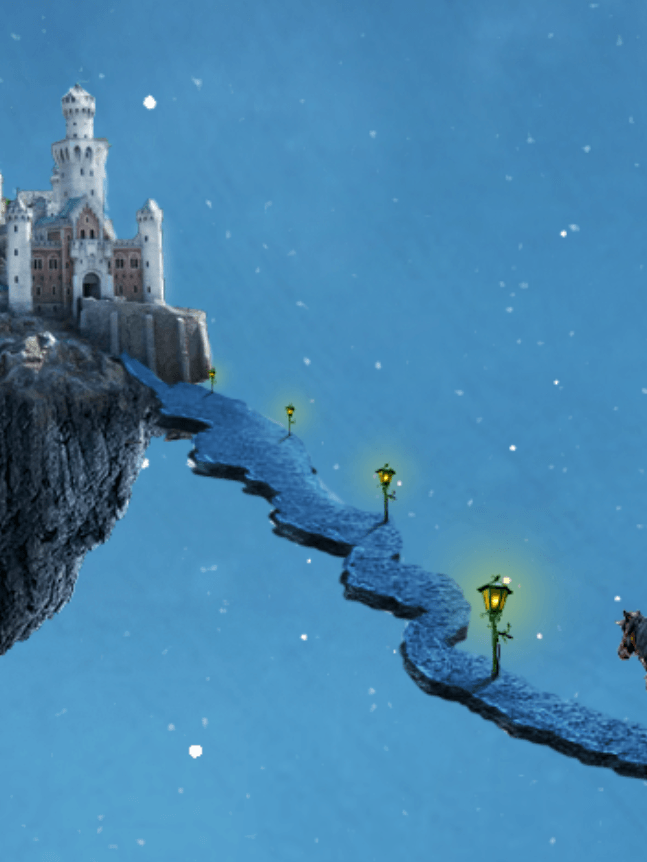
Step 42
Open the file “Walking” and make a selection of the walking man. Copy and paste it into our image. Convert it to smart object. Resize and position the layer as shown below.
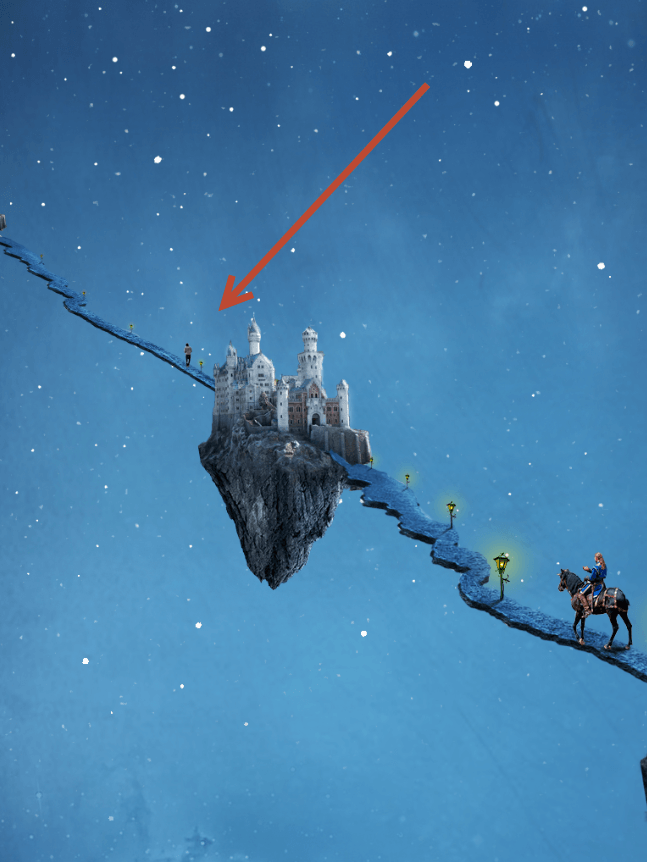
Step 43
Phew. That was some work but we also have some pleasing results. Group all the layers except the Background and the Moon layer and name the group Castles. Press Ctrl + 0 to bring all the scene into view and enjoy your work.
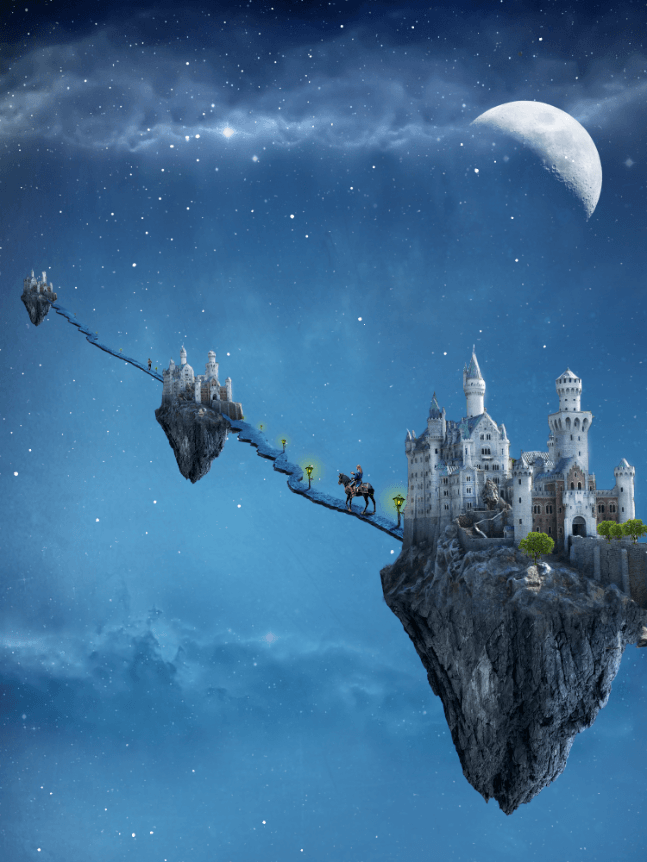
Step 44
Now let’s make a horse fly. Open the file “Horse” and make a selection of the horse. Copy and paste it into our scene. Convert it to a smart object. Resize and position the horse as shown below.
11 responses to “A Wizard and His Pupil – Create a Fairy Tale Manipulation in 75 Steps”
-
Interesting
-
?
-
nice photo editing tutorial
-
Bro i wanna talking to you plez send ur mobile no i u gave my no it s reason the reason is i love ur tutorial and i learning a awesome photoshop skills so u help me
-
I tried your tutorial and the result is fascinating. Thank you so much for sharing your work with us!!!
-
in step 19, when adding a new curve layer, this affect the entire image, not just the road, what am i doing wrong?
-
Step 7 doesn’t work = (. It just turns the floating island into the exact color that you copy rather than actually blending the color with the island.
-
Did you change the blending ode to color?
-
-
Awesome resources.Huge collection.Great job.Very useful post.
-
Tutorial looks great but i am unable to fetch its resources.
-
that is not their problem
-


Leave a Reply