Turn any photo into a dot grid artwork with these Photoshop actions. You'll get great results with dots that change size. They get larger in brighter areas and smaller in darker areas. Free download available.
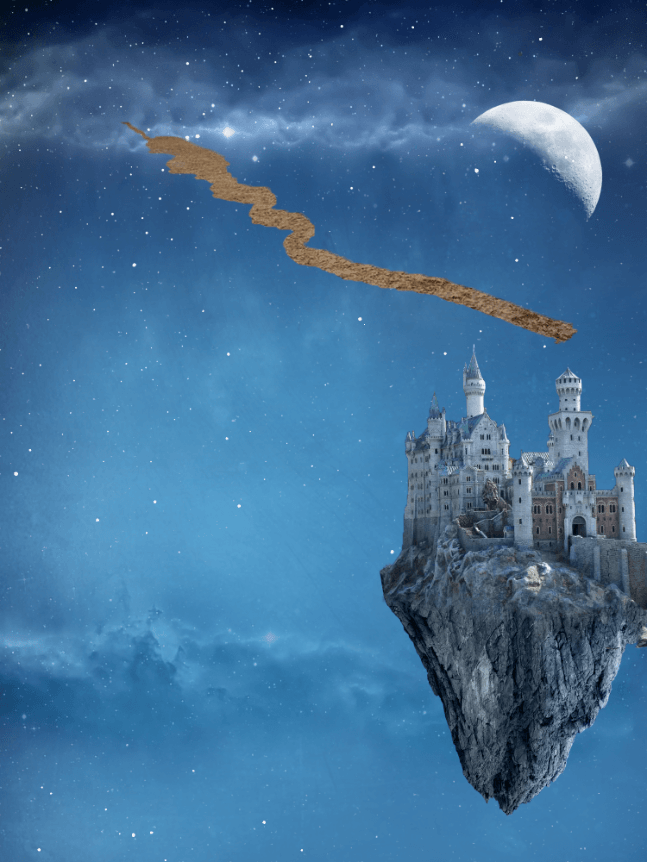
Step 14
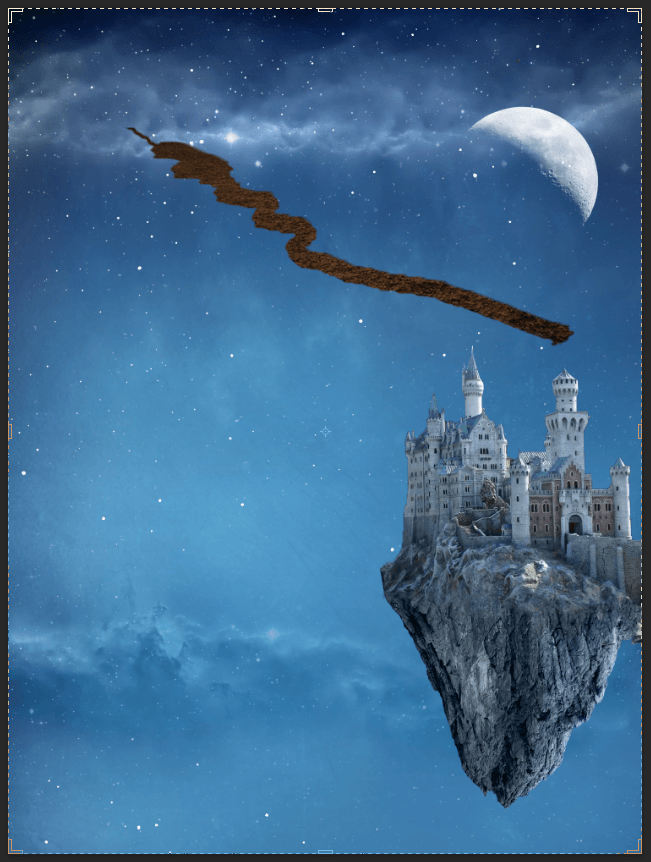
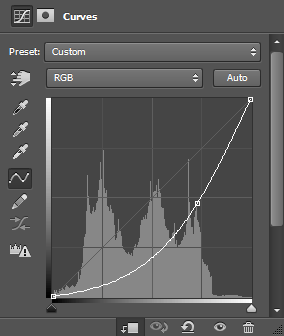
Create a new Curve adjustment layer and clip it to the Base Dirt layer. Drag the curve down to darken.
Step 15
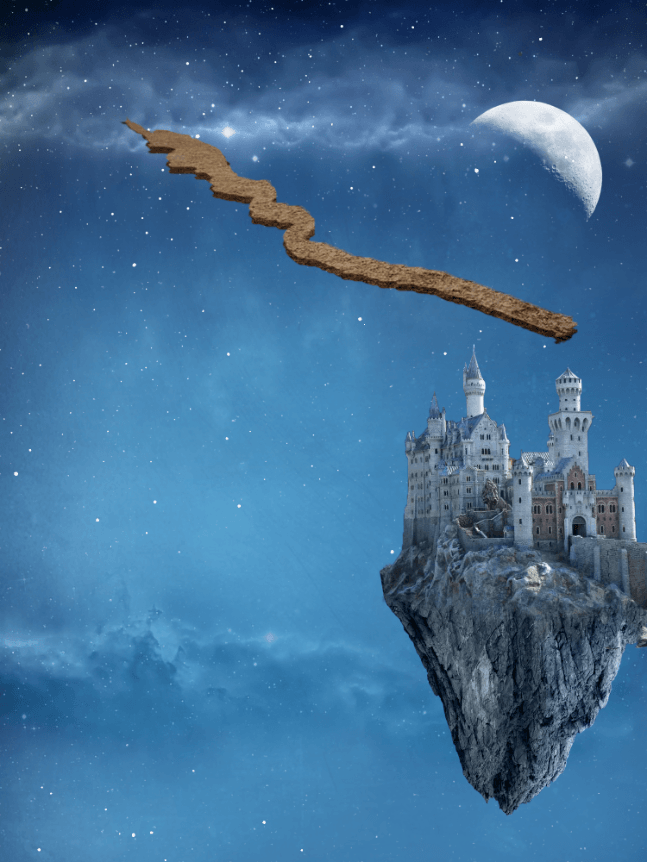
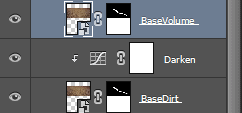
Duplicate the “Base Dirt” layer (Layer > Duplicate Layer) and rename it Base Volume. Drag it above the Base Dirt layer in the layer palate. Press Ctrl + T to Free transform and position it as shown in the image below. With this little trick you have created a very convincing road which we will improve in the next steps.
Step 16
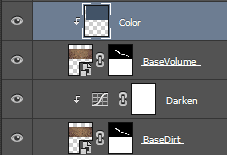
Create a new layer and fill it with a blue color sampled from the sky (#77889c). Clip it to the Base Volume layer.

Step 17
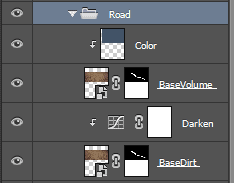
Select all the road related layers and group them (Ctrl + G). Name the group Road.
Step 18
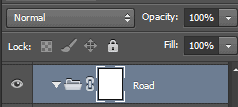
Now I am going to teach you another useful trick. We want to apply some Adjustments layer to the our road group but we don’t want them to affect other layers. How do we do that? Well, we could clip all the adjustments layer we create to the road layer but that will look messy and there is a better way. We simply change the blending mode of the group road from Pass Through to Normal. Now any adjustment layers inside the group will only affect layers inside the group. We could create a curves layer and drag the curve all the way up to brighten the scene – only the road will be affected. Alright, let’s change the blending mode to Normal.
Step 19
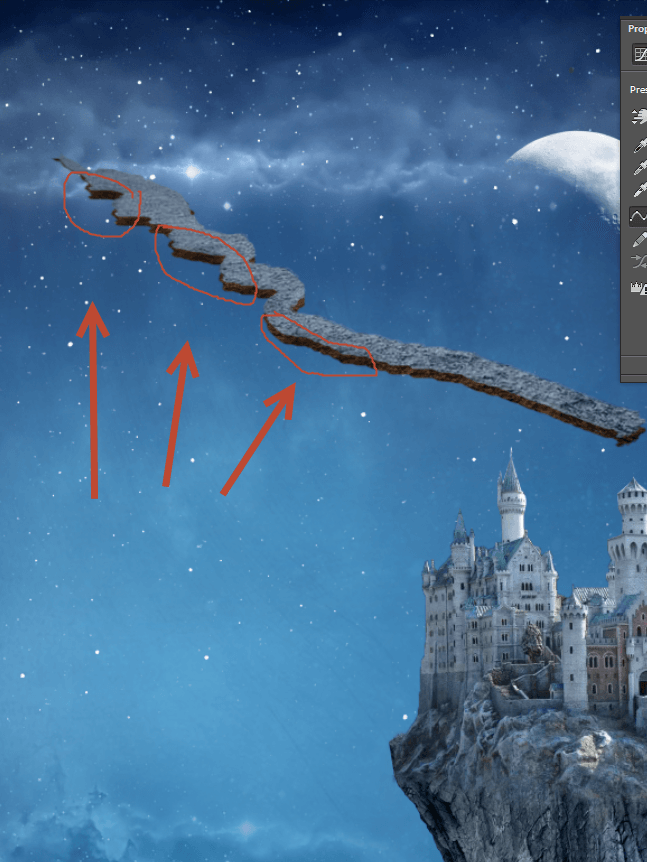
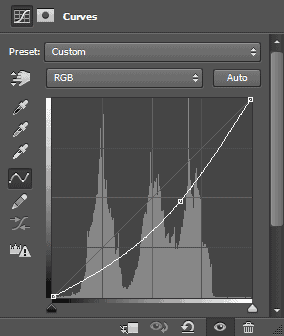
Create a new Curves Adjustment layer and fill the layer mask with black. Drag the curve down to darken and in the layer mask paint with a white round soft brush over the indicated parts.
Step 20
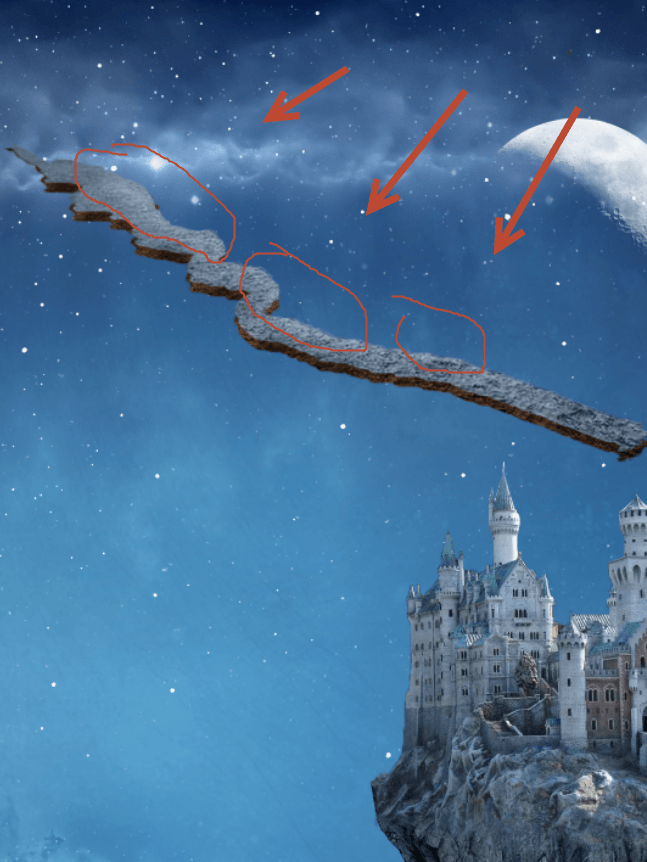
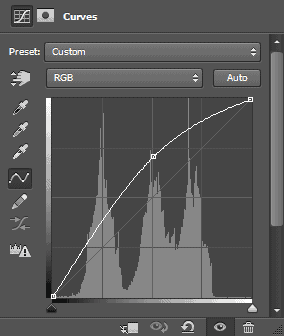
Create a new Curves Adjustment layer and fill the mask with black. Drag the curve up to lighten and in the layer mask paint with a white round soft brush over the indicated parts.
Step 21
Create a new Hue/Saturation Adjustment layer and drag the saturation slider to the left.
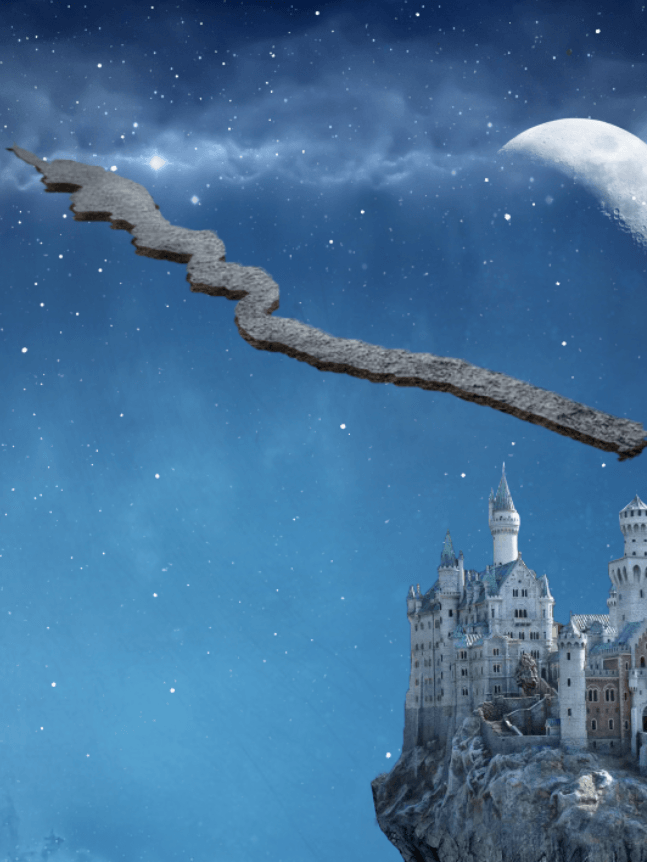
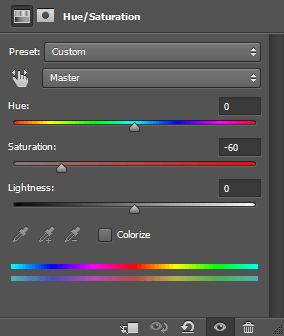
Step 22
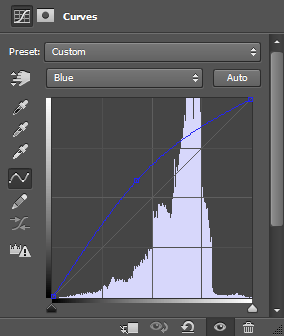
Create a Curves Adjustment layer and use the settings shown below in order to change the color of our road in order to match the sky.
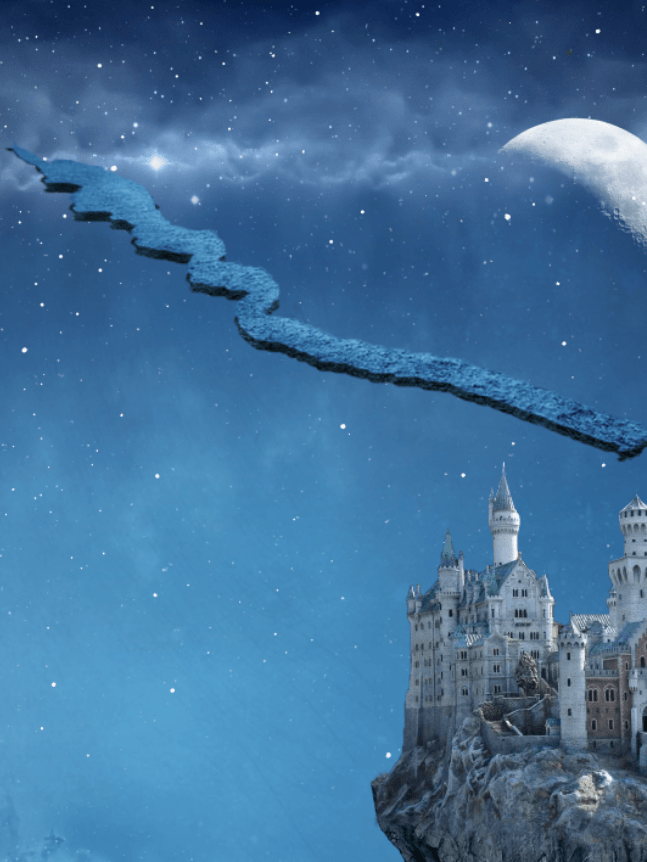
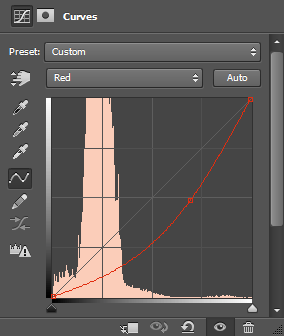
Step 23
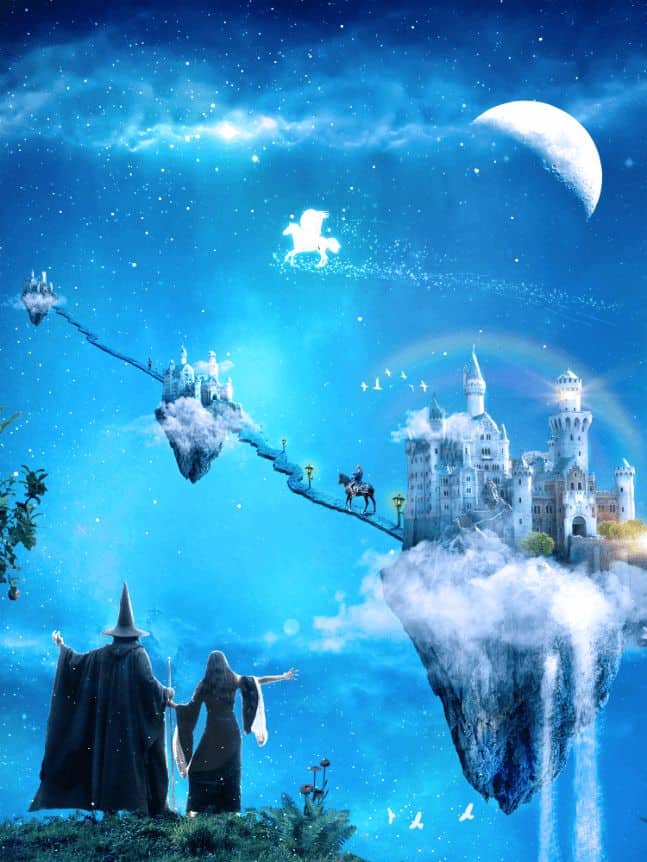
And that’s it, this will be our floating road. But since we will need to make multiple copies of it and we will not modify it further it would be wise to duplicate the group and convert it to smart object. Click on the group to select it, duplicate the group (Layer > Duplicate Group), right click the duplicated group and choose Convert To Smart Object. Rename this “ConvertedRoad”. Turn off the visibility of the original road group.


11 comments on “A Wizard and His Pupil - Create a Fairy Tale Manipulation in 75 Steps”
Interesting
?
nice photo editing tutorial
Bro i wanna talking to you plez send ur mobile no i u gave my no it s reason the reason is i love ur tutorial and i learning a awesome photoshop skills so u help me
I tried your tutorial and the result is fascinating. Thank you so much for sharing your work with us!!!
in step 19, when adding a new curve layer, this affect the entire image, not just the road, what am i doing wrong?
Step 7 doesn't work = (. It just turns the floating island into the exact color that you copy rather than actually blending the color with the island.
Did you change the blending ode to color?
Awesome resources.Huge collection.Great job.Very useful post.
Tutorial looks great but i am unable to fetch its resources.
that is not their problem