Luminar AI lets you turn your ideas into reality with powerful, intelligent AI. Download the photo editor and see how you can completely transform your photos in a few clicks.
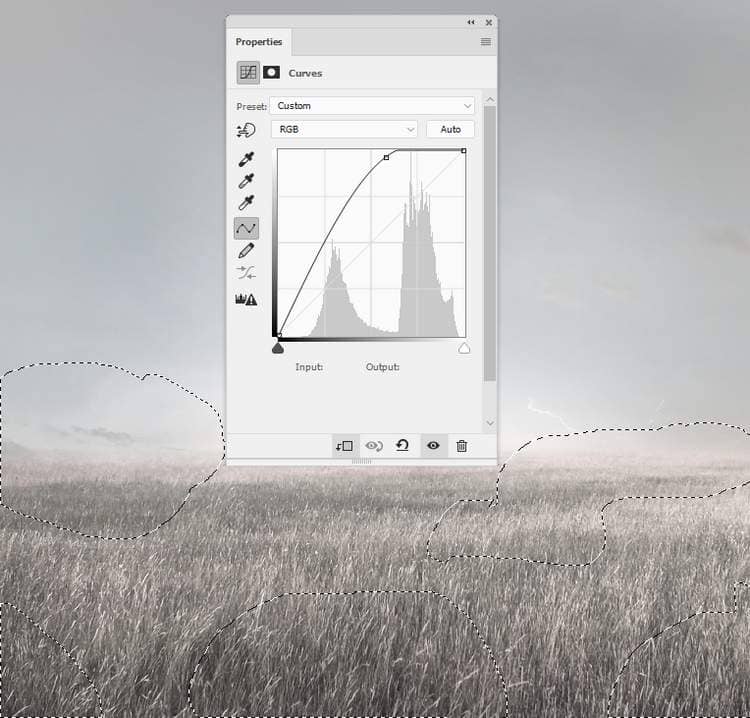
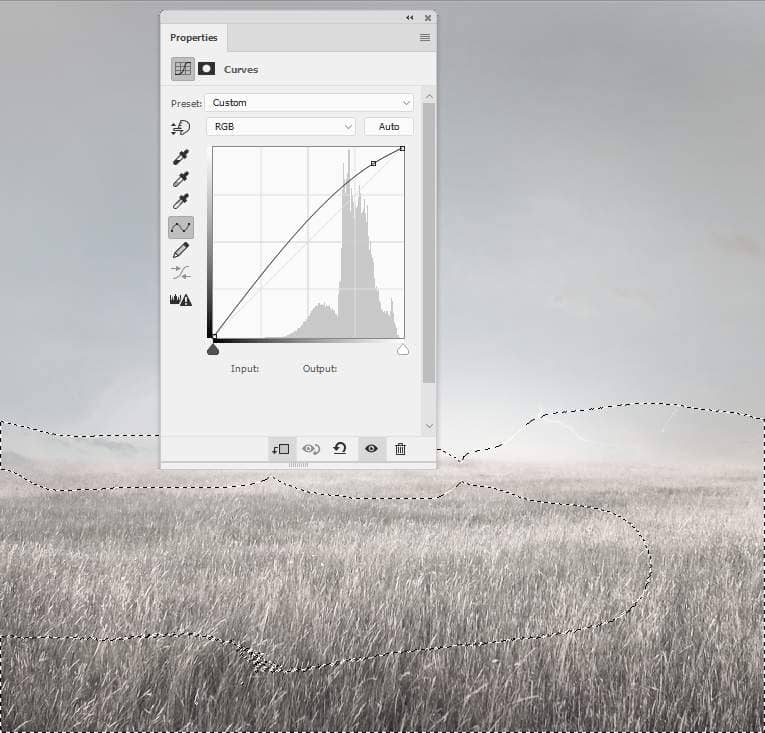
Create another Curves adjustment layer to brighten the midground. On the layer mask, use a soft black brush to paint on the background and foreground to reduce the light there.
Step 8
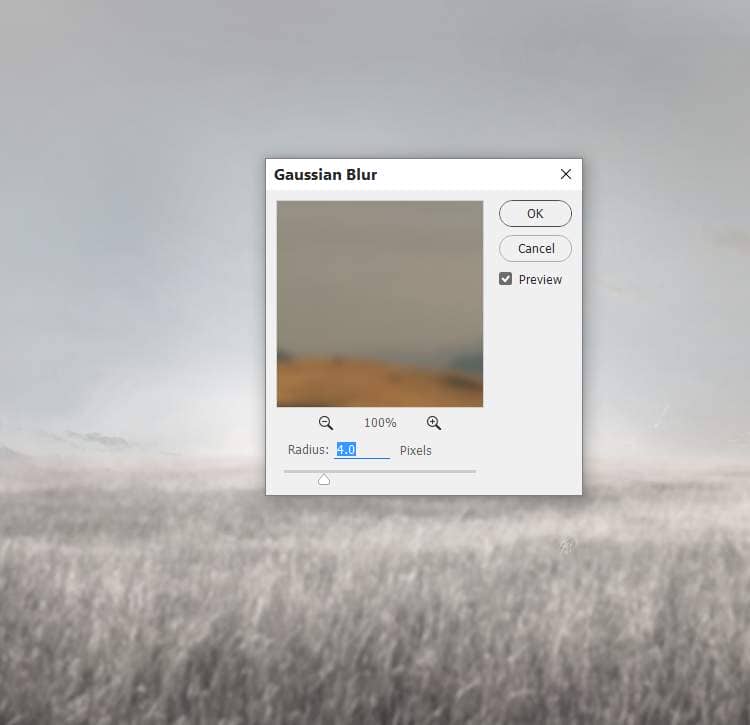
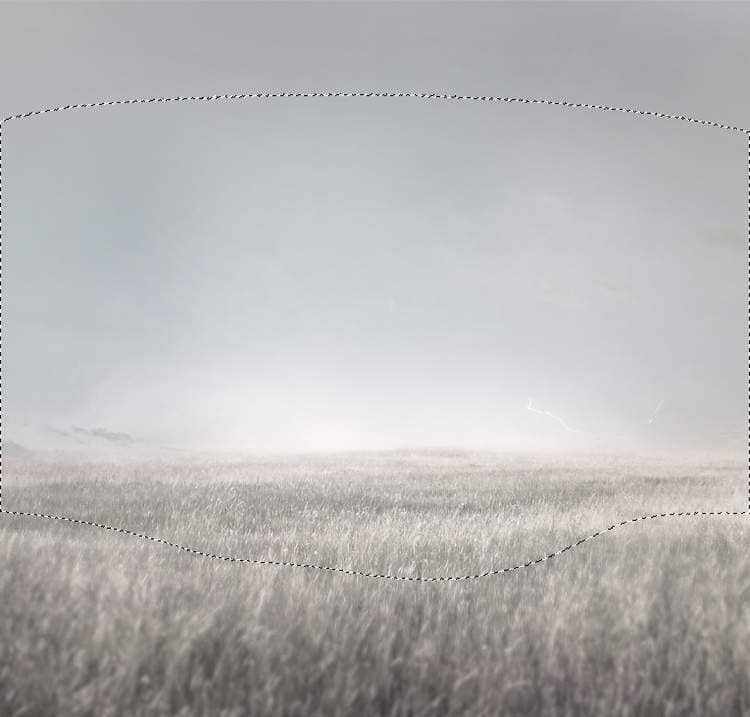
On the field layer, go to Filter > Blur > Gaussian Blur and set the radius to 4 px. On the filter mask, use a soft black brush to erase the background and midground, leaving the blur effect visible on the foreground only. This step is to increase the depth of the scene.
Step 9
Cut out the man without his head from the background and add him to the middle of the ground. Add a mask to this layer and use a hard black brush to remove the shirt's neck and blend the legs into the grass blades.


Step 10
Isolate the ladder using the Magic Wand Tool (W) and place it above the man's head. Set this layer below the man's one.

Duplicate this layer several times and make them stacked up as the screenshot below shows:

Add a mask to each of the ladder layers and use a small soft black brush to blend the top of the lower ladders with the bottom of the upper ones.

Step 11
On each of the ladder layers (except the top one), make a new layer, change the mode to Overlay 100% and fill with 50% gray:
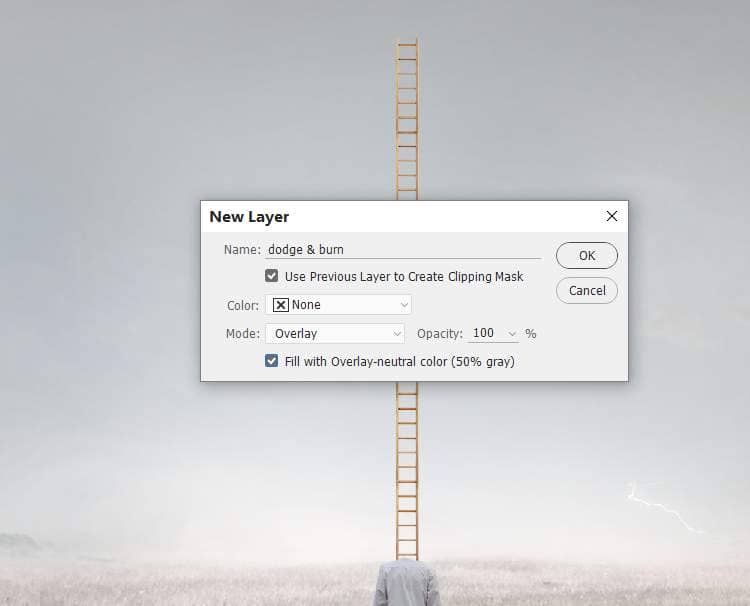
Select the Dodge and Burn Tool (O) with Midtones Range, Exposure about 10-15% to lighten the bold details and strengthen the light details. You can see how I did it with Normal mode and the result with Overlay mode:

Step 12
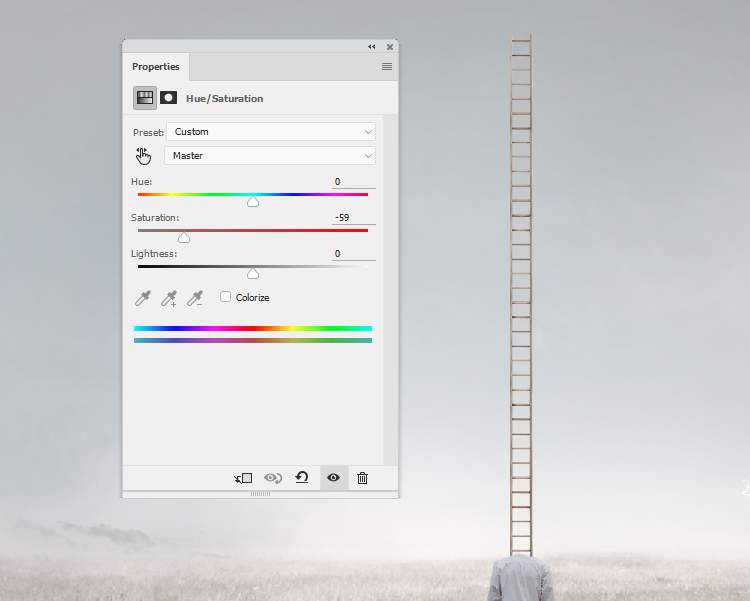
Select all of the ladder layers and hit Ctrl+G to make a group for them. Change the group's mode to Normal 100% and add a Hue/Saturation adjustment layer to desaturate the ladder. Reduce the Saturation values to -59:
Step 13
Open the tree image and use the Lasso Tool (L) to take the leaves part only and place it on the top of the ladder.

Step 14
Create a Hue/Saturation adjustment layer and bring the Saturation values down to -86:

Step 15
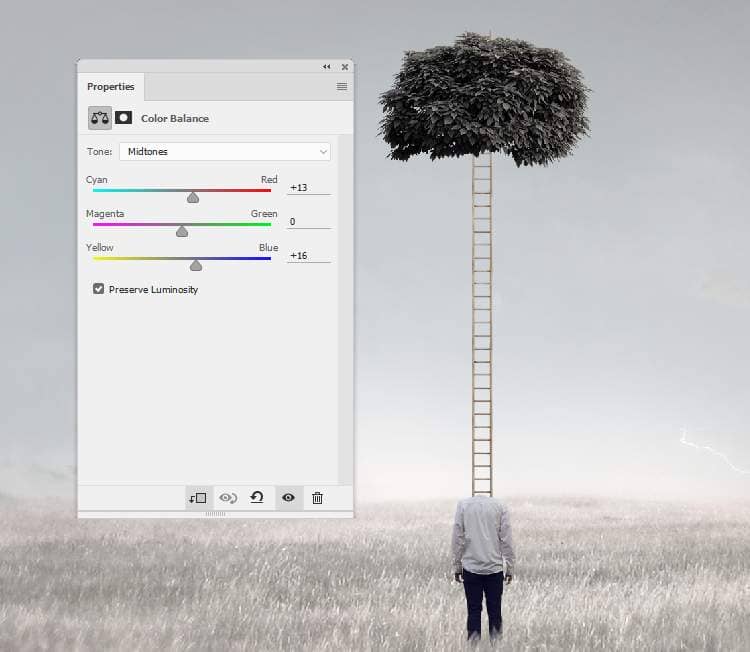
Make a Color Balance adjustment layer to change the tree's color a bit. Alter the Midtones settings:
Step 16
Add a Curves adjustment layer to increase the light on the top of the tree and decrease its contrast. On this layer mask, use a soft black brush to reduce the light on the right of the tree.


3 comments on “How to Create a Surreal Artwork of Head with Photoshop”
yessssssss
Fabulous and thanks for sharing.
Thank you, ma'm!!