Make your artwork look like they're from an alternate universe. These Cyberpunk presets work with Photoshop (via the Camera Raw filter) and Lightroom. Download all 788 presets for 90% off.
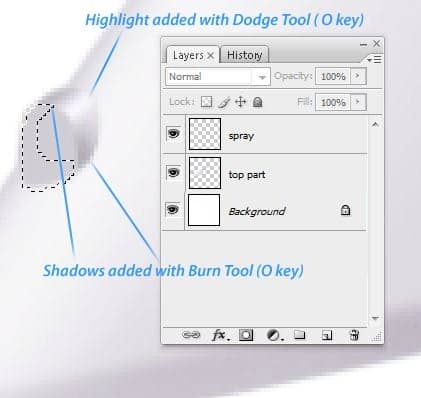
Repeat the step 6A into the selection from the step 6B (6C)
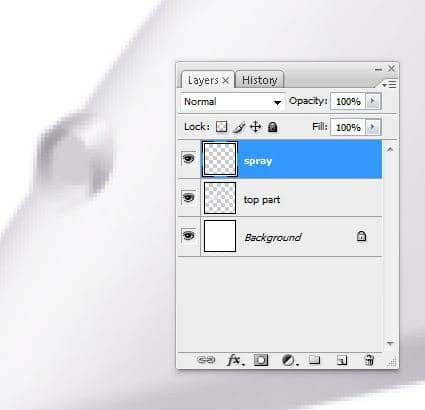
Step 7
Make next selection using Lasso Tool (L) (7A)
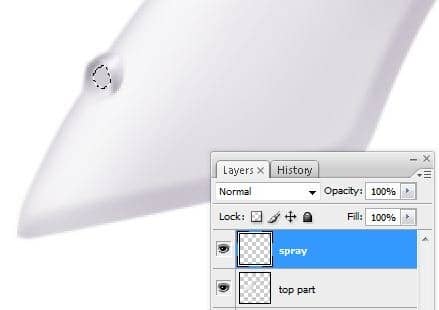
Fill the selection created at the step 7A with a lighten gray , I used #ebebed (7B)
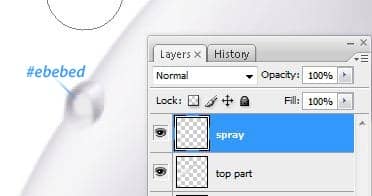
Step 8 – Strokes
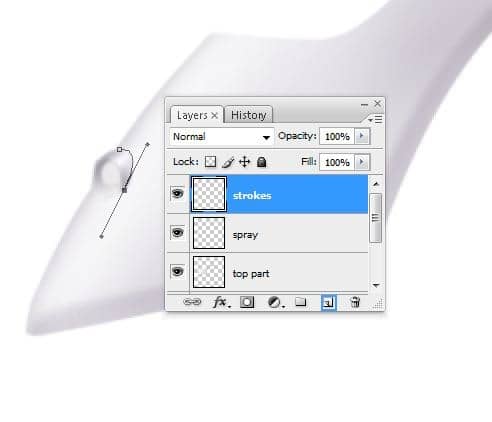
Make a new layer(Ctrl+Shift+N or you can go to Layer->New->Layer or you can press the indicated button in the picture below ). Rename the layer to "strokes". You can rename a layer by pressing right click on it , then selecting "Layer properties" option and in the "Name" box you can enter what name you prefer then , with Pen Tool (P) make a path like in the next picture (8A)
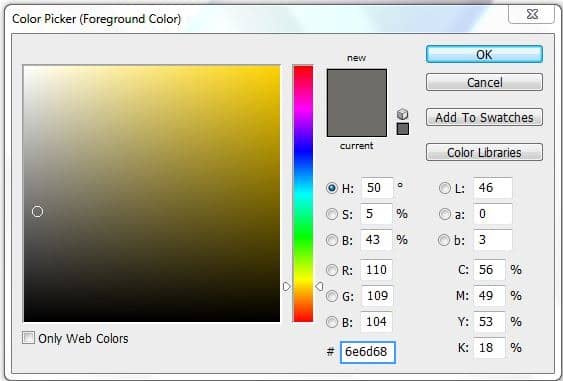
Select a darken gray , I selected #6e6d68 (8B)
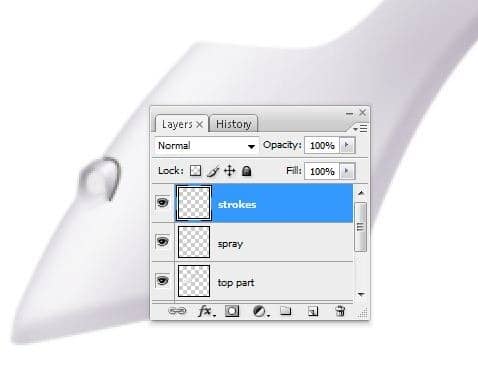
Press right click on it and choose Stroke Path option , add a 2px grey stroke like in the picture below (8C)
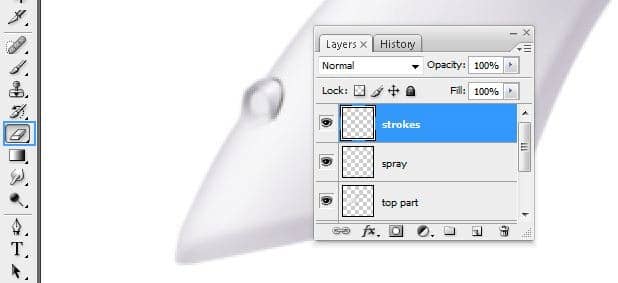
Erase a little bit using Eraser Tool (E) like in the next picture (8D)
Step 9 – More Strokes
Make a new layer(Ctrl+Shift+N or you can go to Layer->New->Layer or you can press the indicated button in the picture below ). Rename the layer to "stroke2". You can rename a layer by pressing right click on it , then selecting "Layer properties" option and in the "Name" box you can enter what name you prefer then with Pen Tool(P) make next path (9A)
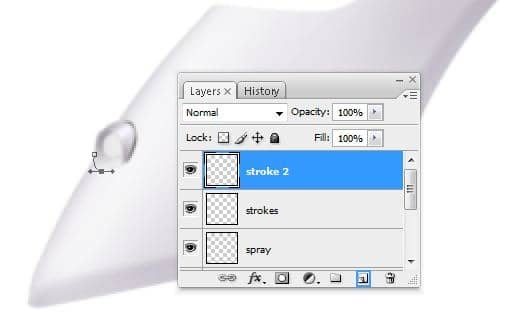
Press right click on it -> Stroke path (Activate the "simulate pressure " option ) (9B)
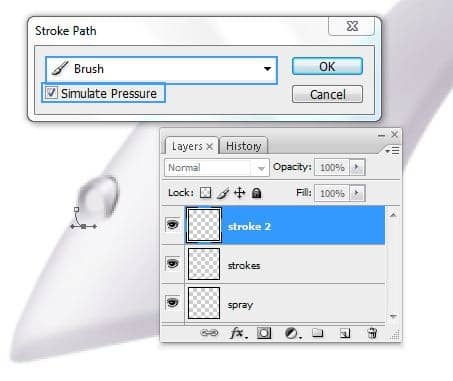
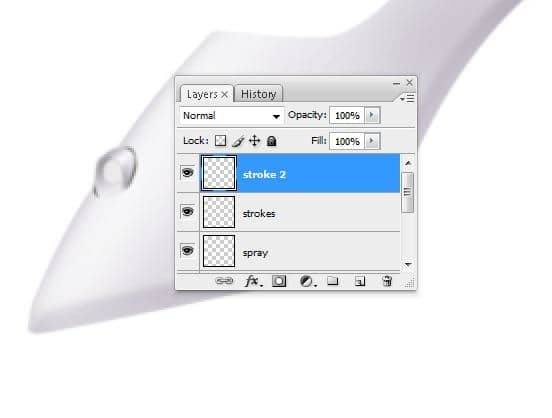
You should obtain something like this (9C)
Step 10 – Highlights using stroke option
Into a new layer called "stroke3" add more strokes on the "spray" layer (10A)
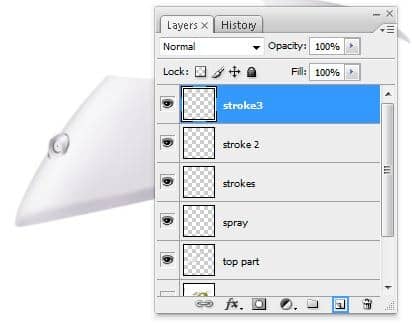
Make a new layer(Ctrl+Shift+N or you can go to Layer->New->Layer or you can press the indicated button in the picture below ). Rename the layer to "stroke4". You can rename a layer by pressing right click on it , then selecting "Layer properties" option and in the "Name" box you can enter what name you prefer then with Pen Tool(P) make next path (10B)
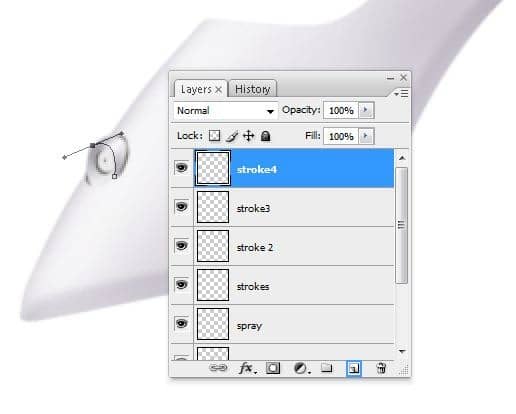
Add a 2 pixels white stroke (right click ->stroke path) like in the picture below (10C)
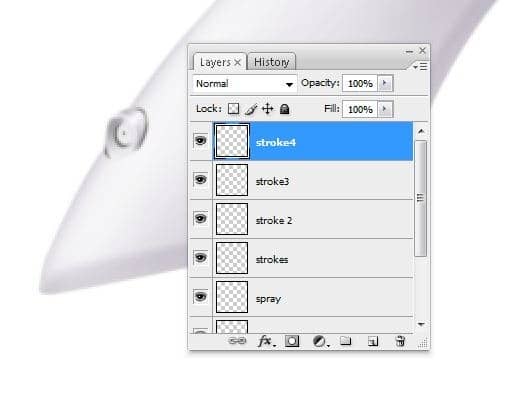
Step 11 – 3d hole effect
Use Lasso Tool (L) to make a selection like in the picture below (11A)
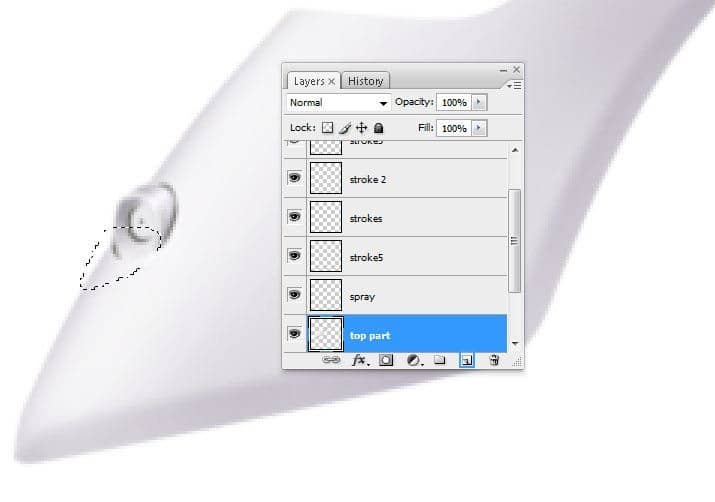
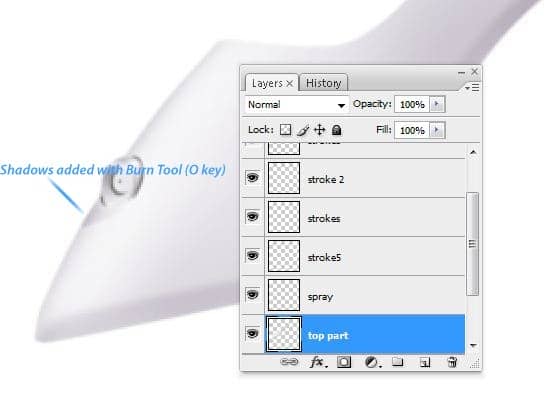
From the Tools menu select Burn Tool (O) and add some shadows in the selection created at the step 11A (11B)
Step 12– Highlight
Make a new layer(Ctrl+Shift+N or you can go to Layer->New->Layer or you can press the indicated button in the picture below ). Rename the layer to "highlight". You can rename a layer by pressing right click on it , then selecting "Layer properties" option and in the "Name" box you can enter what name you prefer. From the Tools menu select Pen Tool (P key) and make and use it to make a path like in the picture below (12A)


One comment on “Draw a Realistic Steam Iron in Photoshop”
hohoho , I like this ,I want to join you