

Make skin look perfect in one-click with these AI-powered Photoshop actions.
Learn how to create a fantasy photo manipulation of a desperate angel in sorrow and bleak rainy scene with Photoshop. In this tutorial, you'll learn how to create your winged angel with ordinary stock images, do some retouch and enchantment on the angel with shadows and lighting, then complete it with rain and subtle rays of light. Throughout the tutorial, you'll learn techniques that will help you create better photo manipulations.
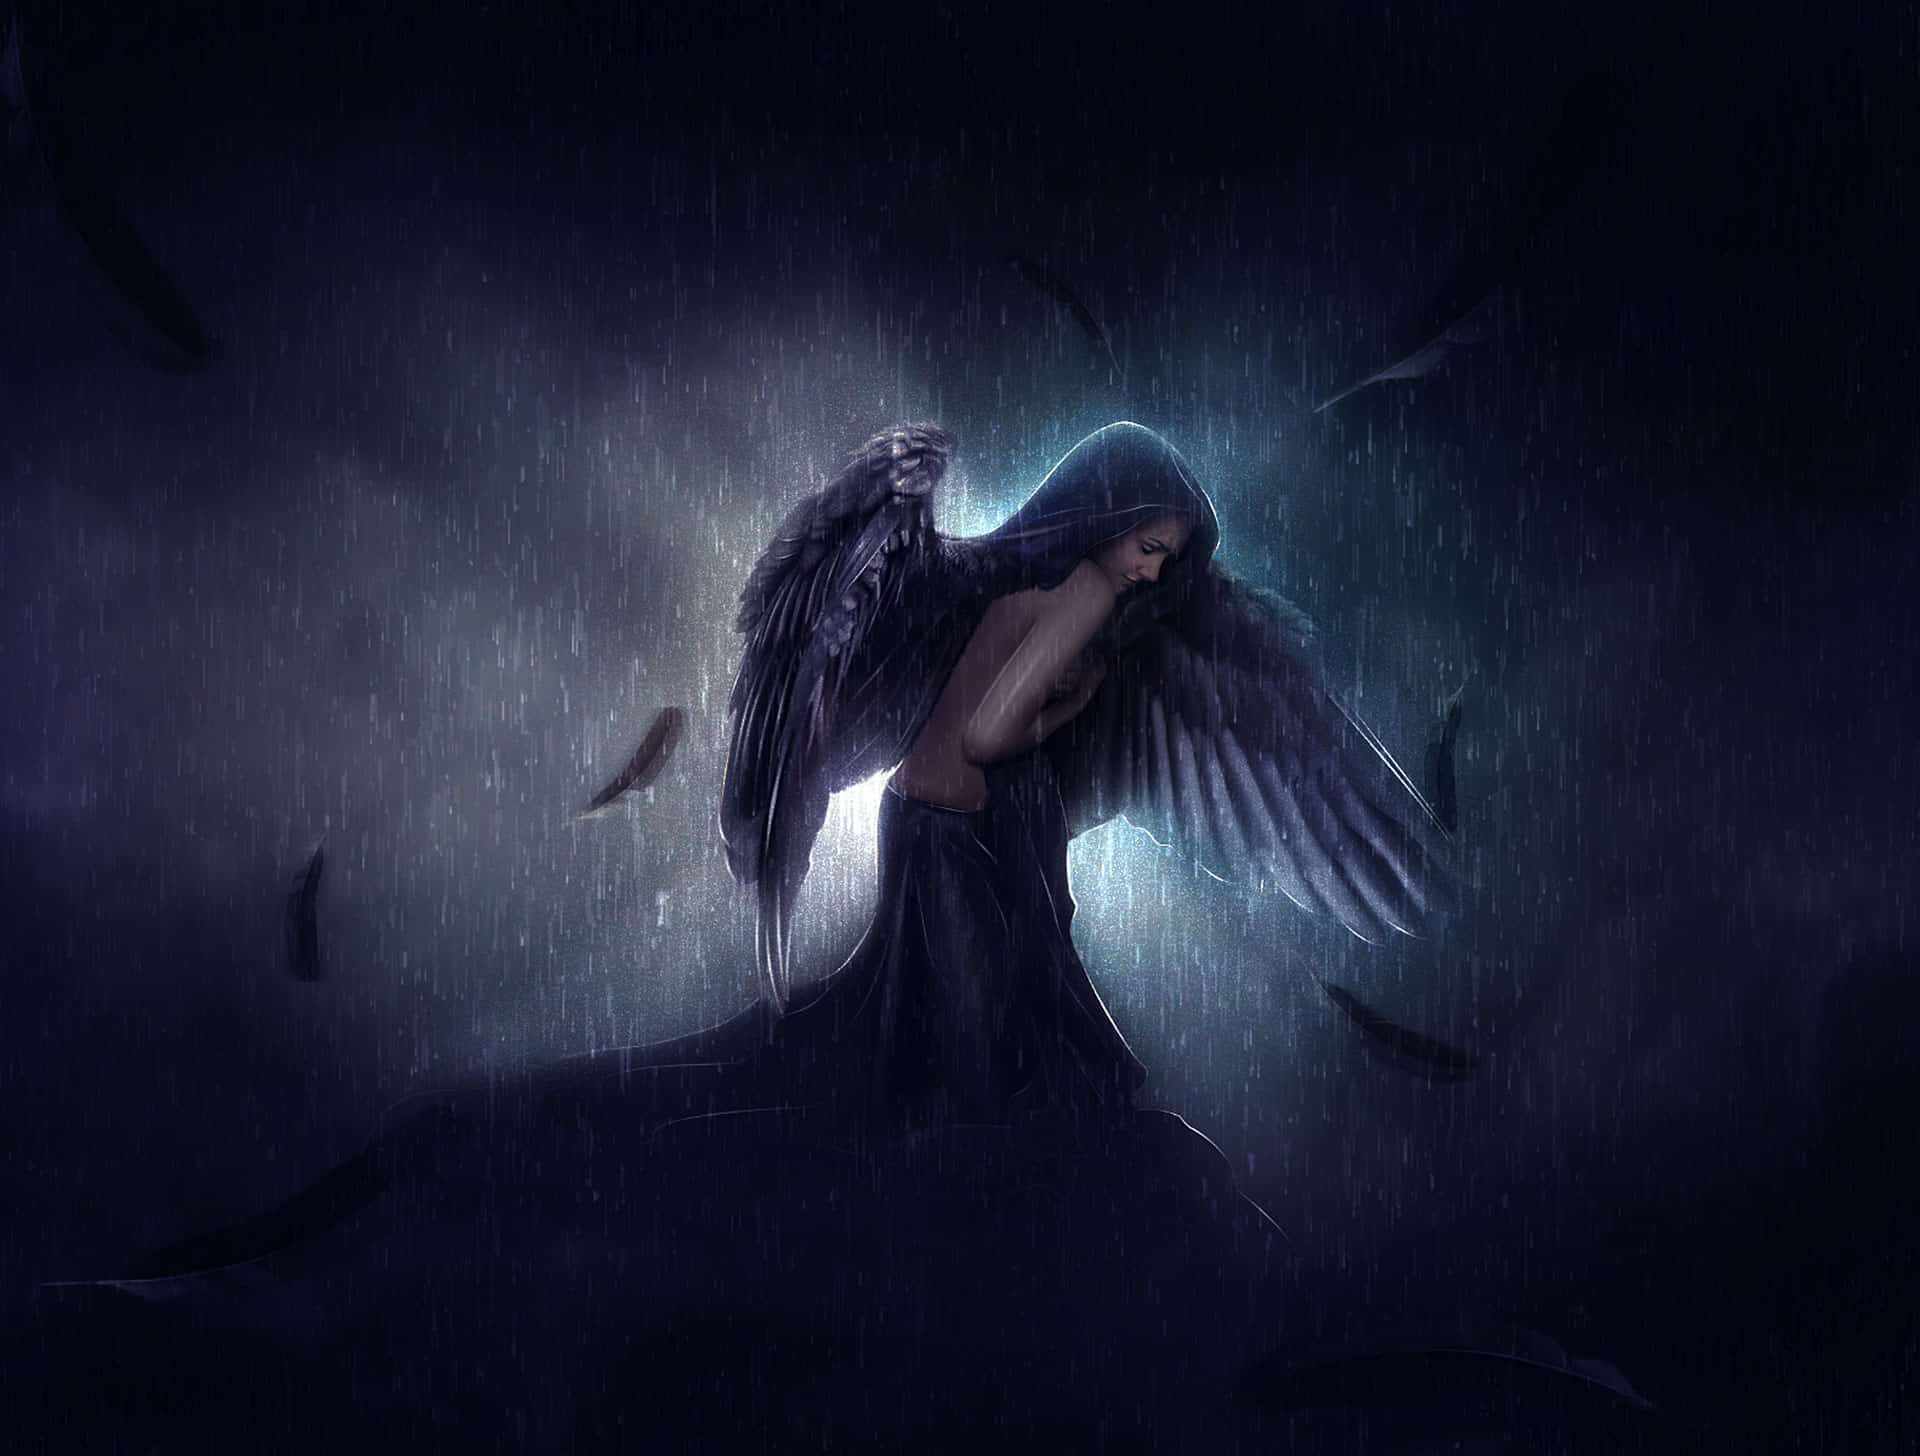
What you'll be creating
In this tutorial, we will create an emotional scene of a sad angel in a gloomy and cold atmospheric dreamscape with rain. We will use some essential techniques for doing photo manipulation. We will use masking, brush tool, some filter, color adjustments, and textures all through the steps in this tutorial. Use Adobe Photoshop CC to fully follow this tutorial. Some filters used in this tutorial will not be available in Photoshop CS. Don’t forget a glass of coffee and optionally a pack of cigarettes for your companion. Ready..?
Tutorial Resources
- Girl - Pixabay
- Black Wings Spread Out - chunga stock
- Dark Sky - knb stock
- Rain - elestrial
- Chicken feather jpg - raduluchian
Step 1
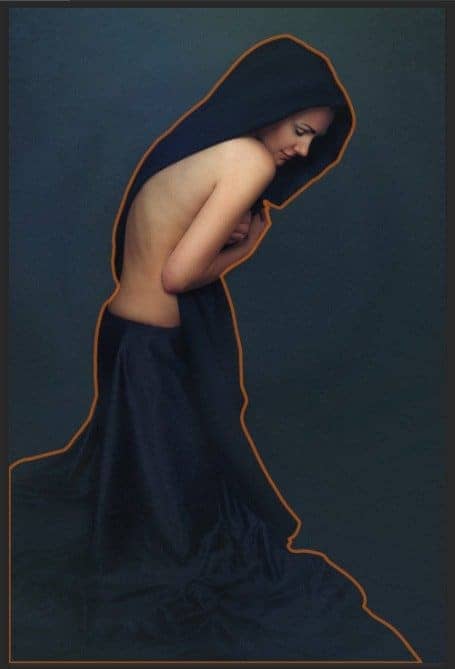
In the first several steps of this tutorial, we are going to create a figure of an angel. Start by opening the girl image in photoshop. We will cut out the girl. Take the pen tool (P). With the tool, trace the girl to create a path as indicated in the orange outline.
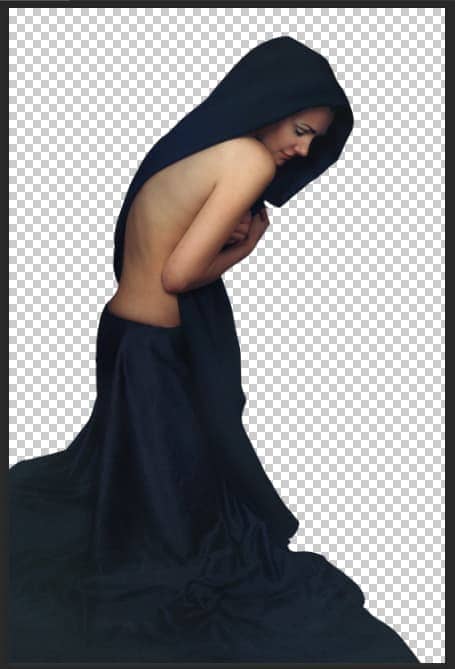
Cut out the girl from its background.
Step 2
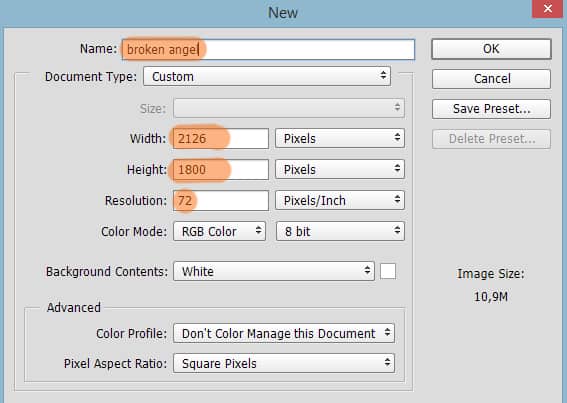
Create a new document (Ctrl+N). Name this new document, say, broken angel. In this document, we will create the figure of angel.
Next, add the girls to the document. Take the free transform tool (Ctrl+T). Scale its size to fit the size of the document properly.

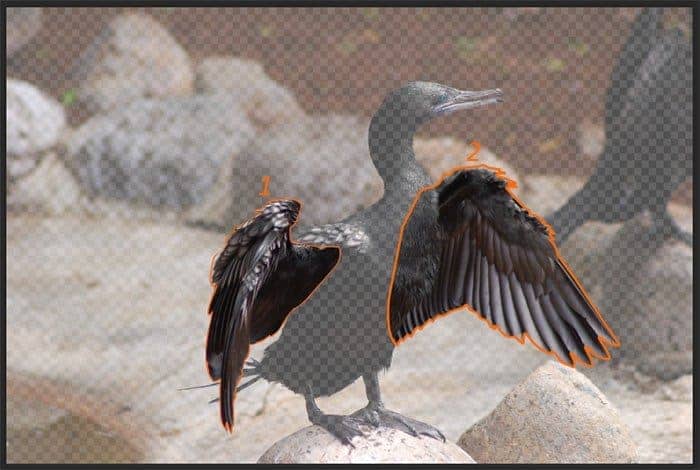
Step 3
Then open the bird image, we will use the bird’s wings for the angel. Take the pen tool (P) and cut out the wings of the bird.
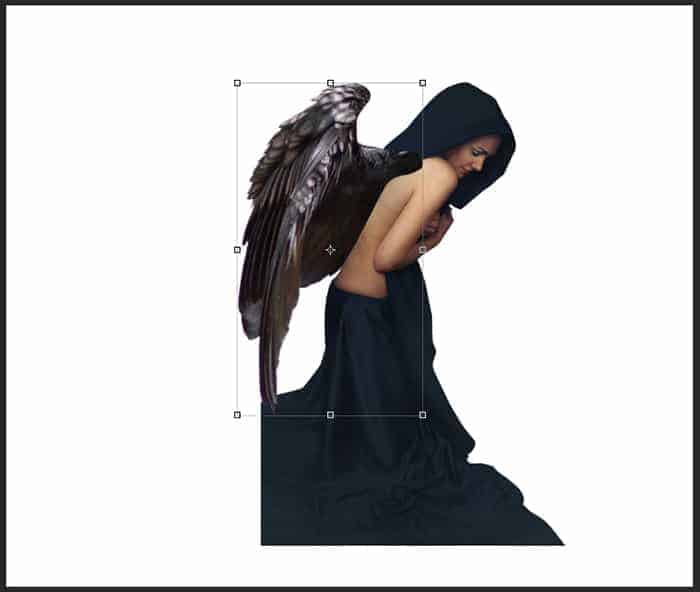
Add the first wing to the broken angel document. Place it above the angel layer. With the free transform tool (Ctrl+T), scale its size to the one needed and move (V) to the position where needed.
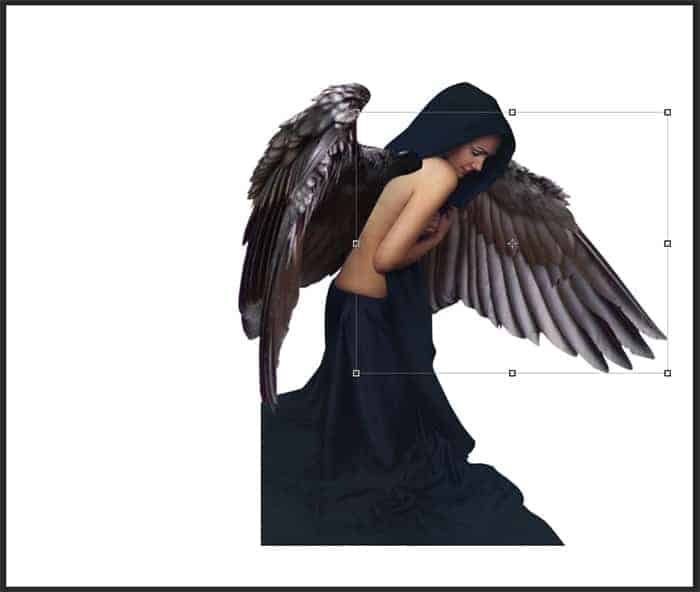
Finally, add the second wing. Place it below the angel layer.
Step 4
Now we will do some refinement on the edges of the wings. To do this, take a smudge tool on the tool panel. Choose a very soft round brush (0% hardness) set to about 4pxl size with strength set to about 70%.
16 comments on “Create An Emotional Photo Manipulation Of A Sad Angel In Photoshop”
I cant download the psd, link isnt working :(
Thanks for letting us know! PSD link has been fixed
This is amazing! Easy-to-follow steps and I created what seems like a masterpiece! Thank you.
I LOVE THIS! I am going to be giving this tutorial a try.
You have the link incorrect for the rain brush, its: http://elestrial.deviantart.com/art/Rain-35960575 -- Beautiful tutorial.
This is great! And for you to have provided steps showing how it's done....perfect. I'll give this a try, and once I can perfect it, I'll make one for my niece with her image. She's all into angels.
Wow, it amazes me that a person can see a final image and then create it basically from scratch on Photoshop. Nice work.
What am I doing wrong on Step 6. I cannot for the life of me do that step. I create a new layer, use the pen tool to create the shape, shift f5 to fil. Does wonderful, looks nice, but when I do the step to cut out the robe. Nightmare city. I can't get it done. What am I doing wrong???
awesome indeed
Brilliant Work Kindly re-uploaded PSD File its showing error. Thanks this work is really very helpful for me.
Thanks for letting us know! The PSD link has been fixed
thanks.
very good.thanks.
Very nice, enjoyed this guide.
bellissimo tutorial complimenti
Would it be ok to share your image on my photography facebook site if I credit you and link to your site?