Make skin look perfect in one-click with these AI-powered Photoshop actions.
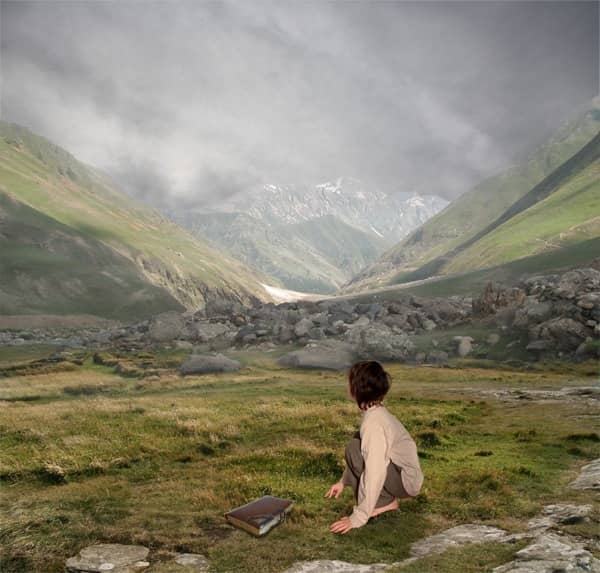
Step 4 - Adding Dragons
Open the pictures of dragons and drag them into your manipulation. Resize them by pressing Ctrl + T and place them as on the preview picture.
The dragon lower needs a little color adjustment because it´s too dark and much saturated. To make him lighter add a new adjustment layer above the layer with the dragon and set the Input Levels on 5; 1,86; 255. To lower the saturation add new adjustment layer Hue/Saturation and set the value Saturation on -40.
Create Clipping Masks from both ajustment layers.
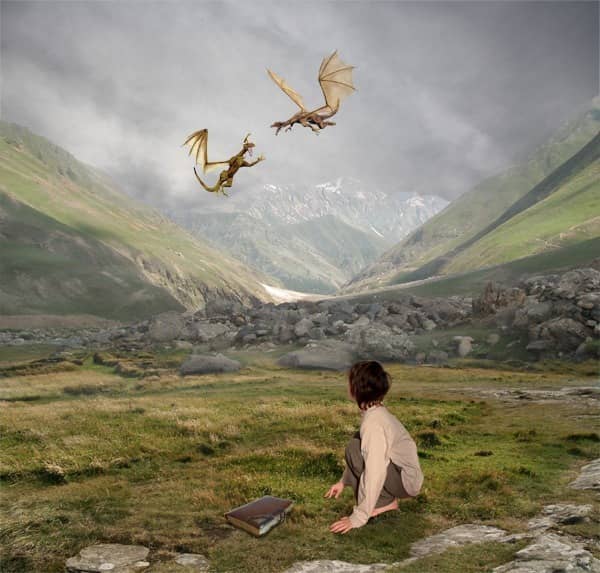
Step 5 - Darkening the Sleeve
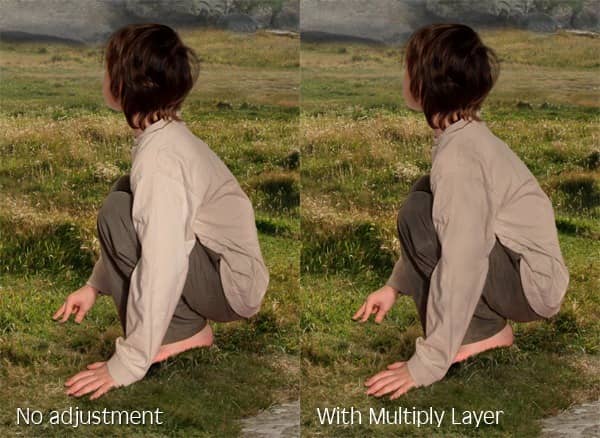
The stock photo of the boy was taken during different light condition than in our scene. Because of that the sleeve is too bright. You´ll fix it in this step.
Add new layer above BOY and name e.g. SHADOWS. Change the Blending Mode of this layer on Multiply.
Grab the Brush Tool (B), set the Master Diameter on about 20 pixels and lower the opacity of the brush on 15%. Pick some color from darker part of the shirt and paint over the sleeve. Below you can see how the sleeve looks before and after this adjustment.
Step 6 - Adding Lights
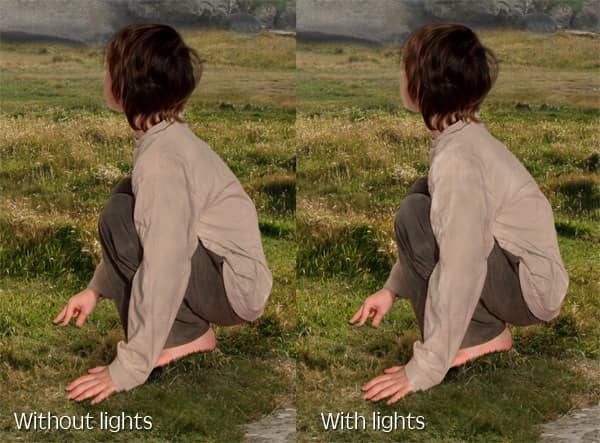
There should be some lights on the boy because of the lighter sky in the middle.
Add new layer above SHADOWS and name it LIGHTS. Change the Blending Mode of this layer on Screen. Grab the Brush Tool (B), pick some light color from the shirt and paint lights. After you´re done with the shirt move on trousers, hair and face.
On the picture below you can get inspiration where to paint.
Step 7 - Adding the Light Source
Light in the manipulation is quite boring yet. You´ll do it more dramatic in this step.
Add new layer on the top of all layers and name it LIGHT SOURCE. Grab the Gradient Tool (G) amd fill the layer with solid black color. Go to Filter > Render > Lens Flare... and set the window as on the following picture.
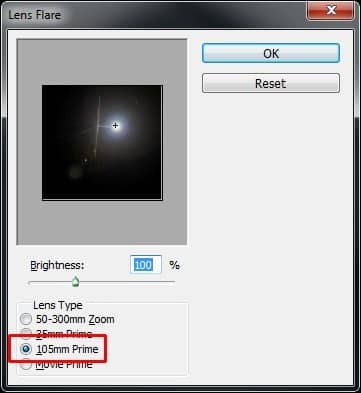
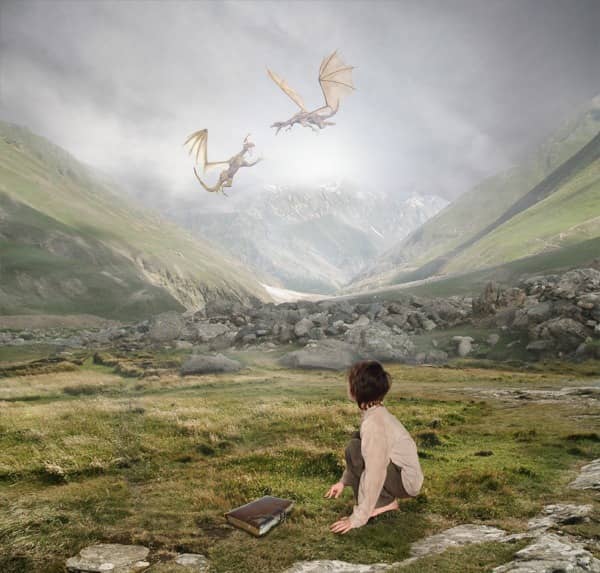
Change the Blending Mode of this layer on Screen and lower the opacity on 90%. After this step your photo manipulation should be similar to the picture below.
Step 8 - Adding the Knight
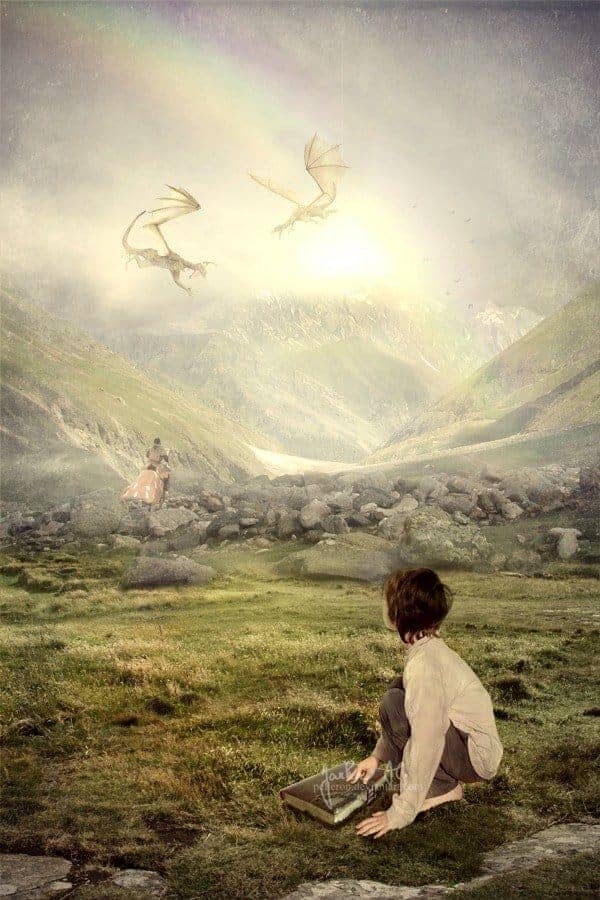
Open the picture of the knight in Photoshop. Use the Lasso Tool (L) to cut out the background and drag him into your picture. Name the layer KNIGHT. Press Ctrl + T and resize him on proper size.


3 comments on “A Photo Manipulator's Guide to Blending”
Lol
can you give a video tutorial please :3
110% work, thanx for inpiration