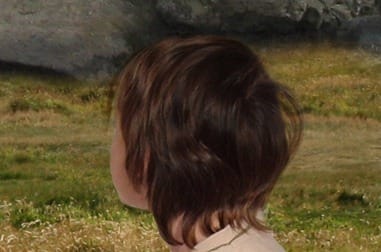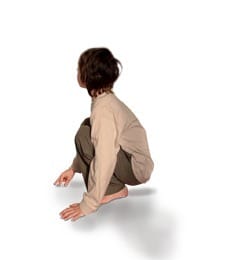
And with HAIR visible it should look like this.

Conclusion
Blending Modes are really powerful option for blending more complicate images such as hair, fire, textures etc. I´d recommend you to try and experiment with them to see how useful they are.
Finishing the Picture
The aim of this tutorial is to show you different methods of blending pictures. All methods I want to described are above so you can finish reading. But I believe that you´d like to know how to finish the picture and make a complete photo manipulation. I´ll briefly describe it in following steps.
Step 1 – Shadow Under the Boy
Right now the boy doesn´t fit into the whole scene. Mostly it´s because he has no shadow under his legs and there is also no reflected shadow from his body. You´ll fix it in this step.
Add new layer under the BOY and name it e.g. BOYS SHADOW. Change Blending Mode of this layer on Multiply.
Grab the Brush Tool (B), set Master Diameter on 5 pixels and Opacity on 75%. Pick some dark green color and paint thin line under the boy´s feet and part of the fingers where he touches the ground.
Lower the Opacity of the brush on 35% and paint the shadow reflected by the boy. On the picture below you can see the shadow I painted.

Step 2 – Adding Mist
The great way how you can create mysterious atmosphere in your picture is by adding mist. You´ll do it in this step.
Add new layer above BOYS SHADOW and name it MIST. Download the mist brushes and install them into Photoshop. If you don´t know how to install brushes you can take a look at this tutorial.
Grab the Brush Tool (B) and select one of the brushes you´ve just installed. Pick some very light yellow color and gently paint over the mountain. Below you can see how your picture should look after this step.

Step 3 – Adding the Book
Open the picture of the book in Photoshop. Grab the Lasso Tool (L) and select it. Then drag the selection into your photo manipulation. Name the layer BOOK.
Press Ctrl + T on your keyboard and make it smaller. Rotate it to it has the same direction as on the preview picture.
There should be shadows under the book. You can add them the same way how you added shadows to the boy. Add new layer under the BOOK and name it e.g. BOOKS SHADOW. Change the Blending Mode on Multiply, grab the Brush Tool (B) and paint shadows.
3 responses to “A Photo Manipulator’s Guide to Blending”
-
Lol
-
can you give a video tutorial please :3
-
110% work, thanx for inpiration


Leave a Reply