You should get something like on the following picture.
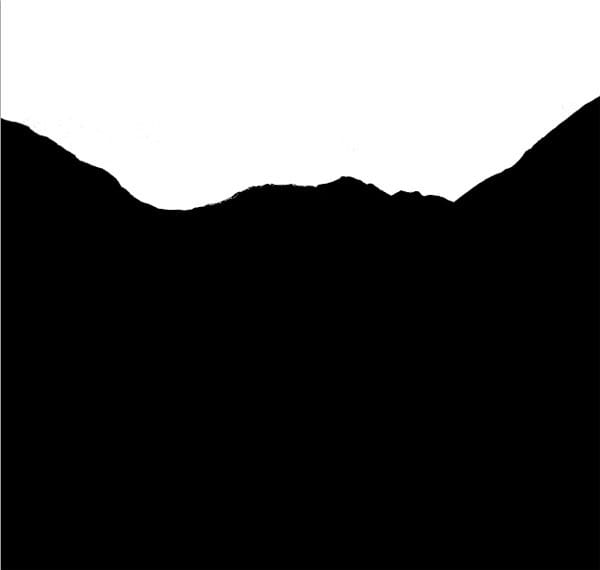
Click on the RGB channel to be able to see the picture in colors again.
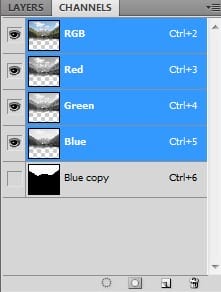
Make also all the layers visible again.
Step 5 – Activate the Mask
To activate the mask based on the Blue copy channel go to Selection > Load Selection… and set the option Channel on Blue copy. Press OK.
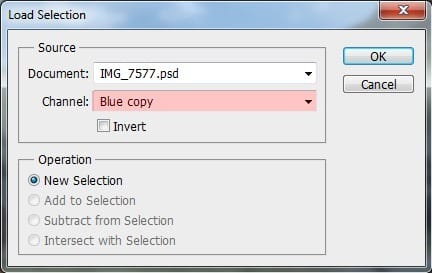
Thanks to it the mask of the sky activates.
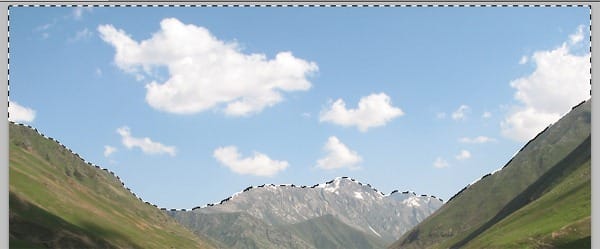
Step 6 – Hiding the Sky
To make the sky invisible you´ll use the same method as in the step one.
Click on the layer mask of MOUNTAIN. Grab the Brush Tool (B) and pick black color. Paint over the sky. Thanks to the mask you don´t need to take care about where you paint. Mask doesn´t allow you to paint on another place except the sky.
After you´re done deactivate the selection by pressing Ctrl + D on your keyboard or go to Select > Deselect.
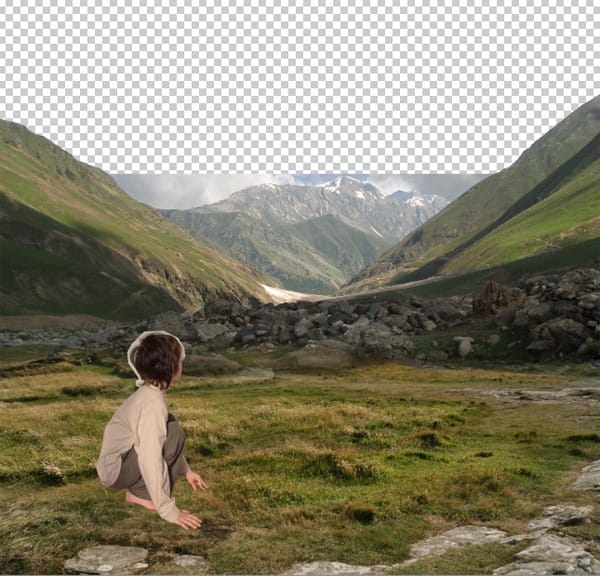
Step 7 – Adding New Sky
Open the picture of sky in Photoshop and drag it into your photo manipulation. Place it under MOUNTAIN and name it SKY. Press Ctrl + T and resize it on proper size.
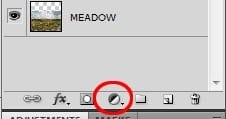
As you may see the SKY is more saturated than the rest of the image and it doesn´t look realistic. To fix it add new adjustment layer Hue/Saturation above the SKY. You can find the button Create new fill or adjustment layer in the bottom part of Layers palette.
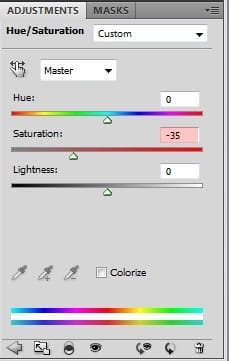
Set the value Saturation on -35.
You want to the adjustment layer affects only the SKY. To do that right click on the Hue/Saturation layer and select the option Create Clipping Mask.
Step 8 – Flipping the Boy
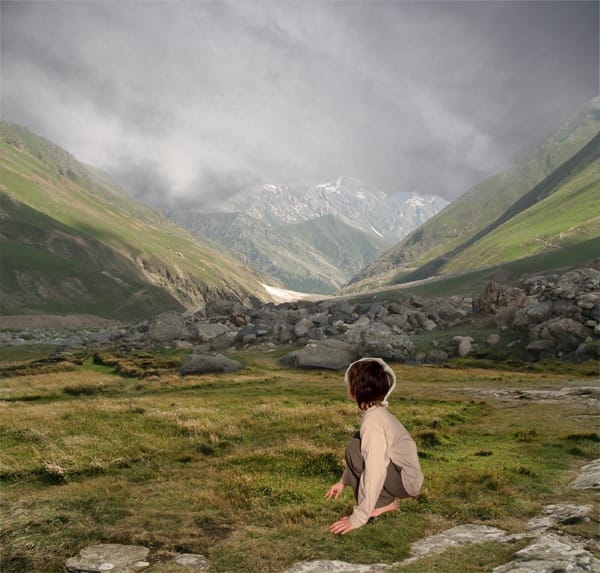
For further composition it would look bether if you flip the boy horizontally and move him on the right. To flip him go to Edit > Transform > Flip Horizontal. Then press V on your keyboard to activate the Move Tool and move him to the right.
The boy should be also little smaller. To do it press Ctrl + T on your keyboard and resize him. After you are satisfied with the size press Enter.
After this step you should have your picture similar to the one shown below.
Conclusion
Using Channels for selection is more advanced method than the previous two but can be very useful if you want to quickly select parts of the images where is big contrast between the background and the object you want to select.
3 responses to “A Photo Manipulator’s Guide to Blending”
-
Lol
-
can you give a video tutorial please :3
-
110% work, thanx for inpiration


Leave a Reply