Luminar AI lets you turn your ideas into reality with powerful, intelligent AI. Download the photo editor and see how you can completely transform your photos in a few clicks.
Step 6
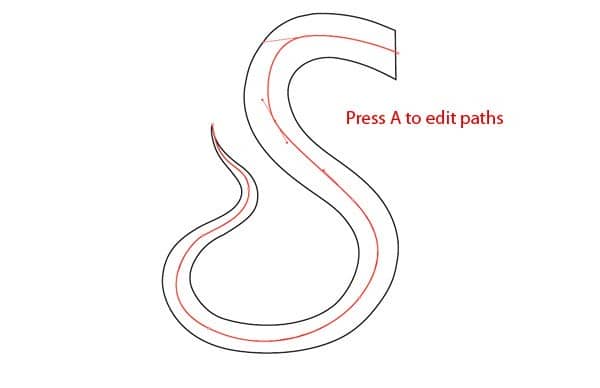
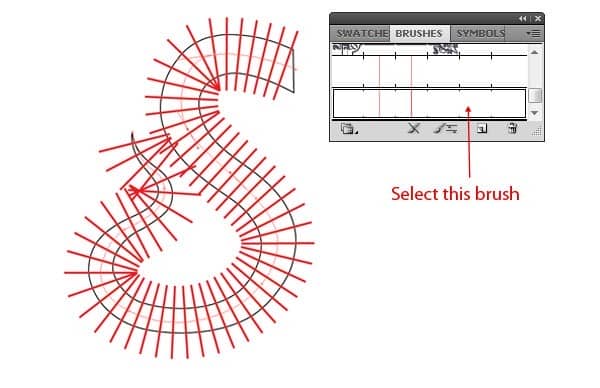
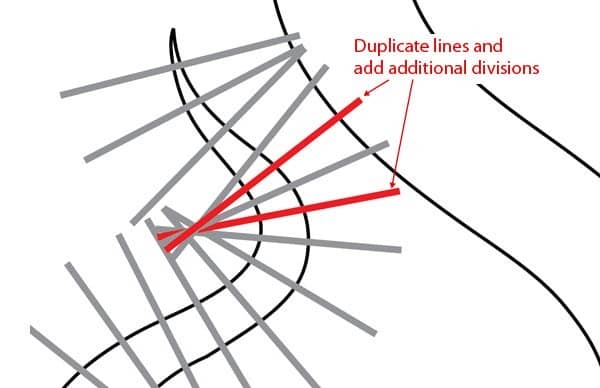
We have created the divisions in the arm, but you may have noticed that these divisions seem flat, and gaping between them is larger at tip part then thick part. To give arm depth we will increase the divisions at the tip and for this, just go to Object > Expand Appearance, ungroup them and manually repeat divisions by duplicating lines at the tip.
Step 7
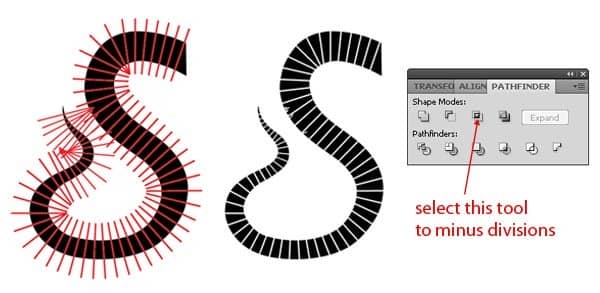
Next, select all divisions, group them and go to Object > Expand and expand all paths to object. Duplicate the arm, press Shift + Ctrl + F9 to access pathfinder window, select arm then select divisions and click on minus front icon to minus divisions on front. Make sure to keep an additional copy of the arm. Repeat the same procedure with all arms. We will call arm having division to "division" and arm without division to just "arm" to avoid confusion.
Step 8
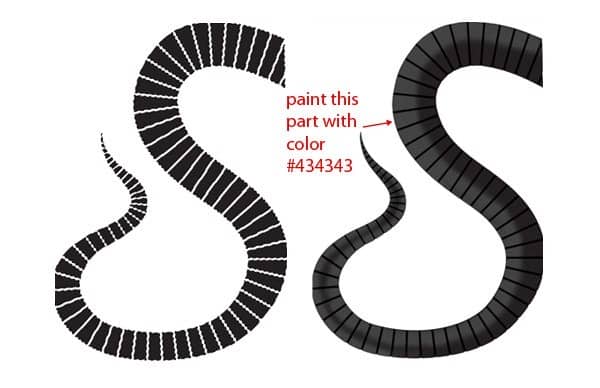
Import arm and its division to Photoshop, fill them with color black, create a new layer, and Ctrl + click the division layer to get its selection. Hide the arm layer then add a layer mask to the division layer, now select a soft brush of size 100px and color #434343 and paint through the one side of the arm to make it shading, now unhide the arm layer.
Step 9
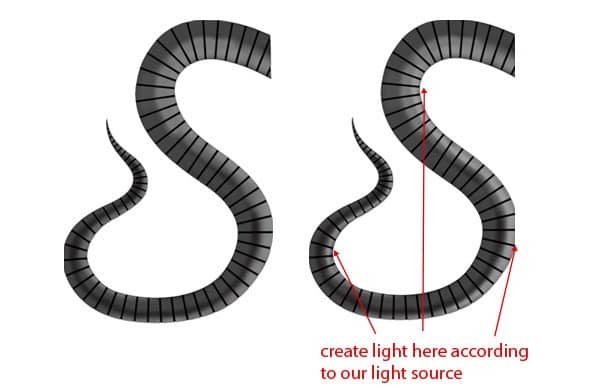
Next, select brush of color #787878 and create lights on another side of the arm, experiment with the opacity of brush and size to get the best results, again select another brush of color #9d9d9d and create bright light to create finer lights on the arm. Be careful while creating lights and pay attention to the direction of light and light source to create natural light.
Step 10
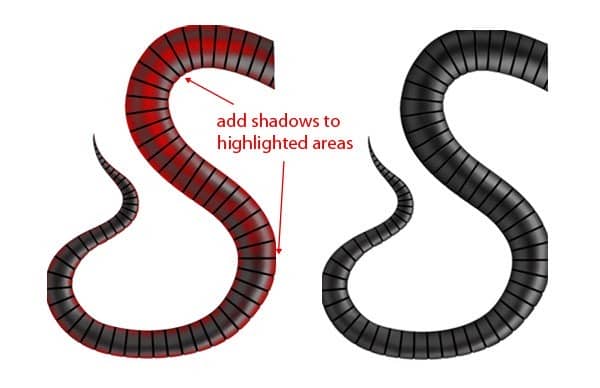
Now select a soft brush of color black and add shadows to the highlighted areas by red color. Experiment with opacity and size of brushes to get perfect results.
Step 11
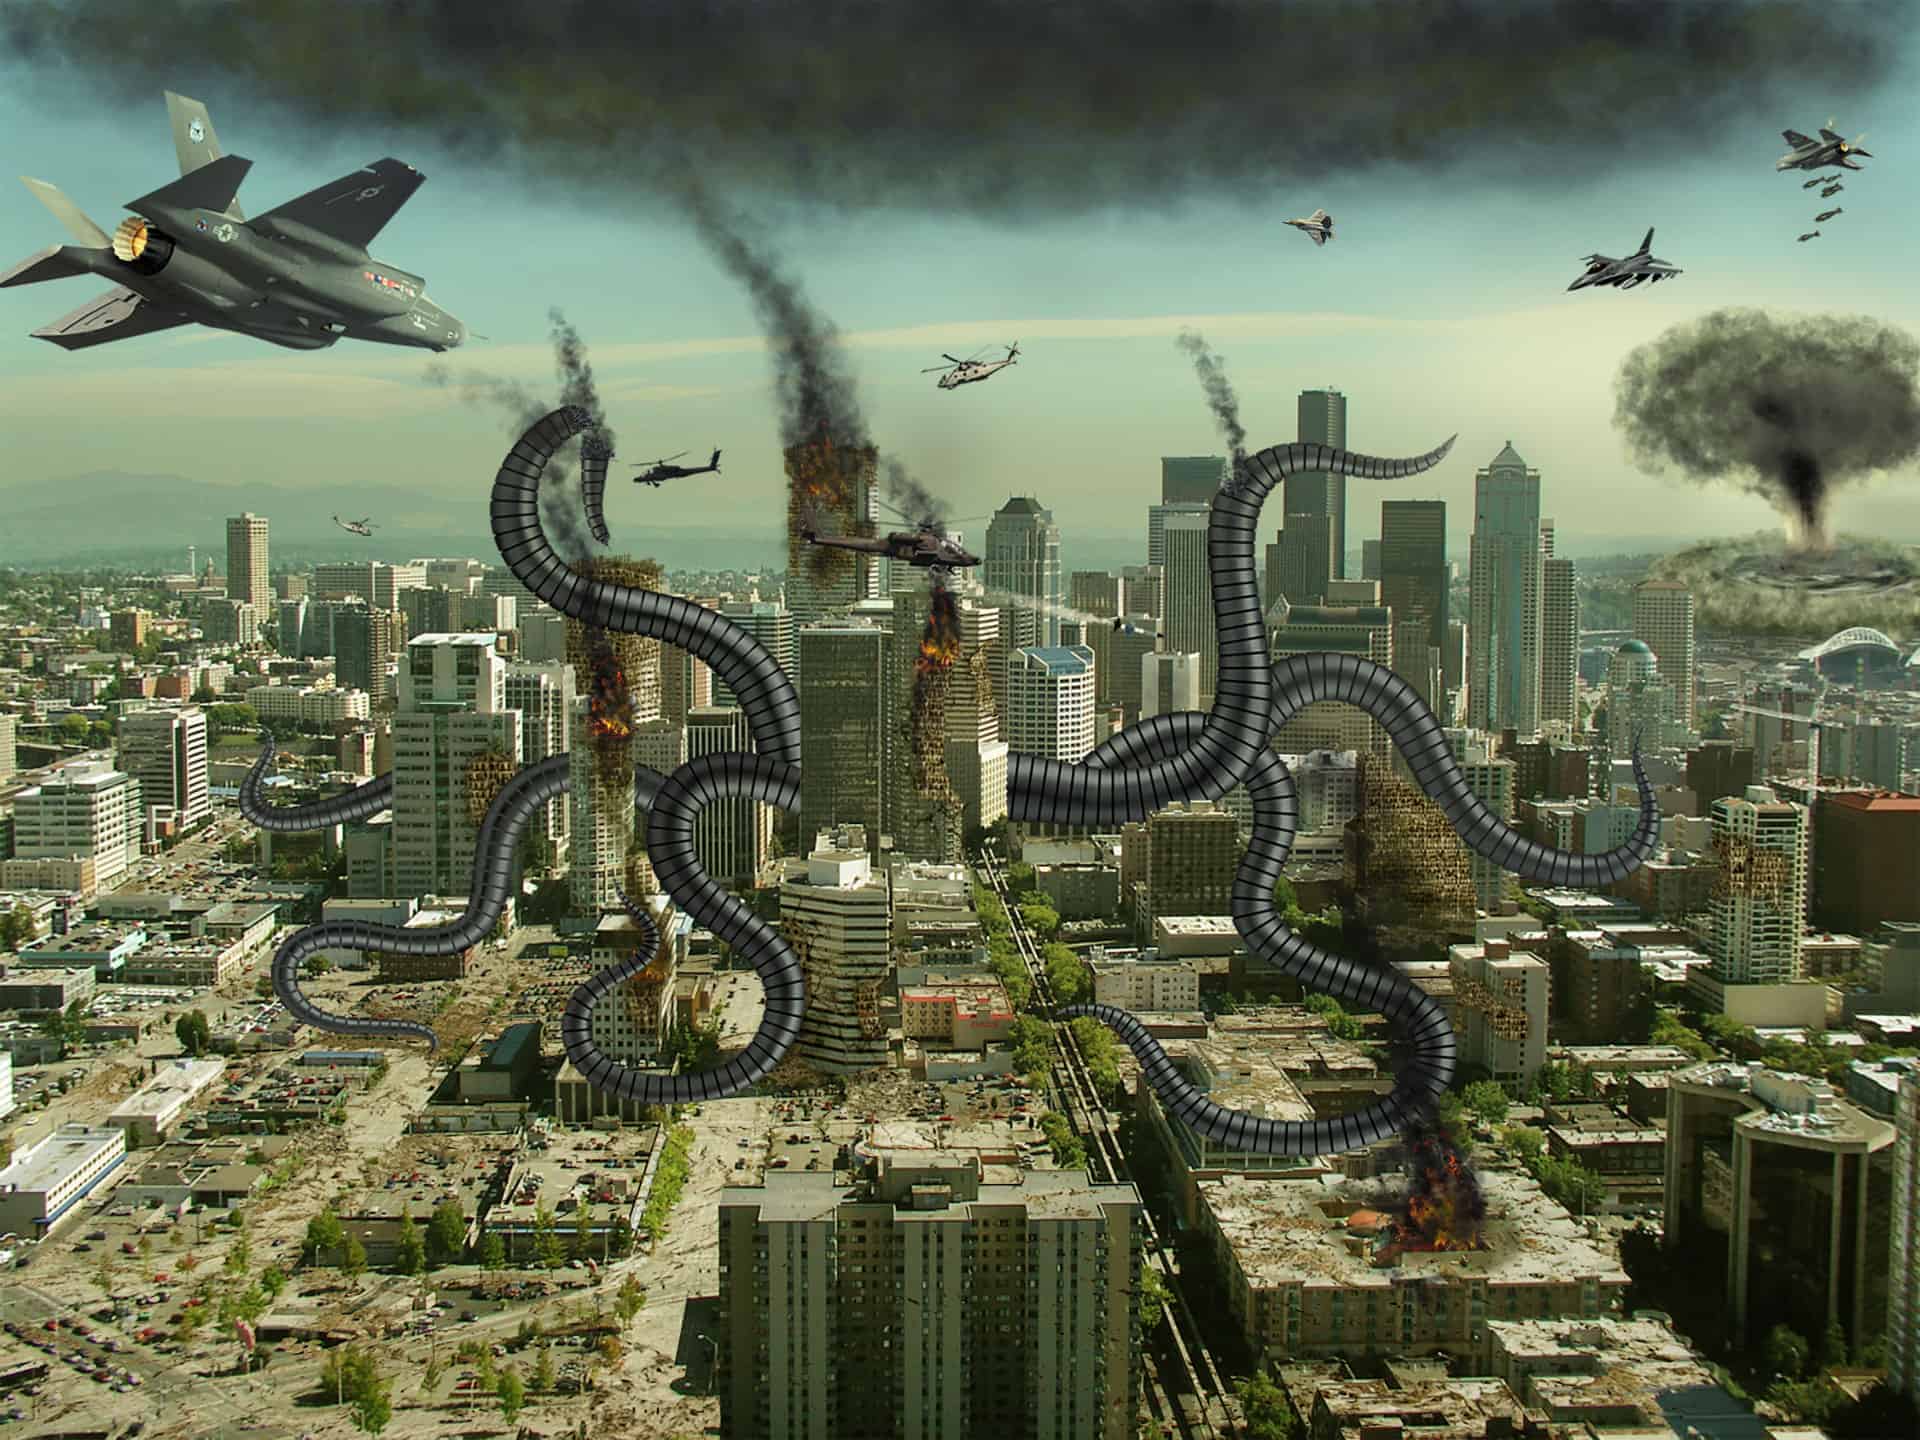
Next, select arm layer and press Ctrl + click on arm layer to get its selection then go to Select > Modify > Contract and contract the selection to 4 pixels then add a layer mask to the layer. You will get finer divisions in the arm, repeat the same procedure from step 5 to step 11 to create other arms too and place them into our scene. If everything is done right, then your result may look like this.


3 comments on “Create an Alien Invasion Photo Manipulation in Photoshop”
The photo manipulation is stunning! The skills to produce this kind of work are impressive. However, I found that the links for the crack 1 and 2 brushes were broken. If you could fix these, it would make the tutorial even better :)
Thanks for that tutorial!
I just wanted to let you know that the link to your other tutorials doesn't work.
Have a fun day and stay safe.
Sorry, which links are broken? I can't find any broken links.