Step 21
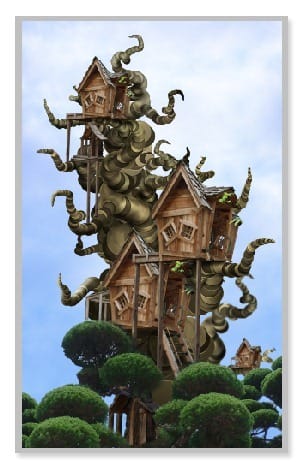
We will add another tree to the scene. Open the other source picture. Firstly extract the tree from its background. I did this with Color Range. Duplicate the tree layer. Hide the original tree layer by clicking the eye icon in the layer panel. With the duplication layer selected, go to Select > Color Range. Put the cursor on the white sky area on the document, when the eyedropper icon comes up, click the area to sample the color. Then, set the fuzziness’ amount to 145 to give more contrast between the black and the white. Click Ok. Hit Del to delete the selection.

Step 22
Drag the extracted tree to the canvas. Scale it to fit the canvas and located in the position where needed. Hide parts unneeded with a layer mask.

Step 23
Duplicate the tree layer. Scale the size and locate it where needed.

Step 24
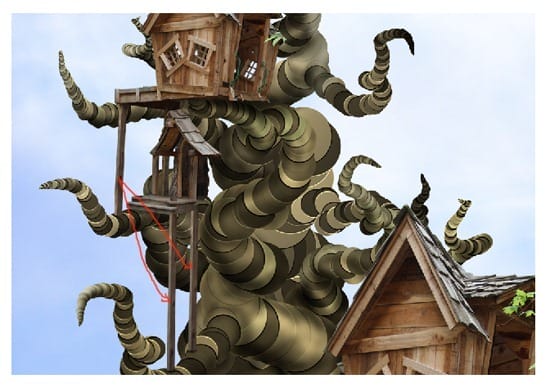
Next, we will add poles to the other house. I did this just simply by cropping the existing pole and place the cropped to the house where needed.

Step 25
Do the same way as the ones in step 24 to add the poles to the other house.

Step 26
This is the composition I created so far:

Step 27
I decided to hide some parts of the tree. Go to each tree layer and give them a layer mask. Hide the parts. See the illustration picture to see clearly which parts they are.

Step 28
We will add a model to the scene. Open the model picture. Please refer back to the previous step 16 to extract the model from its background. here is the result I got:

Step 29
Drag the extracted model to the canvas. Scale it down. Now take the Smudge Tool. With a very small soft round brush and the strength set varying to 60-70%, smudge the edges of the model’s hair to make swirls. Then, crop the lamp, duplicate it two times. Place the duplication layers to each house.

Step 30
In this step, we will give new adjustment layers to the scene. Firstly I gave it two gradient maps, then photo filter and vibrance. Please see the illustration picture to see the setting for each. Finally, set the blending of the first gradient map to soft light at 28% opacity, the second to normal at 27% opacity. Set the photo filter to normal blending at 70% opacity and the vibrance layer to normal at 100% opacity.
10 responses to “Create an Amazing Surreal-Style Treehouse in Photoshop”
-
Awesome tutorial! Thank you!!
-
this is so cool. I love Photoshop and being able to learn useless things is awesome!!
-
Photoshop is a great platform for Designing but Creating A Surreal-Style Treehouse in it is not so easy.Also you should take help from tutorial.
-
THNX
-
great work! many usefull effect that can be apply to other creative work..
-
great tutorial
really good result -
here’s mine, minus ‘lighting effects’ (no graphics card :0 )
http://img288.imagevenue.com/loc481/th_641868295_crazyTreehouse_122_481lo.jpg -
nice tut, a few shortcuts would have been helpful as it’s a tad long winded. But you are obviously a ‘master’. Thanks !!!
-
wow! this is good!
-
amazing work thanks man.


Leave a Reply