Step 32 – Flags
The original image of the flags is this one.


Step 33 – Old
Tear the flags, using the layer mask make the brush really small and hide some parts of the flag

Step 34 – Flags Lighting
Select the flags and in a new layer apply a gradient in each flag, remember each flag has to be in a different layer

Step 35 – Brown
In a new layer paint over the model and columns to give a brown tone to them

Step 36 Shadow
In a new layer paint with a soft round black brush over the model to create shadows near the column. Use the layer in soft light mode. All the area of the right of the model

Step 37 – More shadows
You can create a new layer and this time paint with a bigger brush with less opacity (30%) all over the model to make the blending. Remember use the layer in soft light mode, and reduce the opacity of the layer if you think is necessary.
Step 38 – Details
In a new layer pick a soft round brush with a yellow tone and paint where the light reflects. Also you can add some more shadows with black. Remember to paint soft and reduce the opacity to 50%
Step 39 – Adjustment Layer
Go to the option layer then adjustment layer and then choose color lookup, pick the option fall colors and reduce the opacity of the layer to 40%

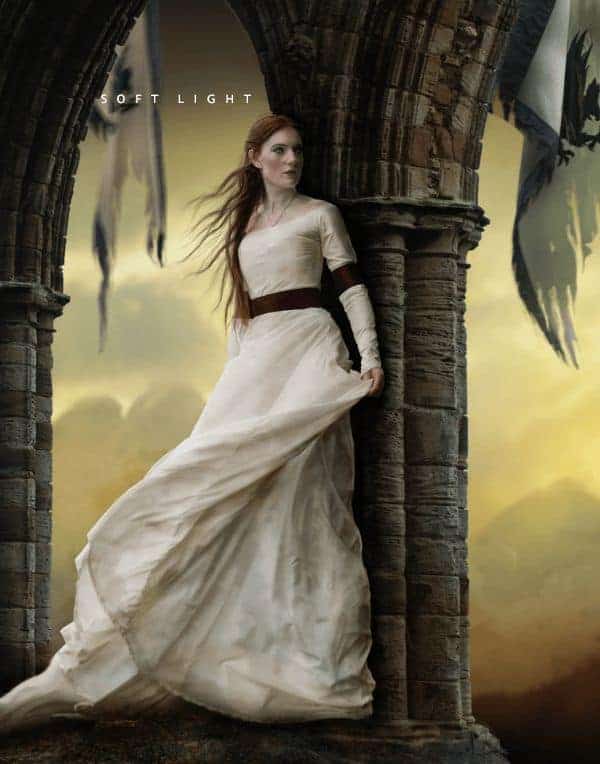
Final Results
![image002[1]](https://cdn.photoshoptutorials.ws/wp-content/uploads/2018/11/Medieval-Manipulation.jpg?strip=all&lossy=1&webp=82&avif=82&ssl=1)
About the Author
14 responses to “How to Create a Breathtaking Medieval Manipulation with Realistic Deteriorated Flags”
-
OMG YOU A PURE GOD ! Great tut kkep on going!
-
Amazing! What an ingenious trick for the old-type flags.
from Fabriano Italy
-
where’s the feet?
-
As the model in the stock being used, and having seen several versions other artists have created using this tutorial, it would be honestly very nice if artists trying to recreate the styling and theme would see if they can do the same thing using alternative stock – of which there are thousands available. The point of tutorials is to make suggestions and provide tips to artists looking to improve their techniques or learn new ones, not to make identical and in some cases poor reproductions of the work used in the tutorial. Change it up people!! :)
-
Done here: http://signhermitcrab.deviantart.com/art/Flags-432532192?ga_submit_new=10%253A1391822204 Thank you! <3
-
An outstanding design sharing that’s very helpful for me. As a graphics designer I have just learned some new technique today from this blog. Thanks and appreciate it.
-
Can you make a video?
-
i like this and i realy like thi
-
i like this
-
This is really cool. I really like the idea; erasing a flag to make it look worn out.
This makes me wonder if you can do it to clothes too. I never even think about making fabric look worn out, I just find worn out stocks which is hard to come by.
-
great tut, thank you all.
-
i like dis tut
-
imi place mult
-
how to great the wall please tell me

 Thank you so much for reading this tutorial, I hope this is helpful for you all. If you want to check more of my art go to
Leave a Reply