Turn any photo into a dot grid artwork with these Photoshop actions. You'll get great results with dots that change size. They get larger in brighter areas and smaller in darker areas. Free download available.
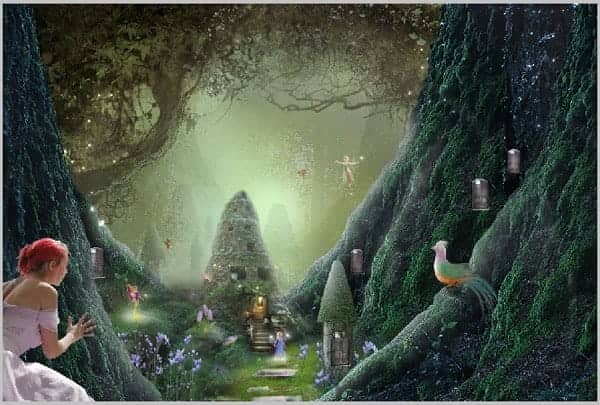
Create a new layer above the girl layer and give this new layer a clipping mask. On this new layer, paint soft black color on the lower dress and arm of the girl to define shade. Name this layer shade:
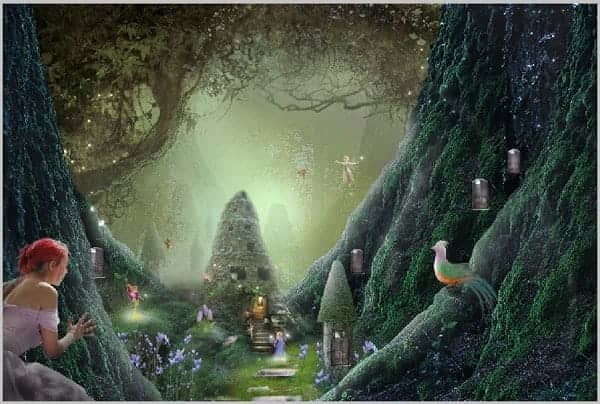
Step 25 (color adjustments)
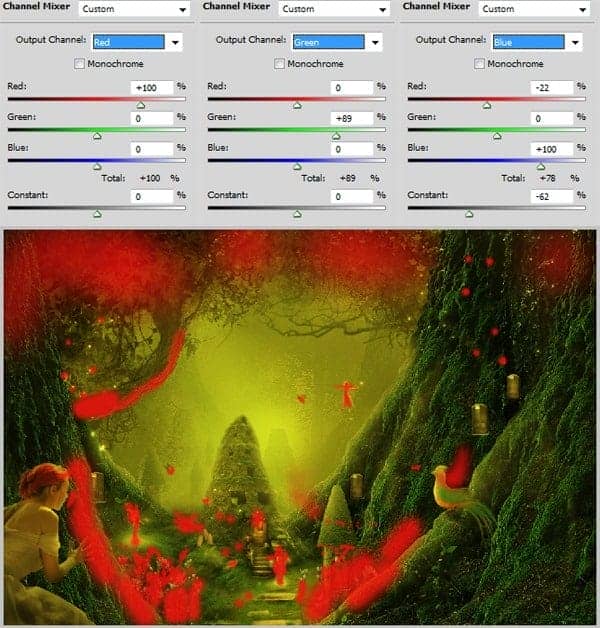
In this step, we will give some color adjustments to set the mood of the scene. Firstly, go to Layer > New Adjustment Layer > Chanel Mixer. Follow the setting for this adjustment layer as shown in the screenshot. Then mask some part of this layer (marked in red) to hide its effect. Always use a very soft round brush to mask the parts. Finally, set its opacity to 86%.
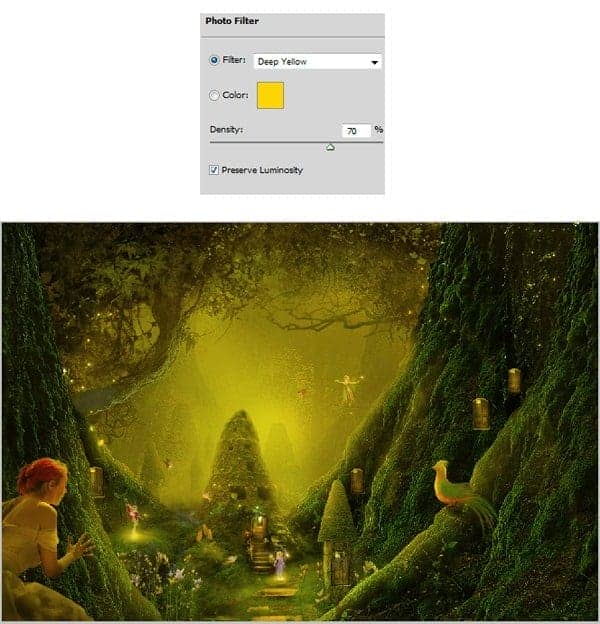
Give another layer adjustment: photo filter.
More adjustment layer: curves
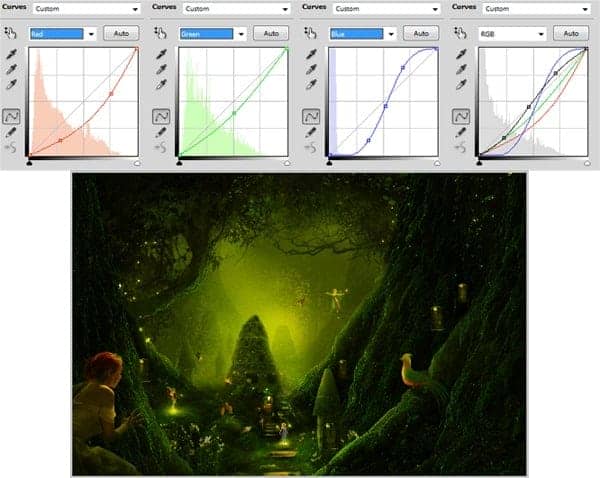
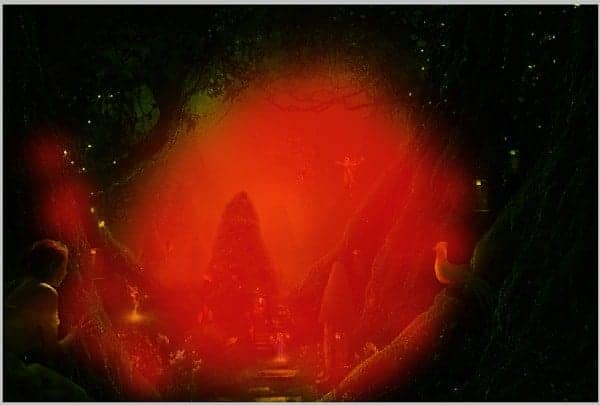
Duplicate the curves layer and mask some part of this layer:
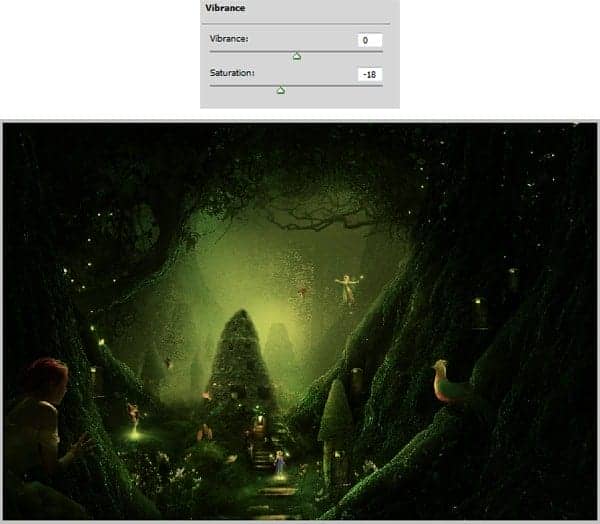
Again, more adjustment layer: vibrance.
Last layer adjustment: color balance.
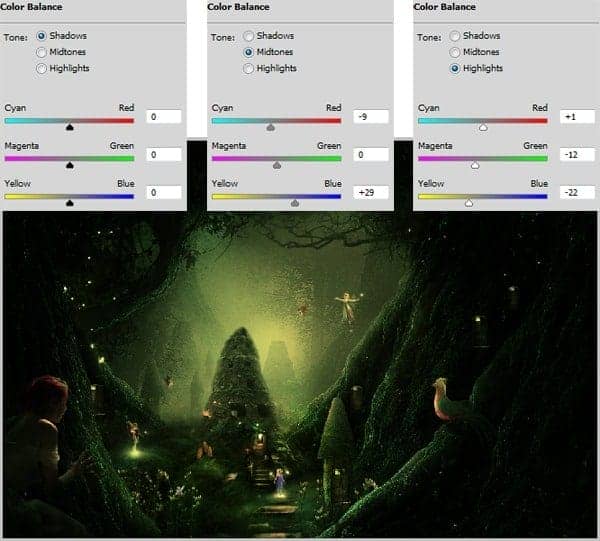
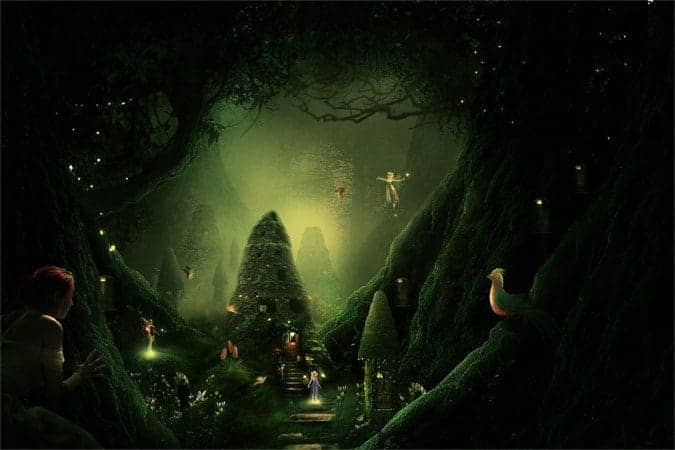
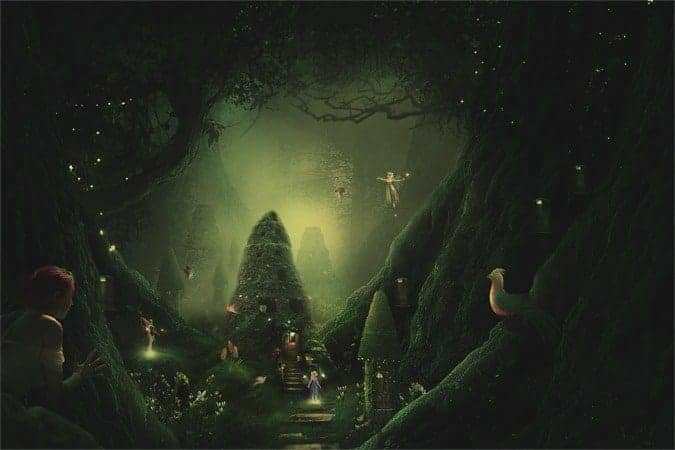
Well, here is the result should be after giving the adjustments:
Step 26 (final touch)
What we should do next is to stamp all the visible layers. Make sure the top most layer/group is selected, then hit Ctrl+Shift+Alt+E to stamp the visible layers into a single layer. Convert this stamp layer to a smart object. Next go to Filter > Others > High Pass. .
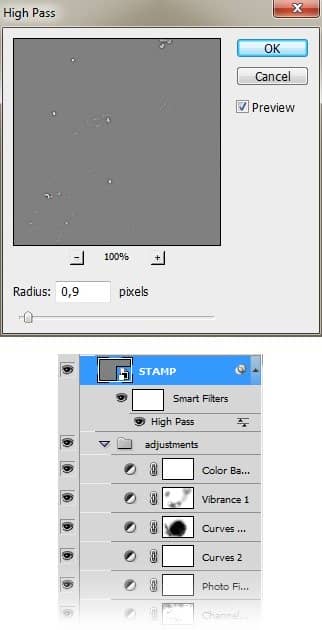
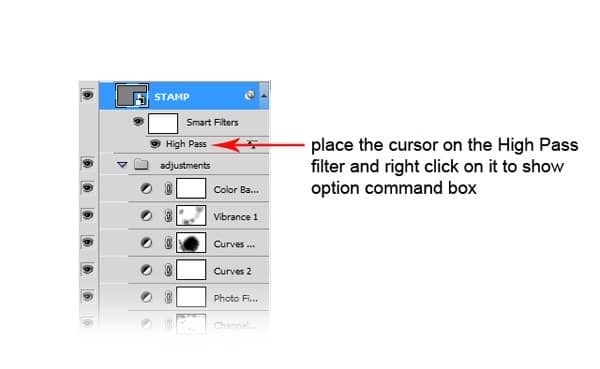
Next, place the cursor on the High Pass filter and then right click to show command option box
When the command option box shows up, choose Edit Smart Filter Blending Options. Then, set Screen for the blending mode at 17% opacity:
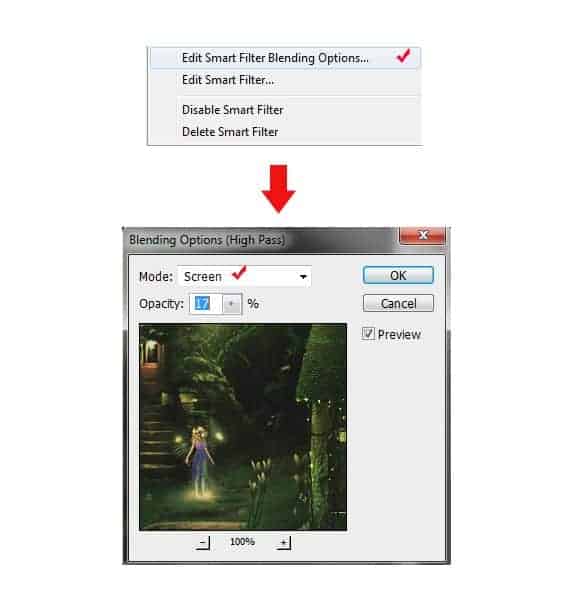
The result should look like this:
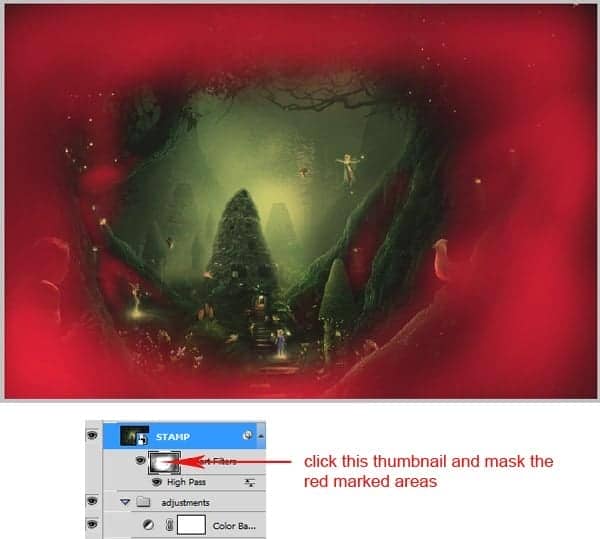
Finally, we will hide the effect of the high pass filter on some areas. To do this purpose, click the smart filter mask thumbnail, then mask the red marked areas on the scene:
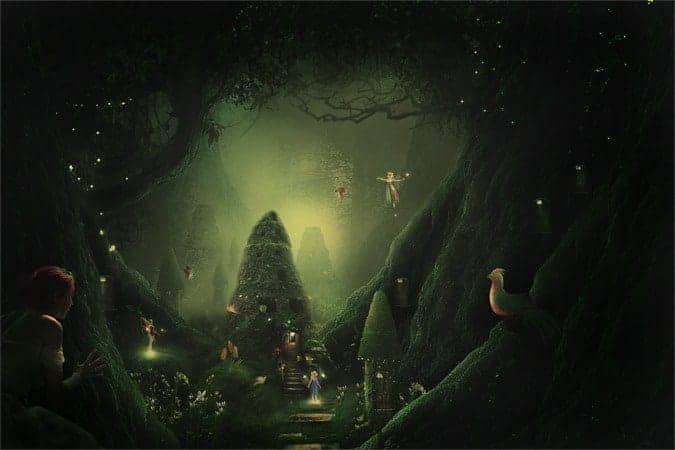
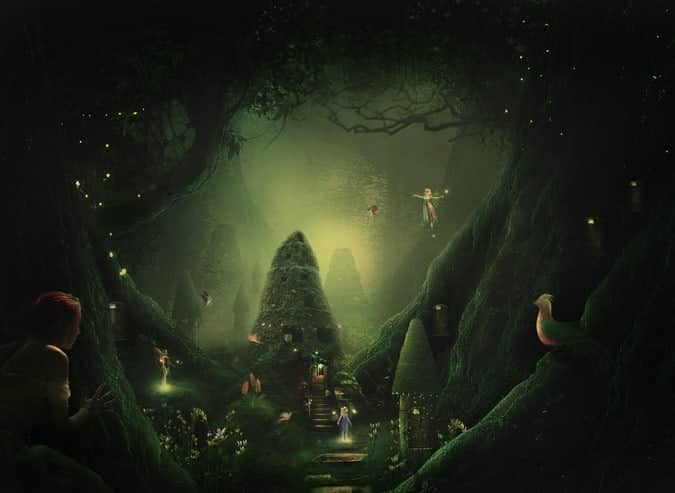
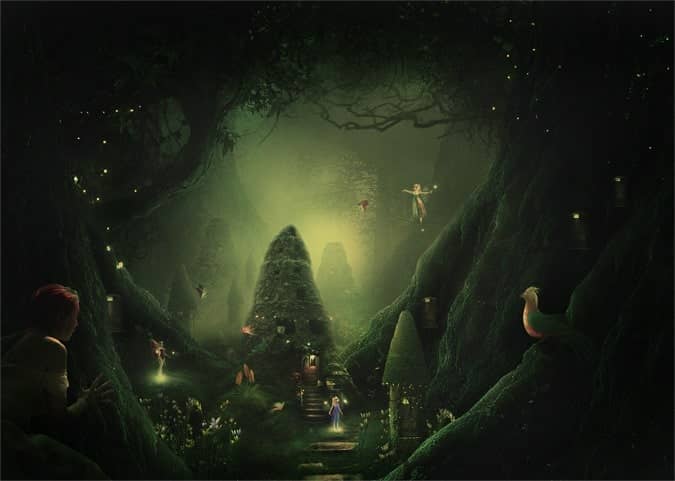
That’s it....we have finished the work. Here is the result:
But..I decided to crop the result a bit. So here is the final result:
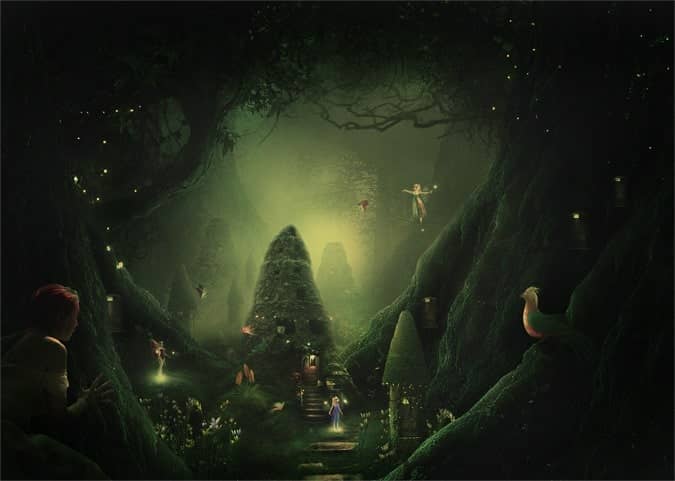
Final Results
Download the PSD
[vc_column width="1/1" el_position="first last"] [vc_cta_button title="Download" href="https://downloads.photoshoptutorials.ws/Welcome to the Jungle.zip" color="btn" size="btn-large" icon="none" target="_self" position="cta_align_right" call_text="Welcome to the Jungle.zip | 96 MB" width="1/1" el_position="first last"] [/vc_column]
Tutorial by Dek Wid
Thank you for following this tutorial! Hope that you will have fun following this tutorial and learn something useful from it. Please visit here to see more of my works. Happy photoshopping. - Dek Wid
- Dek Wid

24 comments on “How to Create a Night Jungle Scenery in Photoshop”
Thanks for this tutorial! I finished it and my image looks just like yours! It was a lot of fun! Thank you!
This is one awesome collection. One of my favorites I have seen in a long time. Thanks for sharing.
this is really nice but its too difficult for me !
Your not a master assassin
hey Arsi .
nice tut , but some resources you used are not available anymore .
can you reupload them again ? thanx
Thank you for this tutoriel but certain material(equipment) not more available sound
Ariata – DeviantART
Flowers
amazing photo! but when I opened the tree picture in the beginning in PS it was shorter than the background. Not that perfect as your screenshot. should I change the picture size or do you have any tip?
Thanks so much for this wonderful tutorial n__n
You must be a Master Assassin to complete this
wo men ji you qun qian lai bai fang
Its looking super but to learn this is not an essay
"Links don't work" "writing on background", just use another picture. There's billions out there.
the background has a writing on it! how do you get it off?
use clone stamp
I mean what a detailed and an amazing tutorial. Just loved it. It was awesome.
damn haha, took forever!! Amazing tutorial, I wouldn't normally do something like this, but I need to step out of my comfort zone and learn something I may never use.
Thanks.
Amazing feeling to finish something like this lol
Good one
her
Nice tutorial.
Awesome tuts
Links #5, #6 (Ariata – DeviantART, Flowers – DeviantART) as well as the last one do not work :(
This is too hard for me to make, I just wanna say that it looks amazing!
hey how are you . my name is Arsi actually nothing is Hard you do try .. is simple and easy possible . don't say hard and go back .. do try and come to front side . Thanks
What is the custom filter for?