Turn any photo into a dot grid artwork with these Photoshop actions. You'll get great results with dots that change size. They get larger in brighter areas and smaller in darker areas. Free download available.
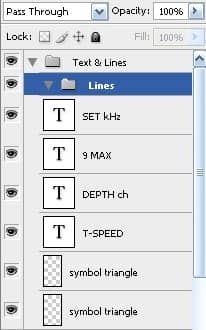
In the same group as your lines and text, draw a 1-2px line under the text from the Turn_buttons. You can hold the Shift key to create a straight line.
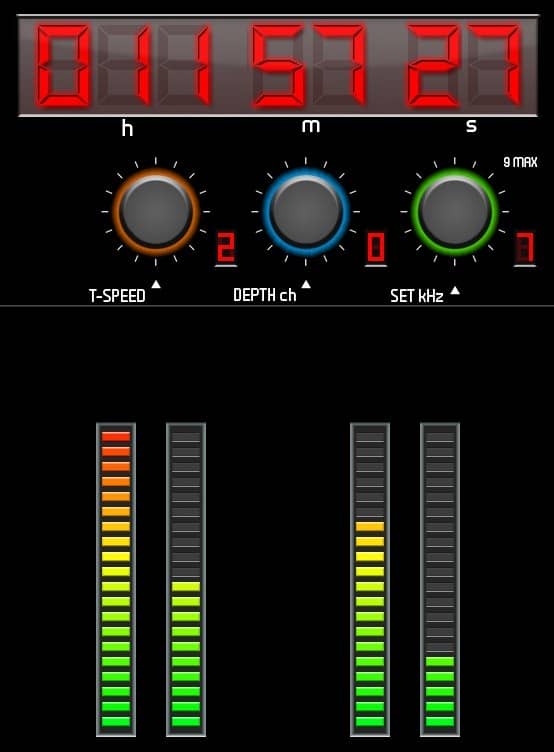
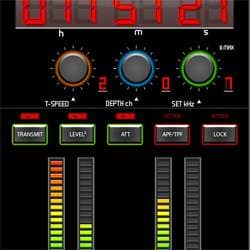
Your picture should look something like this.
Step 6 – Cool push buttons
This is what you will make.

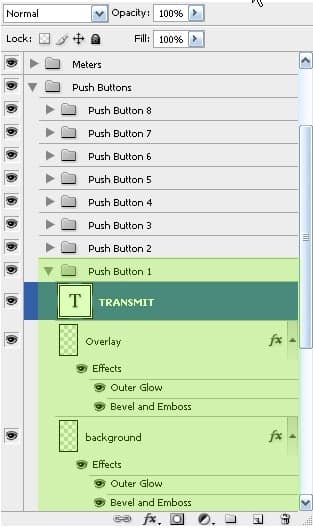
Create a new group called “Push Button” and a new layer called “background.” Here is an example of what it would look like (note that I have added other groups and layers in).
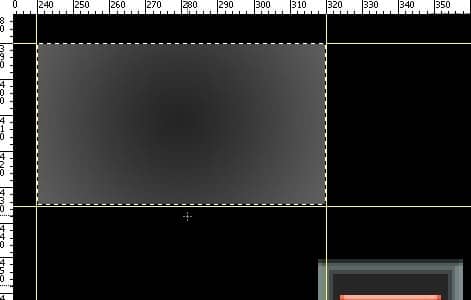
Create horizontal gridlines at 390 and 435 and vertical gridlines at a 240 and 320. Then create a selection with a width of 80px and a height of 45px. Fill the selection with a Radial Gradient with #585858 as the outside colour and #252525 as the inside colour.
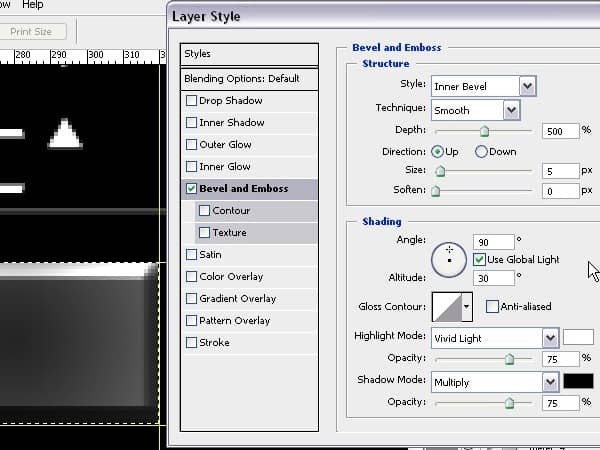
Give the selection the following Bevel and Emboss options.
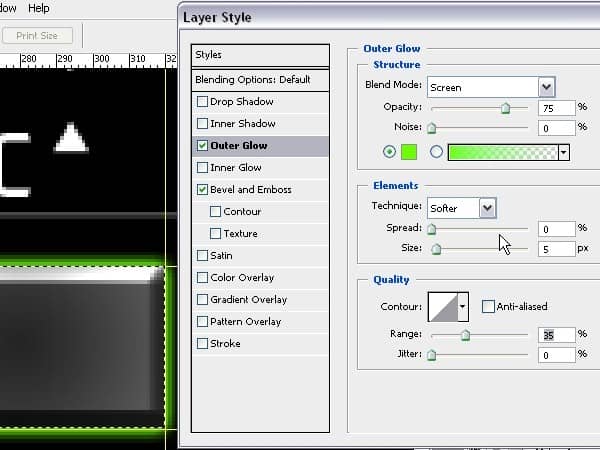
Give the selection the following Outer Glow options.
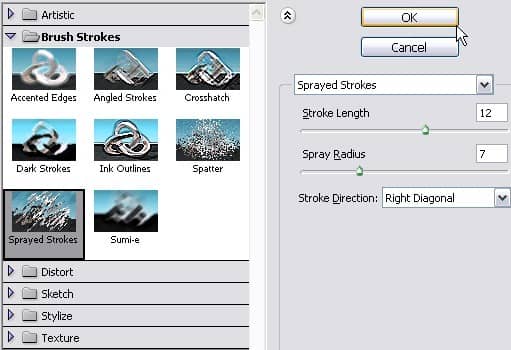
Give the selection the following Brush Strokes options.
Create a new layer and use the Text Tool to type “TRANSMIT” with the following settings.
- Font Face: Myriad Pro
- Size: 14px
- Type: Regular

This button will be duplicated several times.
Step 7 – Active Lights
The active lights show whether the buttons are active or not. Create a group called “Active Ligths” and a subgroup called “Active Light_1”.
Create a new layer and call it “Active Light.” Type “ACTIVE” with the following settings.
- Font Face: Tenby Five
- Size: 14px
- Color: #FD0000
Duplicate this layer and call it “Deactive.” Give the text a duller colour (#800000). Put this layer below the “Active Light” layer.

Right click on the “Active Light” layer and choose “Rasterize.” Then give it the following Outer Glow options.
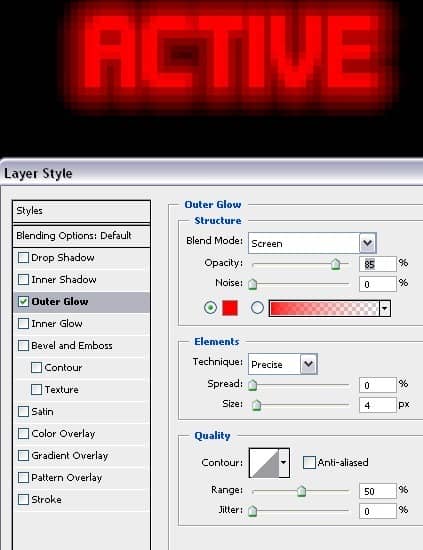
Duplicate the buttons and repeat the above steps to create more buttons. When the button is turned off, the outer glow colour is red (#EF0000).

Step 8 – Middle knob
This is what you will make.
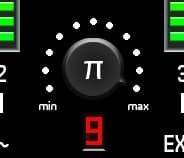
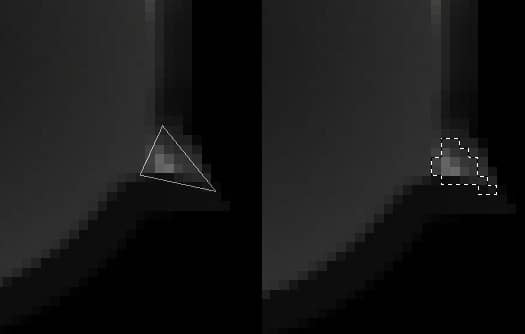
Select one of the knobs you created earlier and copy it. Paste the knob onto a new layer in a new group. Use the Pen Tool to create a little triangle on the knob. Fill the triangle with the same light gray as the knob.
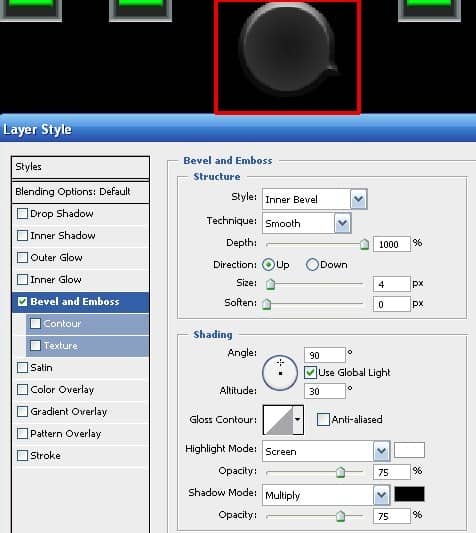
Use the following Bevel and Emboss settings to blend the triangle to the knob.
Create some gridlines to find the centre of the knob. Then use the Pencil Tool with a 7px tip to draw white dots in a semicircle around the knob.

2 comments on “Draw a Stargate Timer in Photoshop”
This is not stargate. This is Sliders.