
Temporarily disable the ruler by (View > Extras). Make a selection (Right click > Make Selection). Set the Feather Radius to 0 and uncheck “Anti-Aliased.”
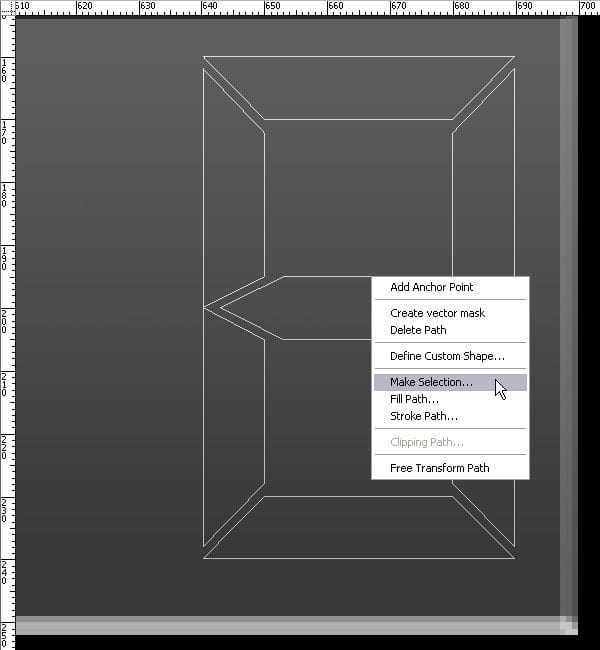
Create a layer and call it “Zero.” Use red (#FE0000) for the lines that would display the number 0. Create another layer for the line that would not be filled for that number and colour those lines brick red (#490305). Name it “Zero BackGr.”


Select the layer labelled “Zero” and use the following Outer Glow settings in the Layer Style windows.
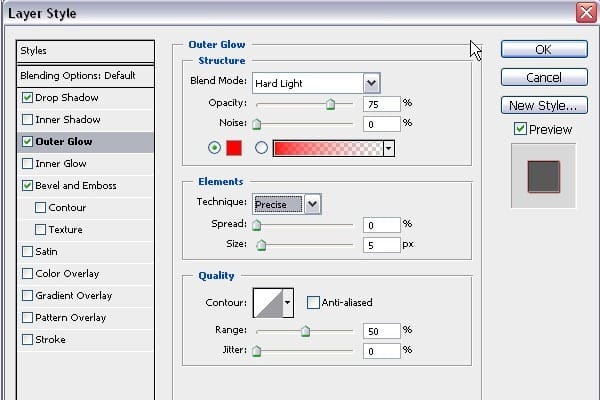
Then select “Drop Shadow” and use these settings.
- Distance: 2
- Size: 0
Then select “Bevel and Emboss” and use these settings under “Inner Bevel.”
- Size: 3
- Depth: 100%
Create five different numbers each on their own layer, making sure there are two layers each. When you have created the numbers, merge the two layers together (Shift + Click both layers > Right Click > Merge Layers)

Your display is now complete.
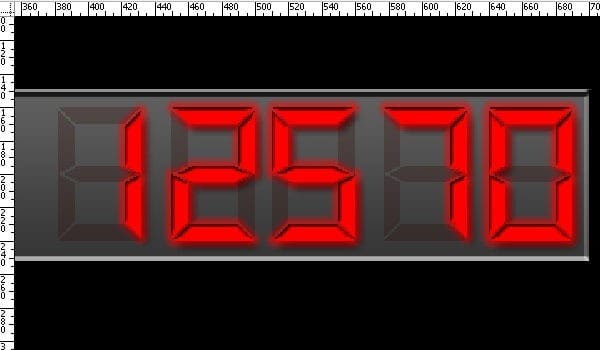
Space the numbers out so that their edges are 10px from each other. For example, the first number begins at 260 and ends at 310, the next number should begin at 320, and so on.
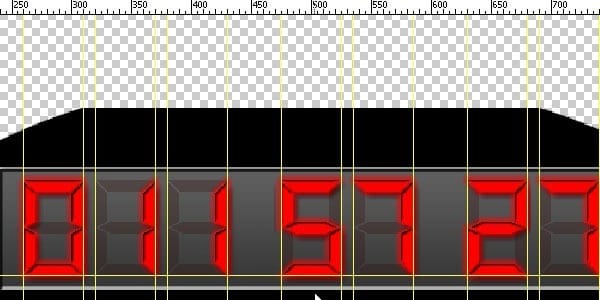
Create a layer over the display. Load the digital display rectangle (Ctrl+Click) and select the Pen Tool (P). Draw a path like the example shown below. Right click on the path and selection “Make Selection.” Before you hit “OK,” hold “Shift,” then click “OK.” The path will have deleted the bottom section of the selection.
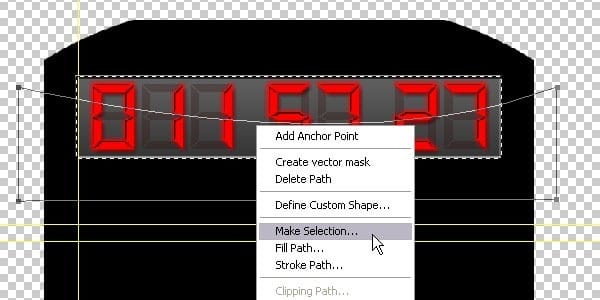
Fill the selection white and set the opacity to 10-15%. Then blur (Filter > Blur > Gaussian Blur) it at 4px.
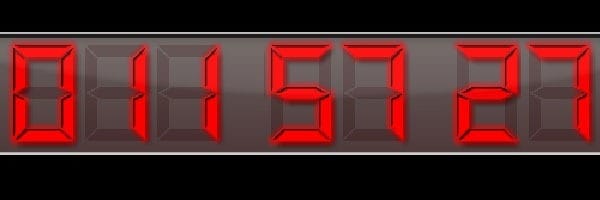
Step 4 – Creating knobs
This is what you will make.

Make a new layer and group for the knobs. Hide the other layers. As seen in the red box below, make sure the X and Y are measured in pixels (Click the + sign > Pixels). Then draw an elliptical selection of 440 × 440. To draw a perfectly round selection, hold “Shift” while drawing.
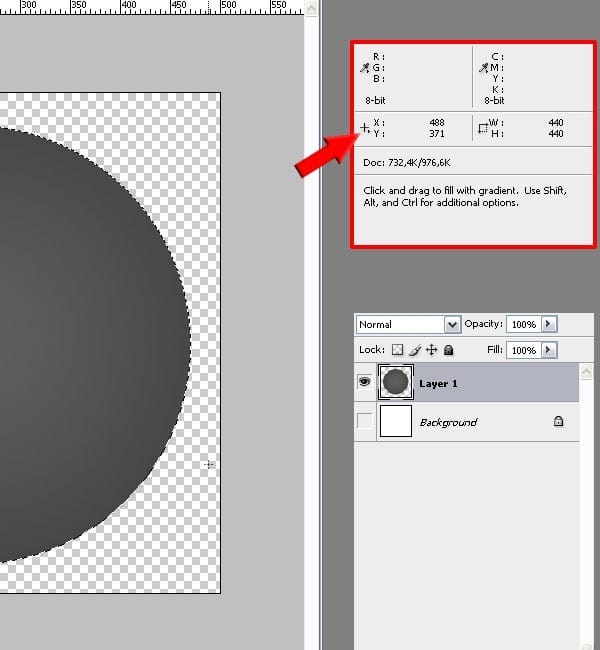
Fill the selection with a gradient. Make sure you select “Radial Gradient.” Fill from the centre outwards with the colours #393939 and #5C5C5C.

Now change the Bevel and Emboss settings in the Layer Style window to the ones below.
2 responses to “Draw a Stargate Timer in Photoshop”
-
This is not stargate. This is Sliders.


Leave a Reply