Luminar AI lets you turn your ideas into reality with powerful, intelligent AI. Download the photo editor and see how you can completely transform your photos in a few clicks.
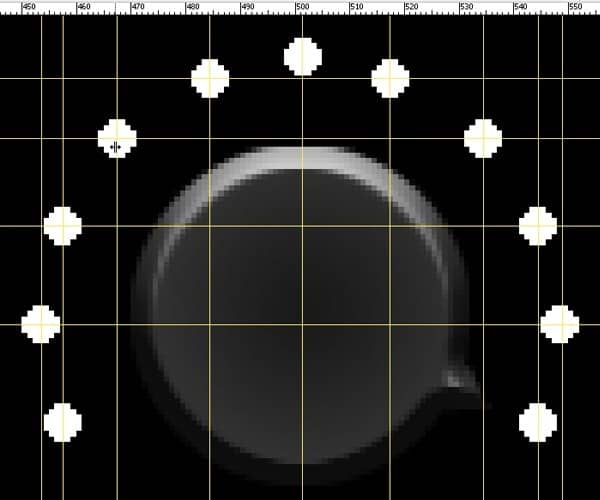
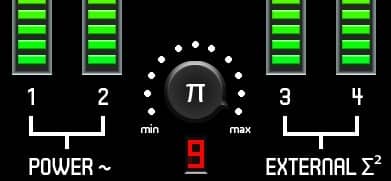
Create some text (i.e. min, max, Power, External S², p) with the following settings.
- Font Face: Bell Gothic Bold
- Size: 32px
- Colour: white
Type 1, 2, 3, and 4 below the power metres and draw connecting lines to Power and External S². Use gridlines to help keep the lines even. See below for an idea.
Step 9 – More Text
This is what you will make.

Duplicate a green and a red button from step 6. For the third button, use white (#FFFFFF) for the outer glow. Create the following new text in green (#6CFF00).
- ENABLED
- 1X SPEED
- DOUBLE SPEED
- 4X SPEED
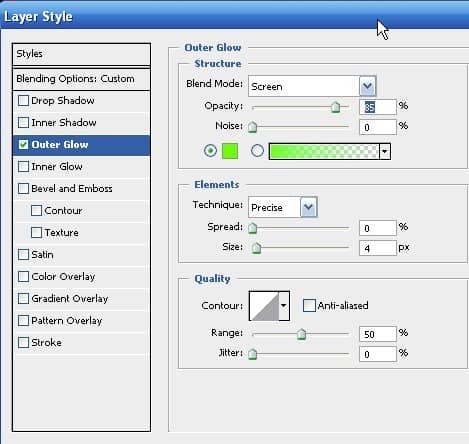
Use the following Outer Glow settings with the same green (#6CFF00).
Use the Pencil Tool (B) with a 2px tip to draw a white (#FFFFFF) line from the button. Hold Shift to create straight lines.

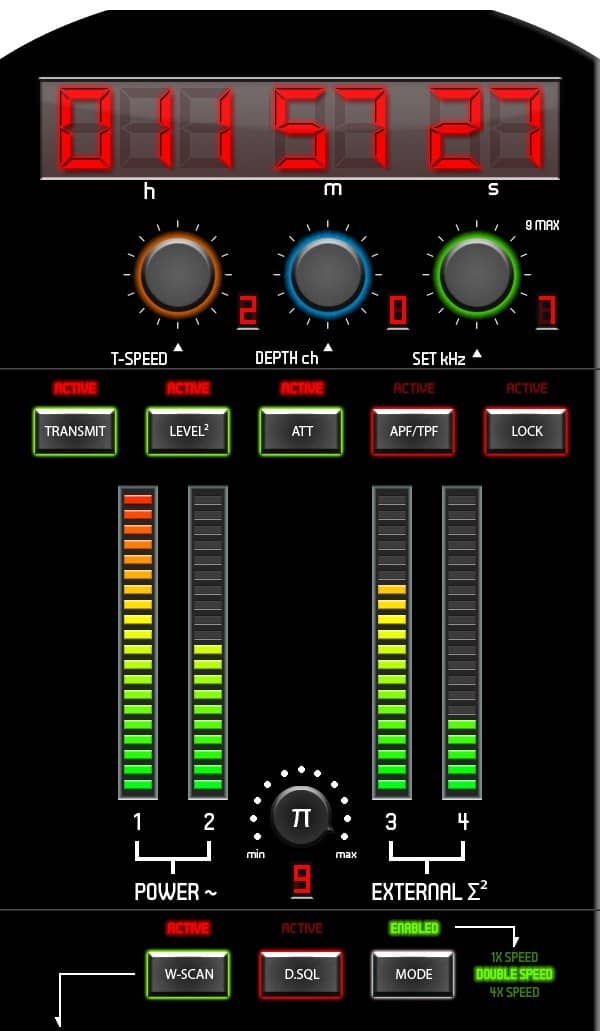
This is what your image should look like.
Step 10 – Second display, the frequency scanner
This is what you will make.

Create a new group and label it “Freq Scanner.” Create a new layer and call it “background.” Make a selection with a width of 475 and a height of 60. Fill it with a linear gradient using the colours #292929 and #040404. Then use the following Bevel and Emboss options.
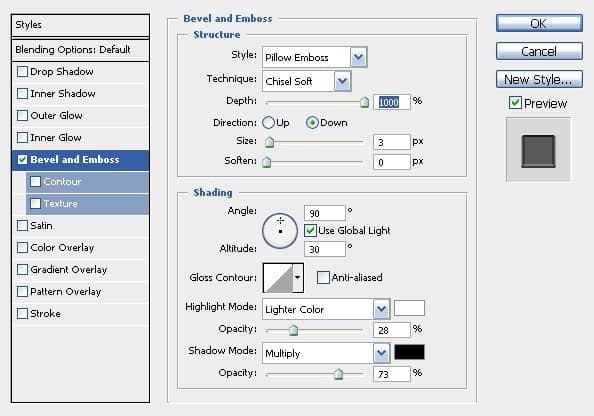
Just as we did at the end of step 3, we will create a new layer and label it “shine.” Select the entire background (Ctrl+Click on layer). Use the Pen Teool (P) and draw a path as shown below. Right click on the path and select “Make Selection.” Hold the Shift key and click OK.

Fill the selection with #FFFFFF and set the opacity of the layer to 10-15%. Then blur (Filter > Blur > Gaussian Blur) at about 7-10px.

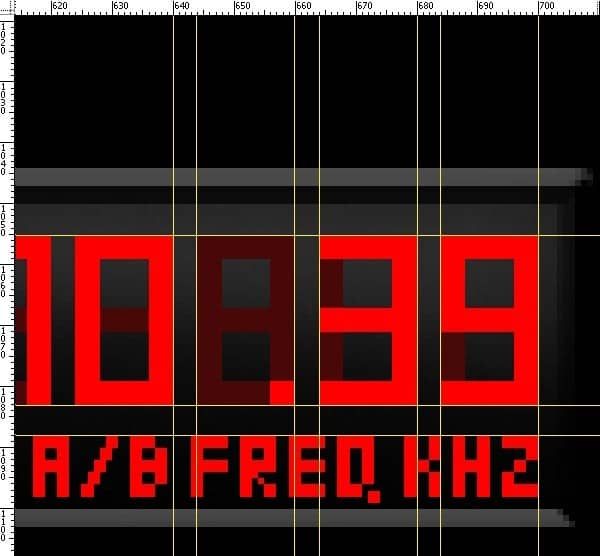
Create a new layer called “Freq numbers.” Set up the gridlines like you did in Step 3 for the numbers in the first display. The last number is about 3px from the edge of the background.
Use the Pencil Tool with a 4px tip to draw red (#FF0000) numbers. The inactive colour is #490808. The numbers span about 16px horizontally and 28px vertically. There is a 4px space between each number. Note that a decimal would also take the space of a 16×28 rectangle.
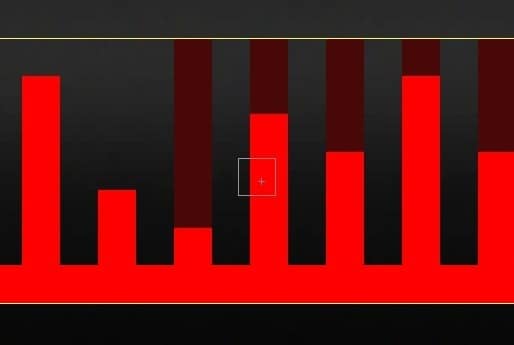
Then still using a 2px tipped pencil, create the scanner by drawing vertical lines and connecting them at the bottom.
Use your imagination. This is what my 2nd display looks like.

2 comments on “Draw a Stargate Timer in Photoshop”
This is not stargate. This is Sliders.