Luminar AI lets you turn your ideas into reality with powerful, intelligent AI. Download the photo editor and see how you can completely transform your photos in a few clicks.
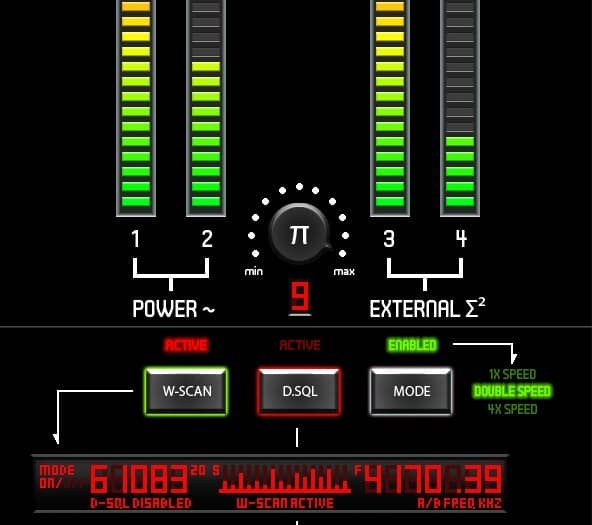
Step 11 – Another knob
This is what you will make.

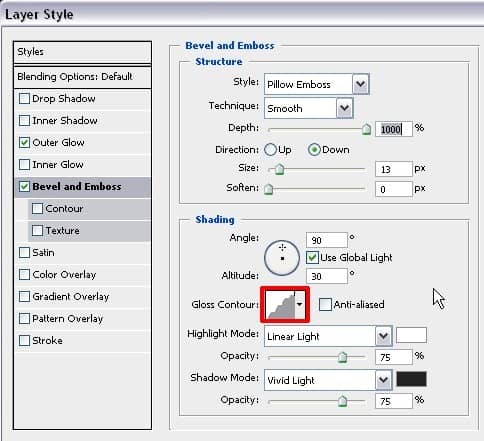
Duplicate an existing knob from step 4 and use the following Bevel and Emboss settings.
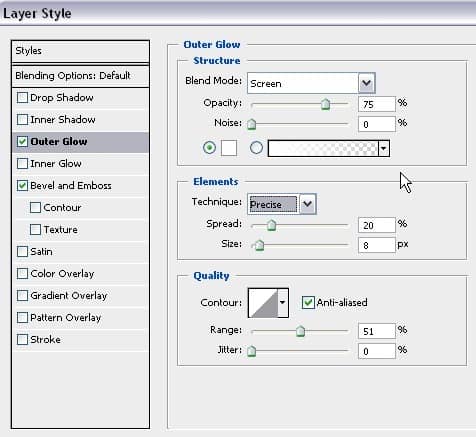
Then use these Outer Glow settings.
Use the gridlines to determine the centre of the knob. Create gridlines about 4px above the knob and another one about 10px higher than that. Use the Auto Snap option of the ruler to create this arching shape below.
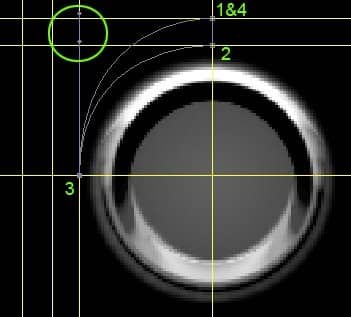
Right click on the path and select “Make Selection.” Fill the selection with white (#FFFFFF). Duplicate this layer and transform it to the following.
- W: -100
- H: -100%
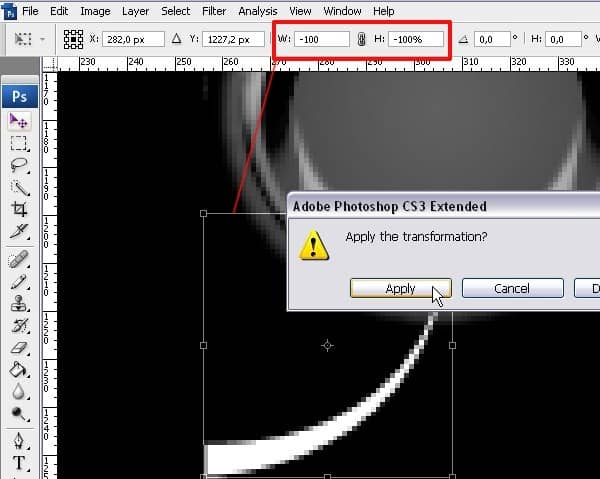
Place the transformed selection at the lower right corner of the knob.
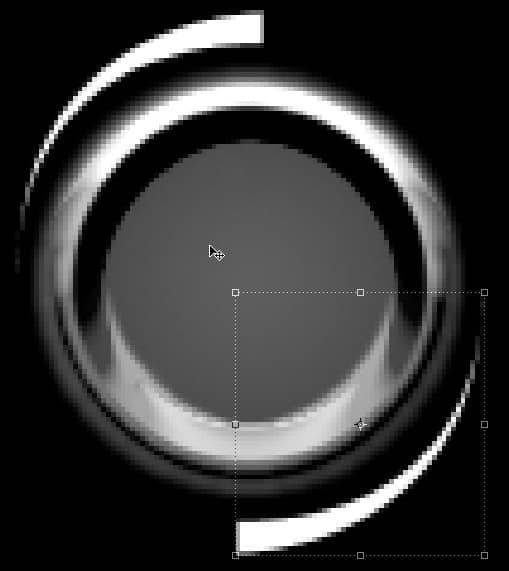
When you copied your knob, you should have copied the volume lines too. Resize the lines so that they fit in the knob.
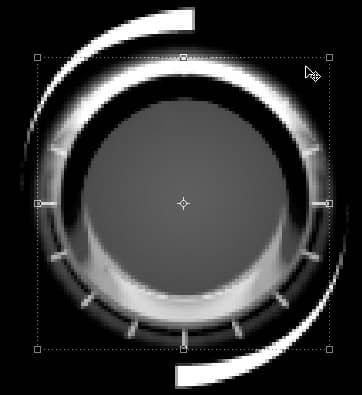
Change the Exposure (Image > Adjustments > Exposure) to the following setting.
- Exposure: -9,65
- Gamma Correction: 1,00

Step 12 – Middle Section
Here I added a line from the D.SQL button to the knob we just made in Step 11. I wrote ? in the knob. I also added a power button and a “TEST BATT” button. lastly, I rotated one of the power metres to add the BATT LEVEL section.
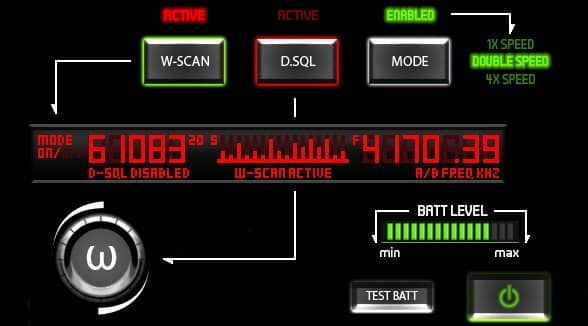
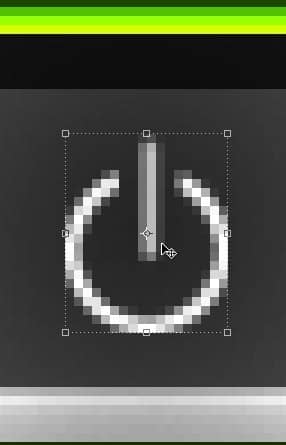
To create the power symbol, I used the Elliptical Selection Tool (hold Shift to make a perfect circle) and Stroked (Edit > Stroke) it white (#FFFFFF) with a 2px stroke.
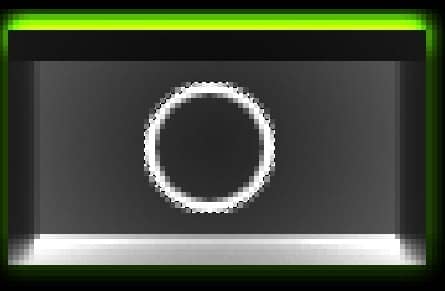
Then use the Eraser Tool (E) to erase some portion of the upper section and use the Pencil Tool with a 2px tip to draw a line coming out.
Step 13 – Colourful Display
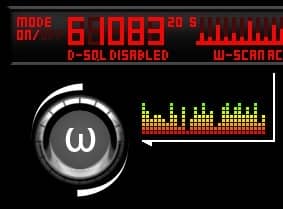
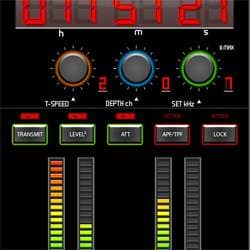
This is what you will make.
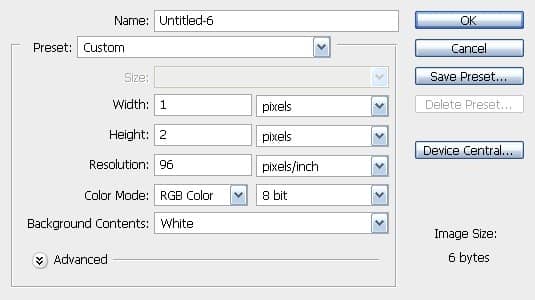
Open a new document with the following settings.
Create a new layer and hide the background. Paint the top half of Layer 1 gray.
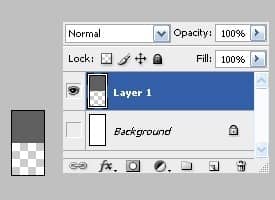
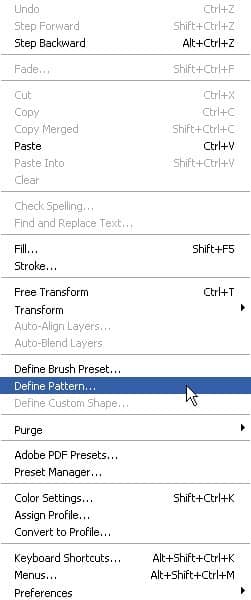
Select all and Define the Pattern (Edit > Define Pattern) with a name you like. Then close the document.
Going back to our main image, create a new group and a new layer. Make a selection with a height of 125 and a width of 40. Fill (Edit > Fill) with the pattern you just created.
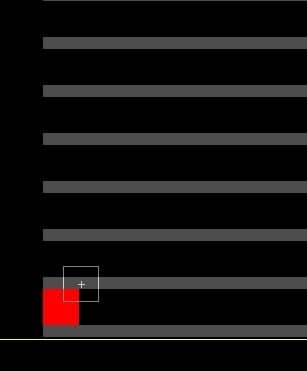
Use the Pencil Tool with a 3px tip and the colour (#FF0100) to create the following display.
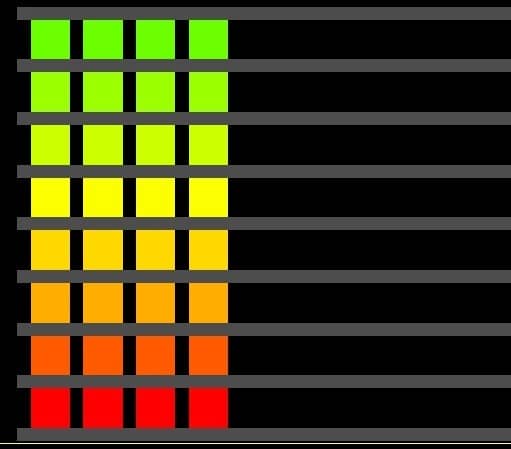
These are the colours used for the 8 different blocks.
- #FF0100 (red)
- #FF5A00
- #FFAD00
- #FFD801
- #FDFE02
- #CFFE00
- #9BFF00
- #6DFF00 (green)

Delete some random squares and place it next to the knob you made in step 11.
![79[1] 79[1]](https://cdn.photoshoptutorials.ws/images/stories/5d5cdb44b0be_375C/791.jpg?strip=all&lossy=1&quality=70&webp=70&avif=70&w=1920&ssl=1)
Step 14 – The bottom
This is what you will make.

2 comments on “Draw a Stargate Timer in Photoshop”
This is not stargate. This is Sliders.