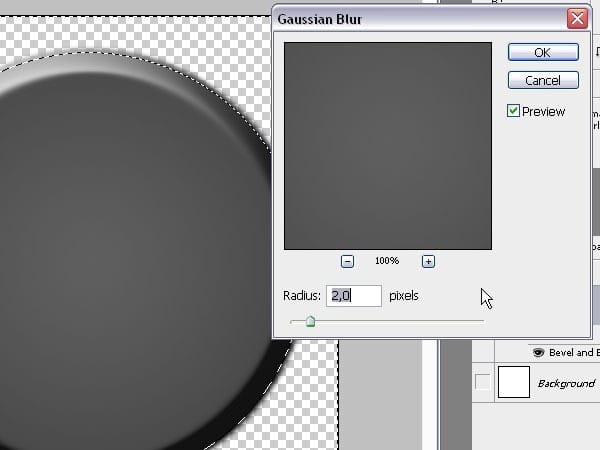
Contract (Select > Contract) the selection by 5px. Then Inverse (Select > Inverse) the selection. Last, Blur (Blur > Gaussian Blur) by 2px.
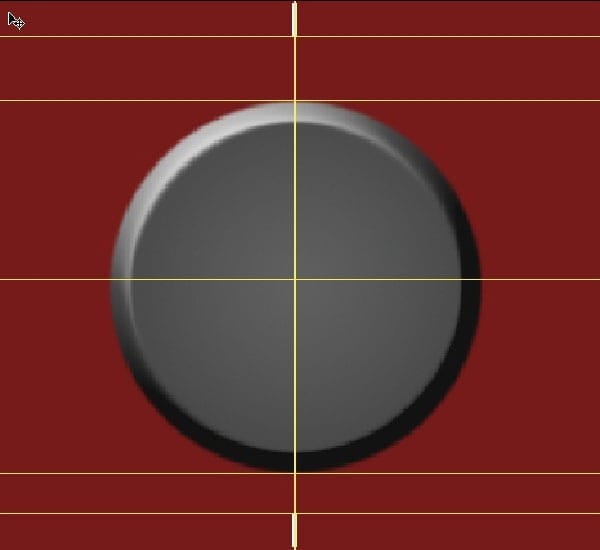
Create two perpendicular gridlines to find the centre of the circle. Then create gridline for the top and bottom of the circle. Last, create gridlines 60px above the top gridline and 60px below the bottom gridline. I’ve changed the background colour below so that you may see better. Create a new layer and draw 2px lines from the 60px lines outwards.
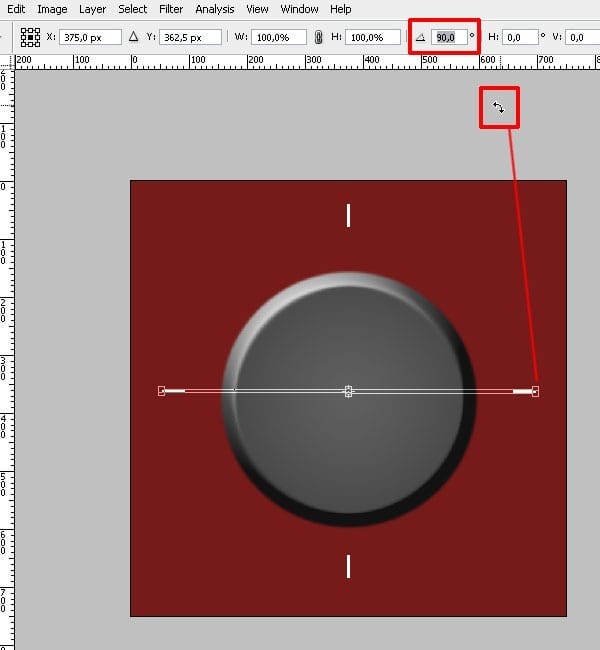
Duplicate the layer with the lines and rotate it by 90 degrees (Hold the cursor in the corner and wait until the rotating symbol appears).
Repeat the above step for 45 degrees to the left and right, then 22,5 degrees for the rest.
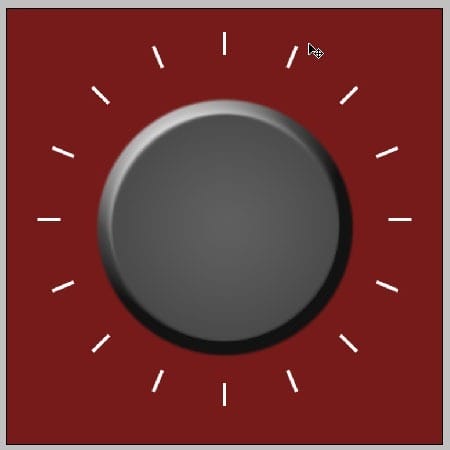
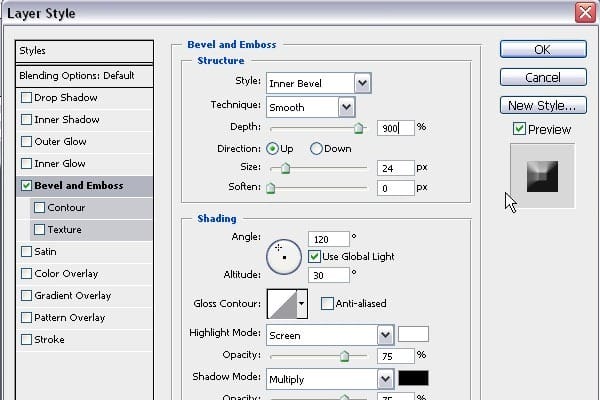
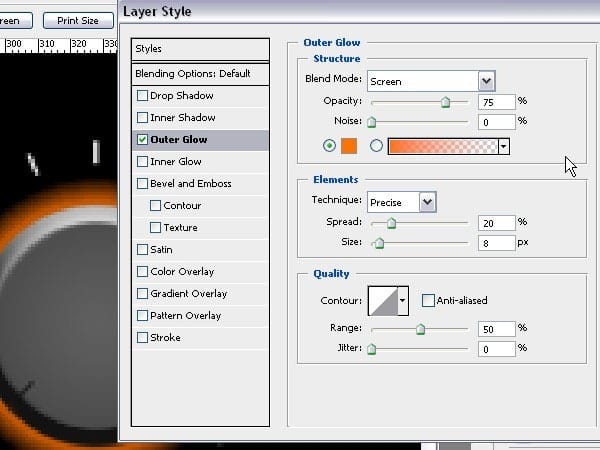
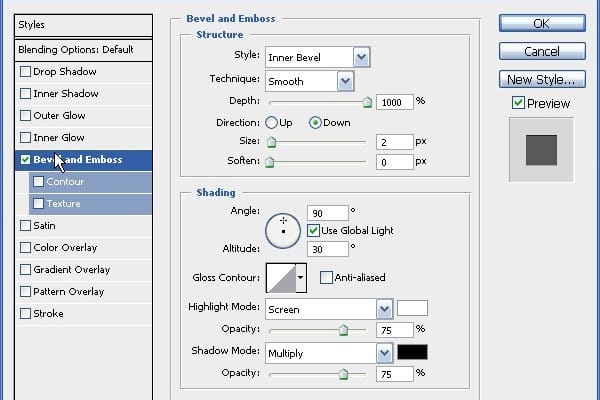
Merge the lines and the knob together. If you changed your background colour, make sure you uncheck that before the merge. Call the merged layer “Turn_button_A.” Resize the knob to 110 × 110 and use the following Layer Style.
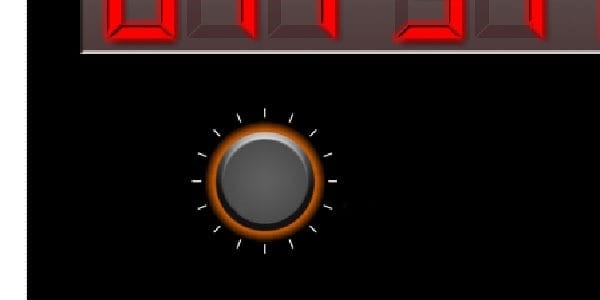
Place your knob in the area as shown below.
Create a new layer in the same group as the knob and label it “displayBackGr.” Make a selection with a width of 50 and a height of 80. Fill the selection with #0F0F0F.
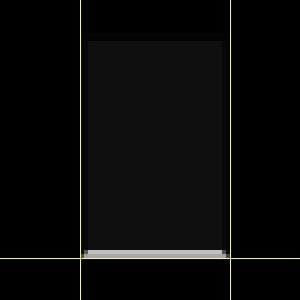
Use these blending options for the selections.
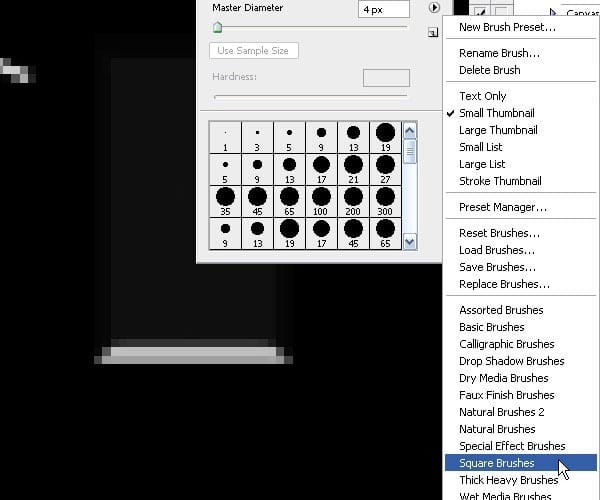
Create another new layer in this group and label it “displayNumber.” Use the Pencil Tool (B) and right click to add the square brush set. Select the 4px square pencil tip.

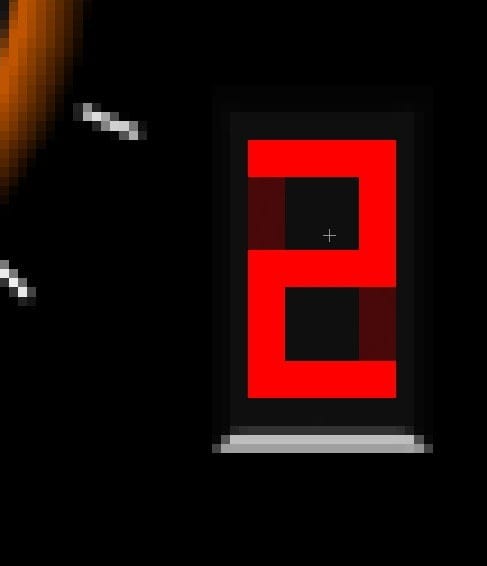
Create a number by using red (#FF0000) for the lines that are lit and brick red (#494949) for lines that are not lit.
Nudge the Knob group to 350px on the ruler.
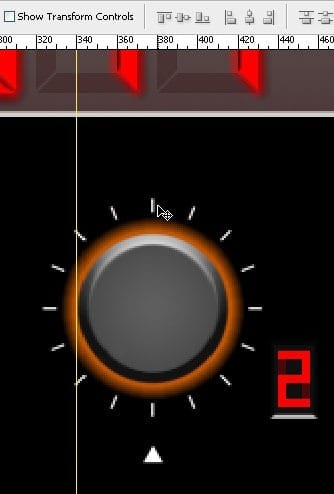
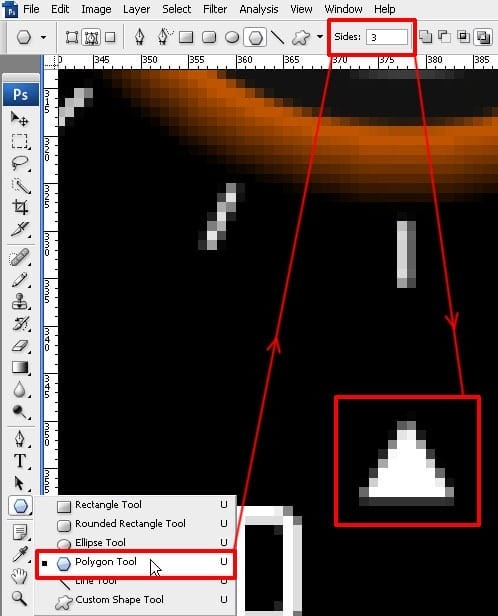
Select the polygon tool, set the sides to 3, and create a triangle path. Then right click on the path to make a selection and fill it white.
Duplicate the Knob group twice. Place one at the horizontal mark of 490 and the other at 640. Change the Outer Glow of knob 2 (Turn_button_B) to #2C8BB9 or another colour that you like. Change the display number as well. Then change the Outer Glow of knob 3 (Turn_button_C) to #46BF0C or another colour you like. Then change the display number for that knob as well.
2 responses to “Draw a Stargate Timer in Photoshop”
-
This is not stargate. This is Sliders.


Leave a Reply