Select the Text Tool and the Font “Tenby Five.” Then create a new group and label it as “Text.” I named Turn_Button_A “T-SPEED,” Turn_Button_B “DEPTH ch,” and Turn_Button_C “SET kHz.” I also added “h,” “m,” and “s,” under the top display for hours, minutes, and seconds, and “9 MAX” to tell how high the numbers go.
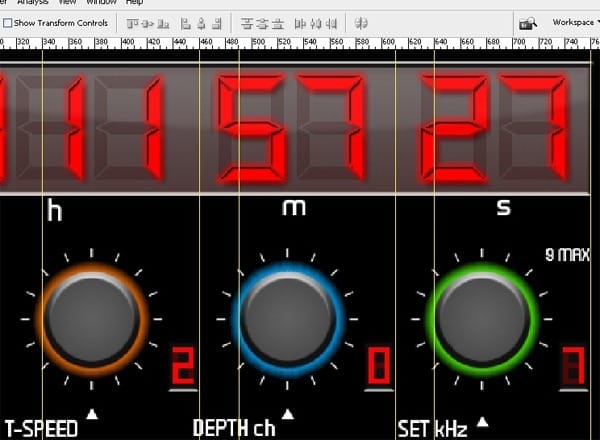
Step 5 – Power meters
This is what you will make.

Make a new group (Meter Group) and new layers (meter 1, bar, bar shadow, background). Make a selection with a width of 50 and a height of 315. Fill it with #262626. Then set the “Bevel and Emboss” to the settings below.
- Inner Bevel: Smooth
- Depth: 100%
- Size: 2px
- Direction: down
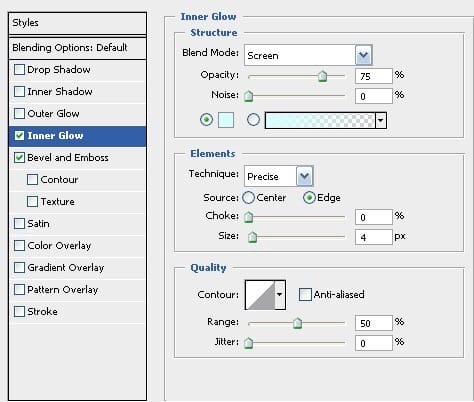
Then set the “Inner Glow” preferences to the image shown below.
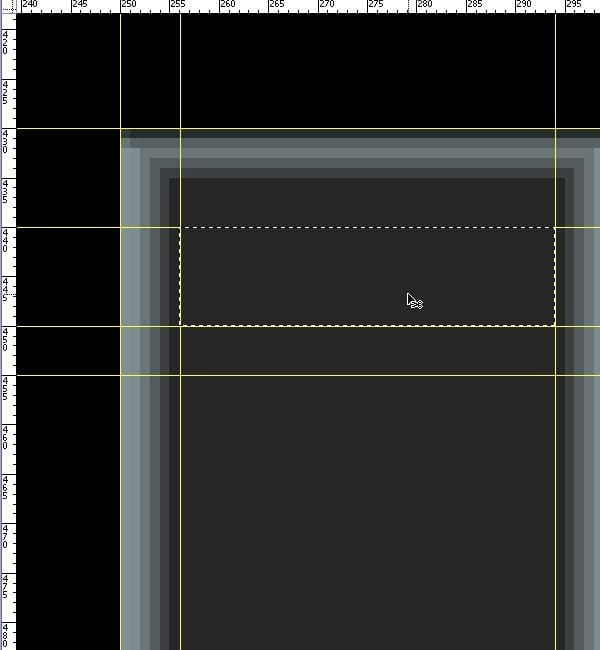
Make a selection like the one below.
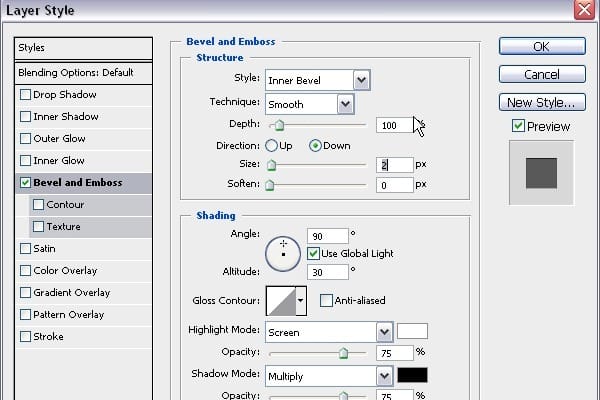
Fill the selection with #FF2F00 and use the Bevel and Emboss settings below.
Set some gridlines at the bottom of the bar and 5px from the bottom of the first bar.
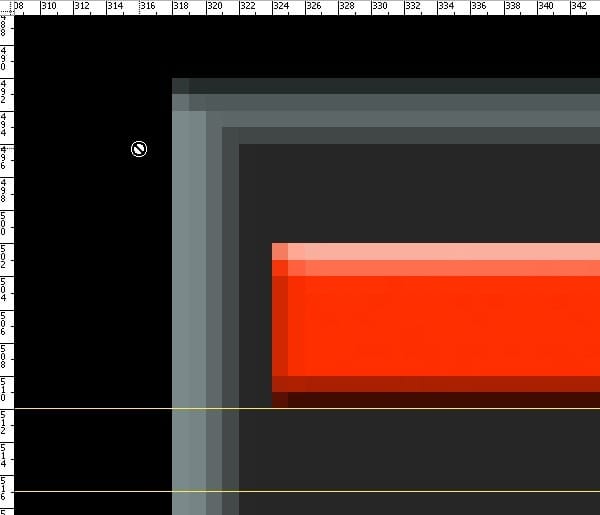
Use the Action function to duplicate the red bar into a power meter. Push ALT+F9 and make a new action.
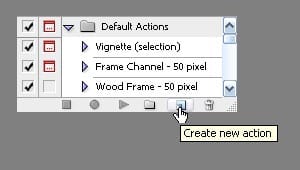
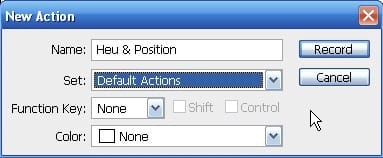
Call the New Action “Hue & Position” and click Record.
First duplicate the red rectangle layer. Then change the Hue/Saturation (Image > Adjustments > Hue/Saturation) to the settings below.
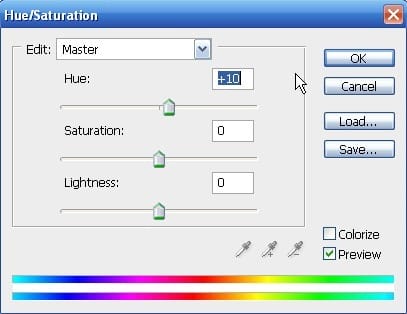
Nudge the duplicated layer 5px down. Then hit the stop button to stop recording. When you hit play, you will see that you make a new rectangle that becomes greener every time.
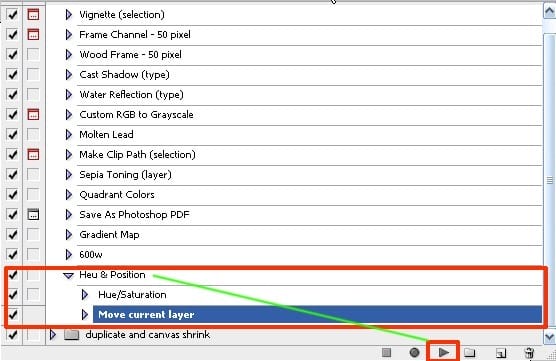
Hit play until there is a nice green rectangle at the bottom.
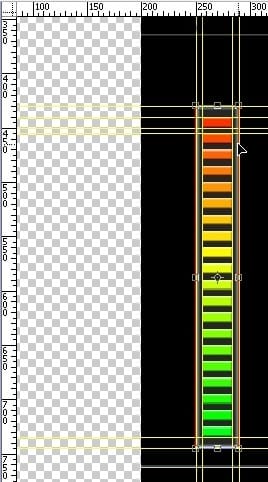
Merge the coloured bars together into one layer and label it “bars.” This metre is at full capacity and will serve as a template. Duplicate the layer “bars” and label it “bars shadow.” Drag the “bars shadow” layer below the “bars” layer. Duplicate the group of bars to create three other groups. See below for the ordering of layers and groups. Note that I have created groups for Meters 2, 3, and 4.
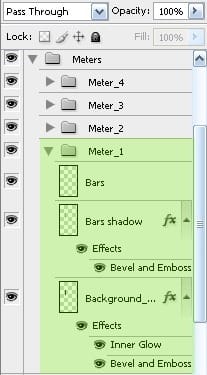
Select the “bars shadow” layer and desaturate it (Image > Adjustments > Desaturate). Then right click to get to Layer Style and adjust the “Bevel & Emboss” settings to the following.
- Style: Inner Bevel
- Technique: Smooth
- Depth: 100%
- Direction: Down
- Size: 0
- Soften: 0
Delete some coloured bars from the “bars” layer and you will end up with something like this. Do this for the other coloured bars.
2 responses to “Draw a Stargate Timer in Photoshop”
-
This is not stargate. This is Sliders.


Leave a Reply