Luminar AI lets you turn your ideas into reality with powerful, intelligent AI. Download the photo editor and see how you can completely transform your photos in a few clicks.
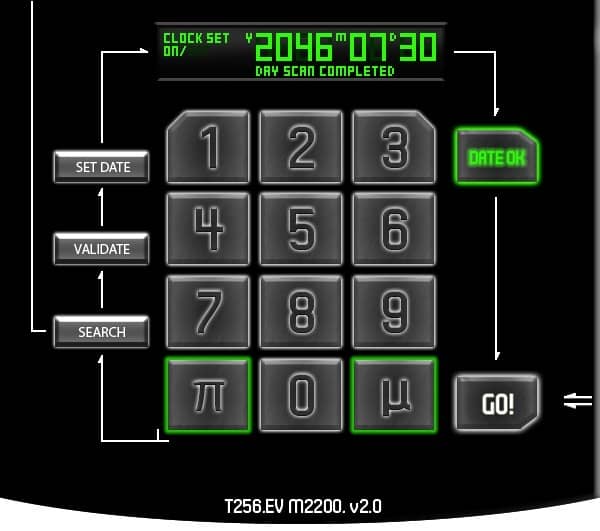
The green display is the same as the one created in Step 10, so duplicate the group that contains the green display. Then scale it down (Edit > Transform > Scale). Change the date to any date you want. The rest of the “text” buttons are also duplicate buttons from other steps.
Now, to create the numerical buttons, duplicate one of the buttons and scale the vertical alignment to about 130%. Then use the Text Tool and type the number 0 using the following settings.
- Font Face: Tenby Five
- Size: 60px
- Colour: White
Select (Ctrl + Click) the layer.
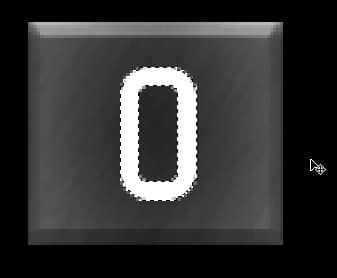
For the number 1, Select (Ctrl + Click) the text layer and then the background layer. Then Copy (Edit > Copy) and Paste (Edit > Paste) it so there is another layer. Delete the text layer.
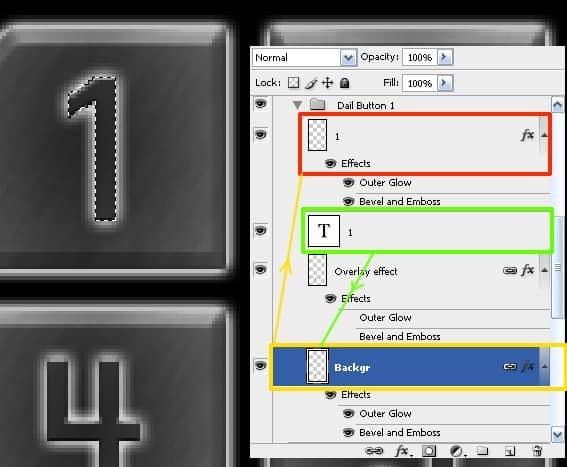
Set the new layer to these Bevel and Emboss settings.
- Style: Inner Bevel
- Technique: Smooth
- Depth: 1%
- Direction: Up
- Size: 0
- Soften: 0
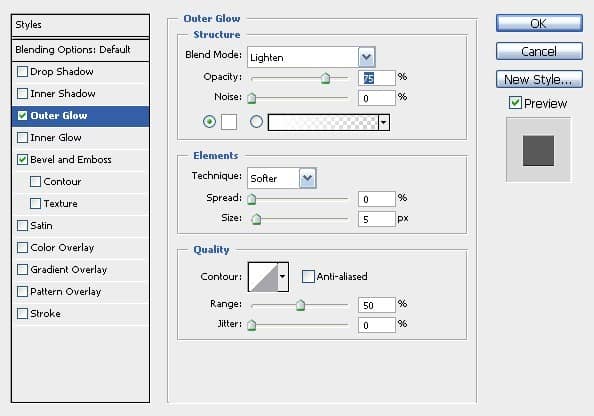
Then add some Outer Glow with these settings.
To make the slanted corners on some of the numbers, create a rectangular selection and rotated it 45 degrees. Then select the layer for the button you wish to alter. Next, hit “Enter” to transform the selection. Last, hit “Delete” to erase the part of the corner.
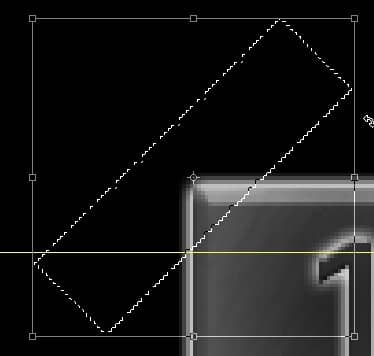
Apply the same effect to other buttons you wish to alter.
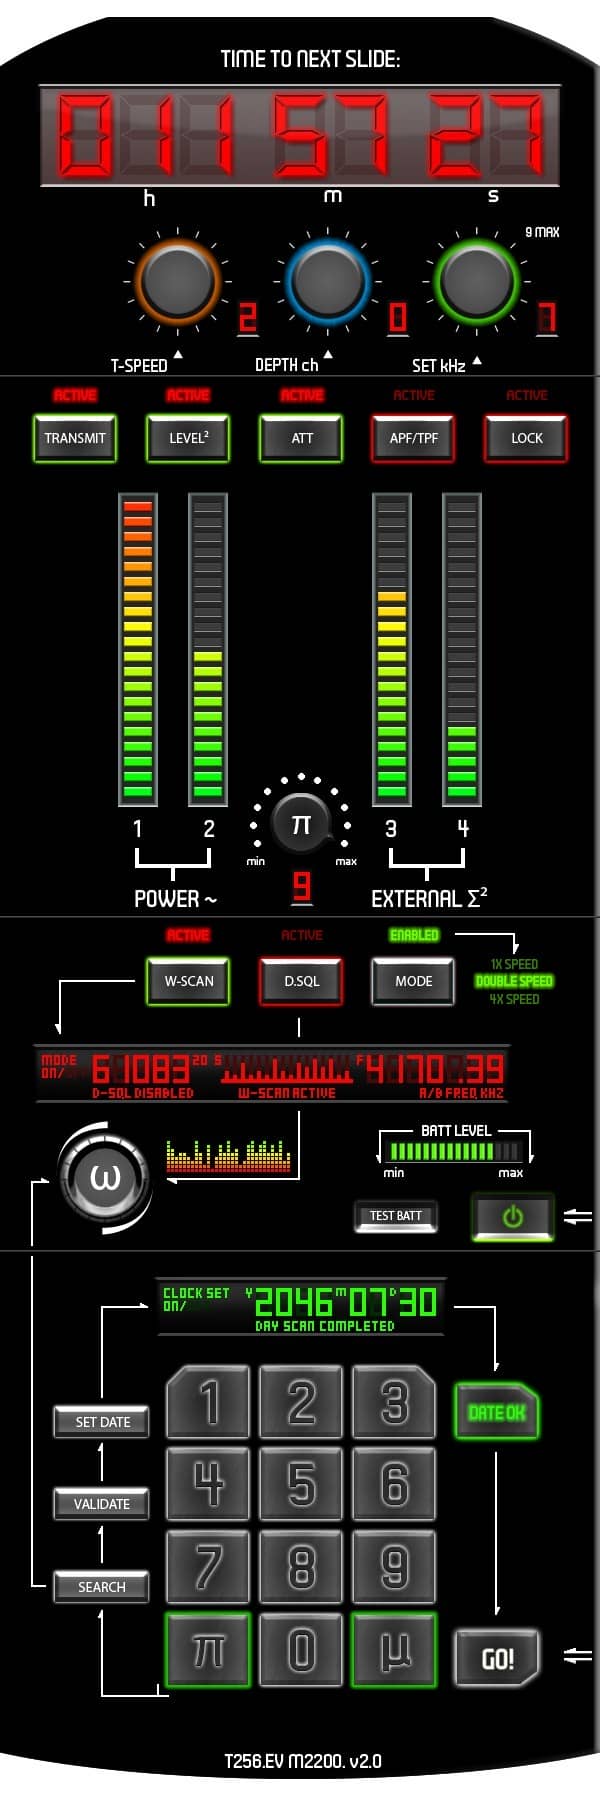
Final Results

2 comments on “Draw a Stargate Timer in Photoshop”
This is not stargate. This is Sliders.