Luminar AI lets you turn your ideas into reality with powerful, intelligent AI. Download the photo editor and see how you can completely transform your photos in a few clicks.
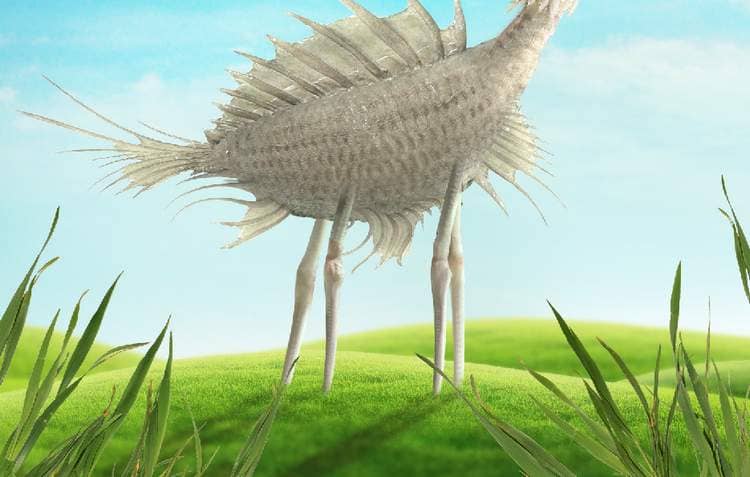
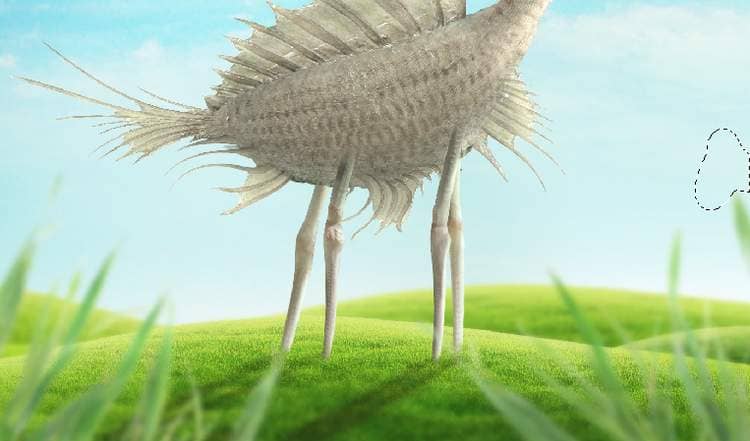
Apply a Gaussian Blur of 6 pxfor all of these blades layers.
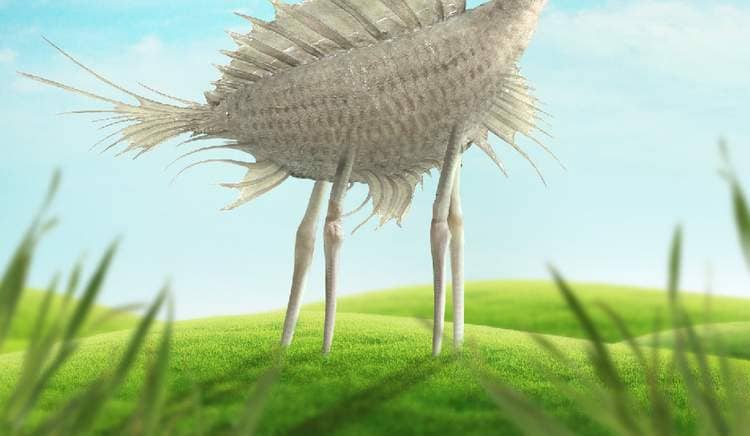
Step 46
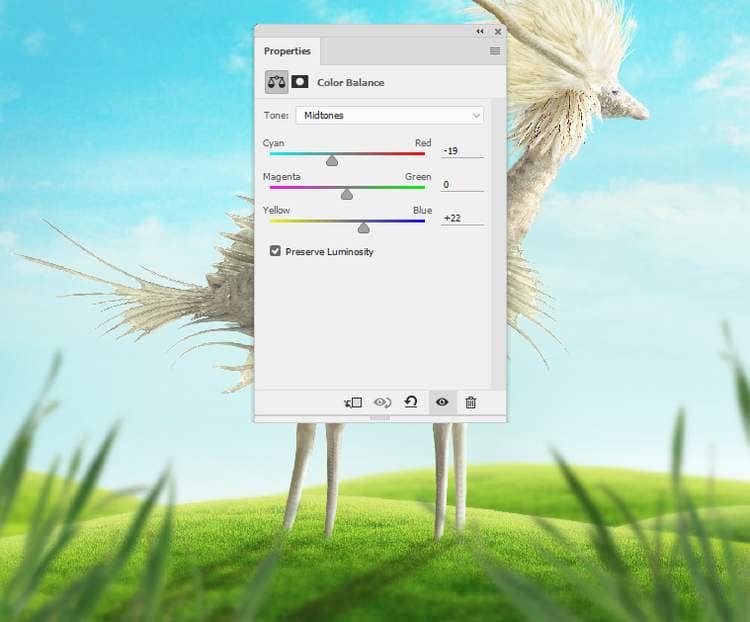
Create a group for the blades layers and add a Color Balanceadjustment layer to change the blades' color a bit.
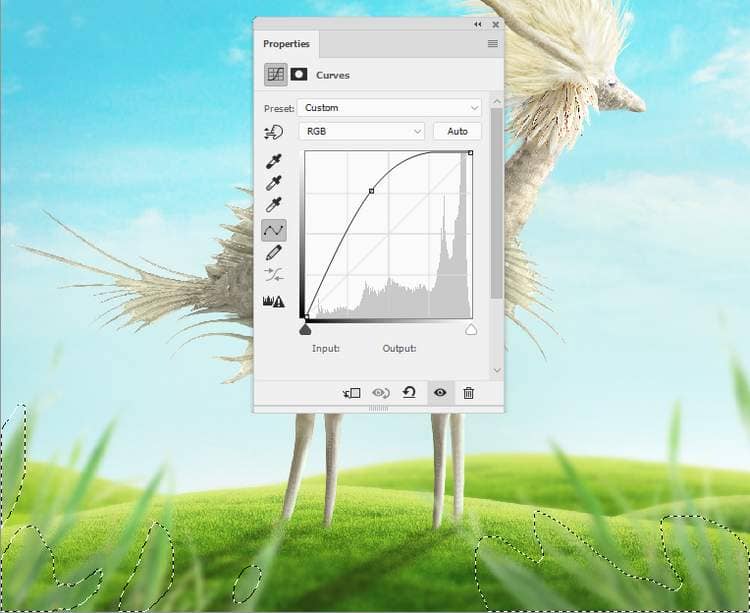
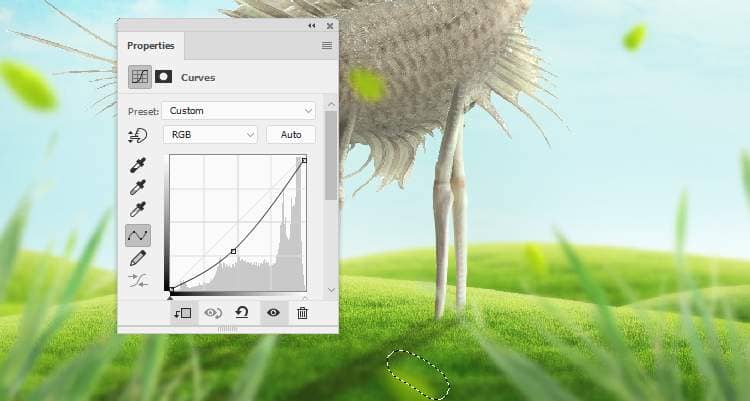
Make a Curvesadjustment to brighten the top of the blades. Use a soft black brush with the opacity about15-20%to reduce the light on the bottom.
Step 47
Add a mask to this group and use a soft black brush to erase the top of the blade on the right.
Step 48
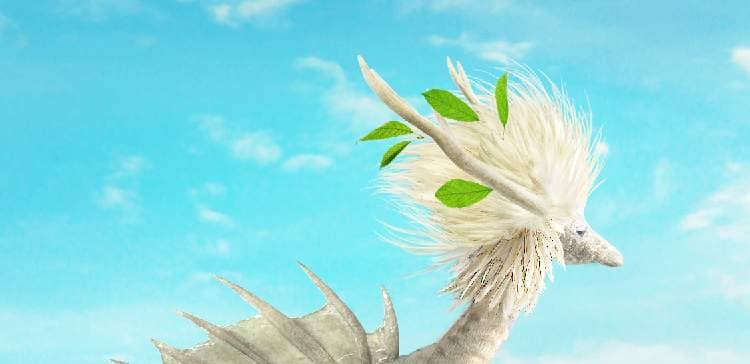
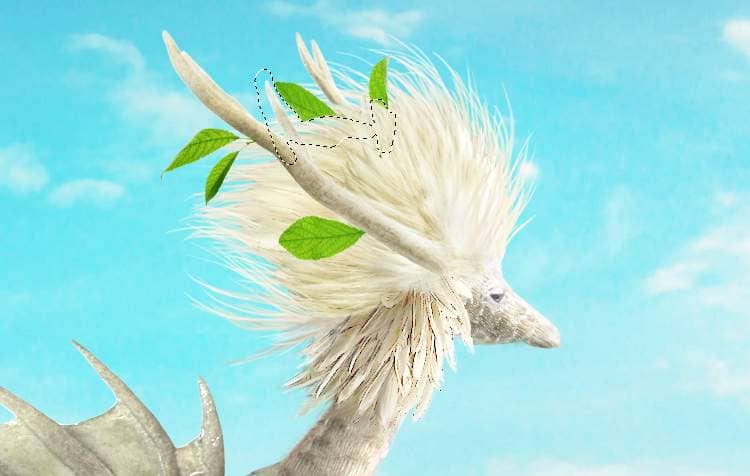
Isolate the leaves from the background and take some leaves to add to the horns. Add a mask to the upper leaves to make a part of them hidden behind the hairy head.
Step 49
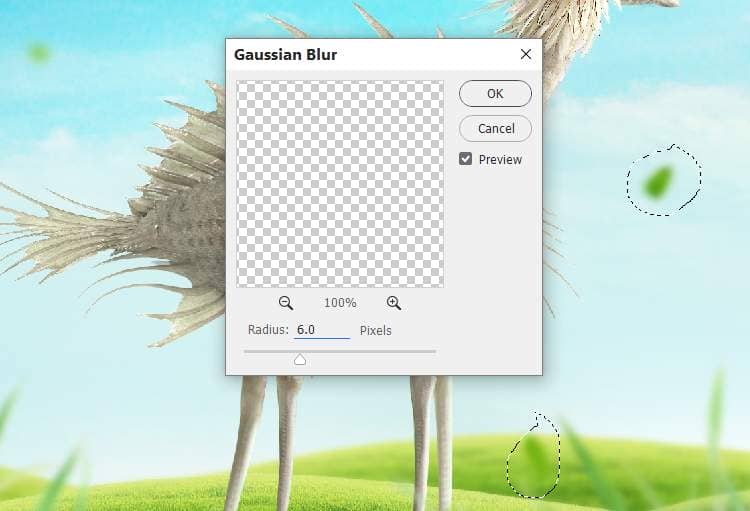
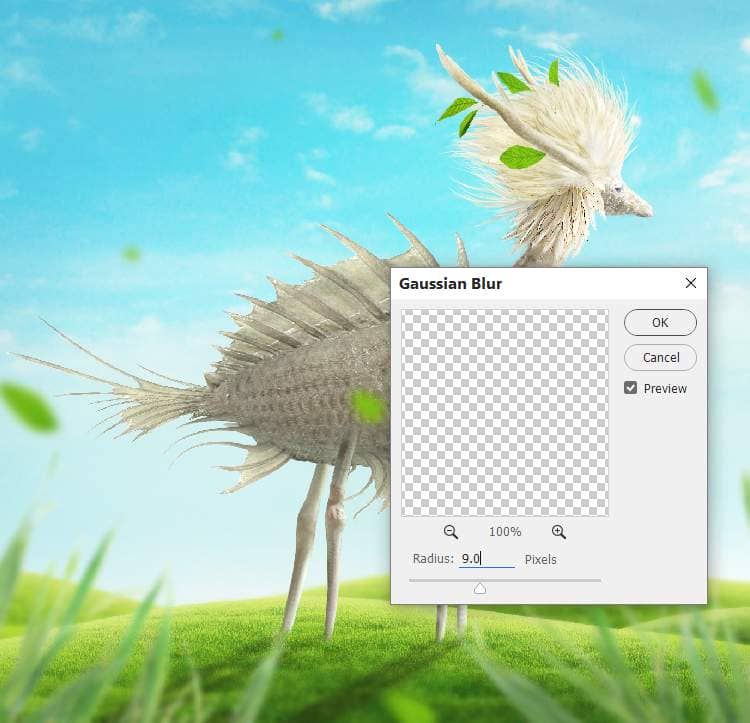
Add more leaves to the scene and use Ctrl+Tto vary their sizes. Apply the Gaussian Blurfilter of 6 pxto the leaves which are near the middle right. I've changed the radius to 9 pxfor the rest of the leaves.
Step 50
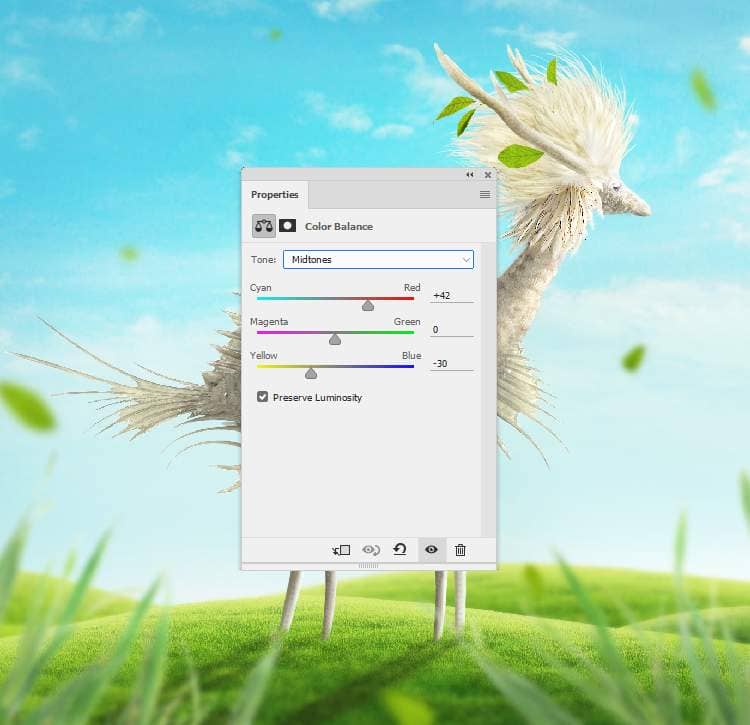
Make a group for the leaf layers and add a Color Balanceadjustment layer to change the leaves' color a bit.
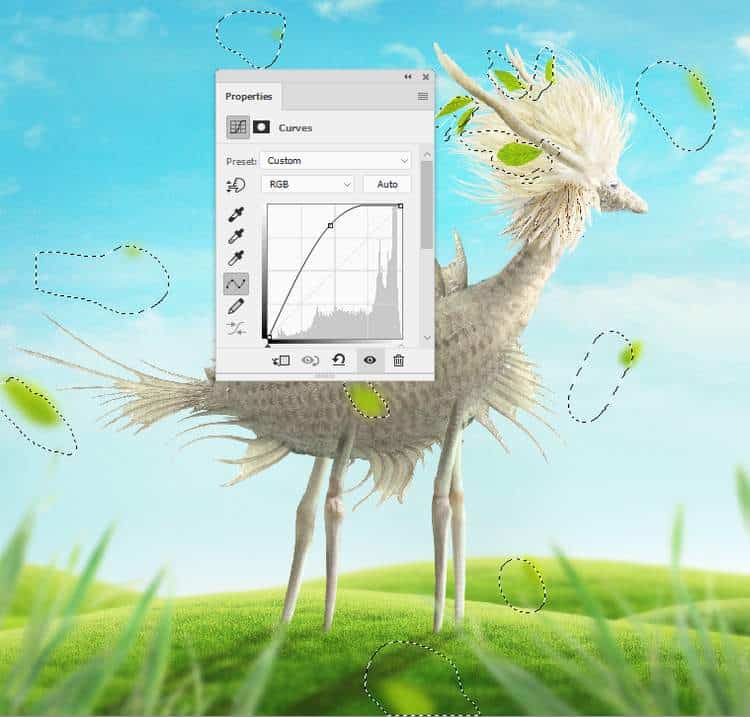
Create a Curves adjustment to brighten the right of the leaves to fit the light on the background. On this layer mask, paint on the left to keep the shadow and contrast there.
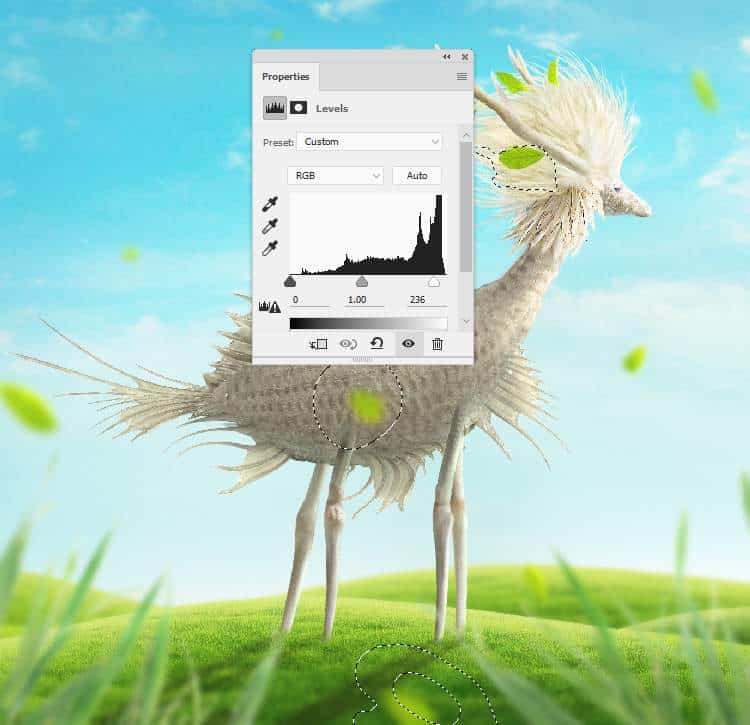
Add a Levels adjustment layer to brighten the left of some leaves more. Paint on the leaves on the middle, the foreground and on the horn area to keep their lightness.
Step 51
Make a Curvesadjustment layer for the leaf on the foreground to darken its lower a bit. Paint on the upper so it won't be affected by this adjustment layer.
Step 52
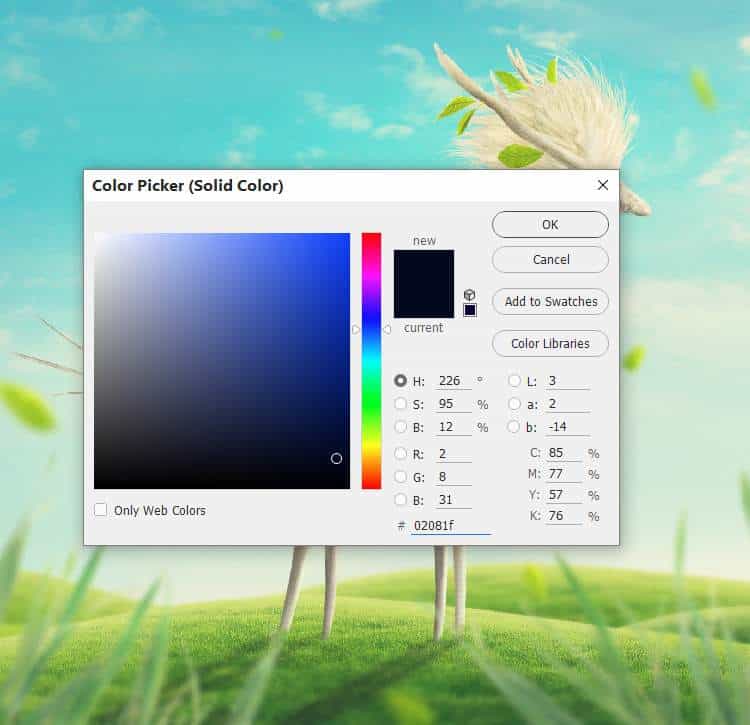
Create a Color Filllayer on top of the layers and pick the color #02081f. Change this layer mode to Exclusion 100%.
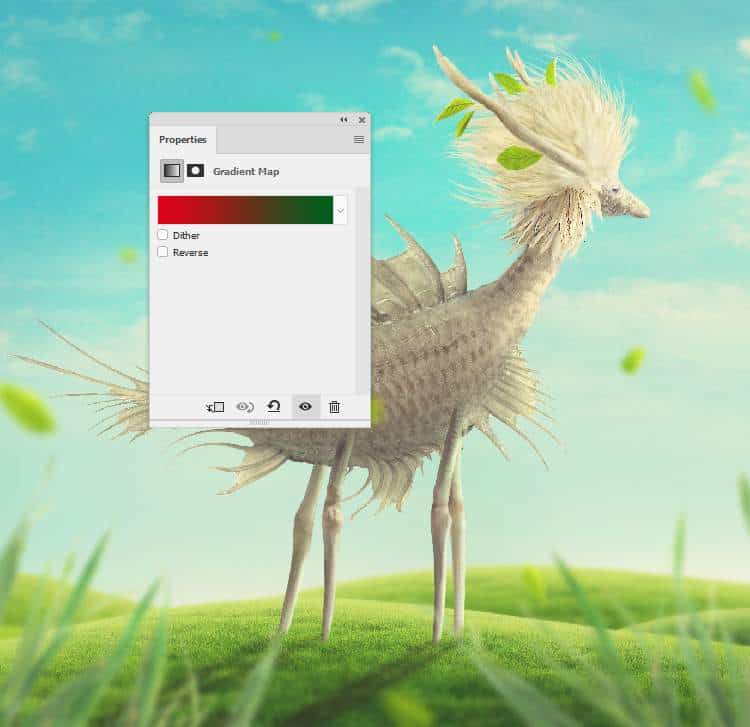
Make a Gradient Mapadjustment layer and pick the colors #e10019and #00601b.Change this layer mode toSoft Light 20%.
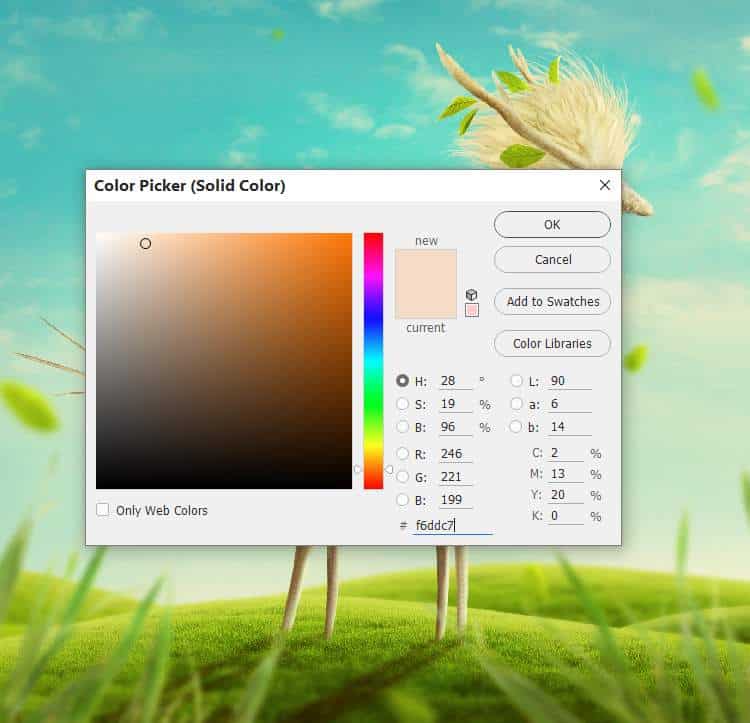
Add a Color Filllayer and pick the color #f6ddc7 and alter this layer mode to Color Burn 100%.
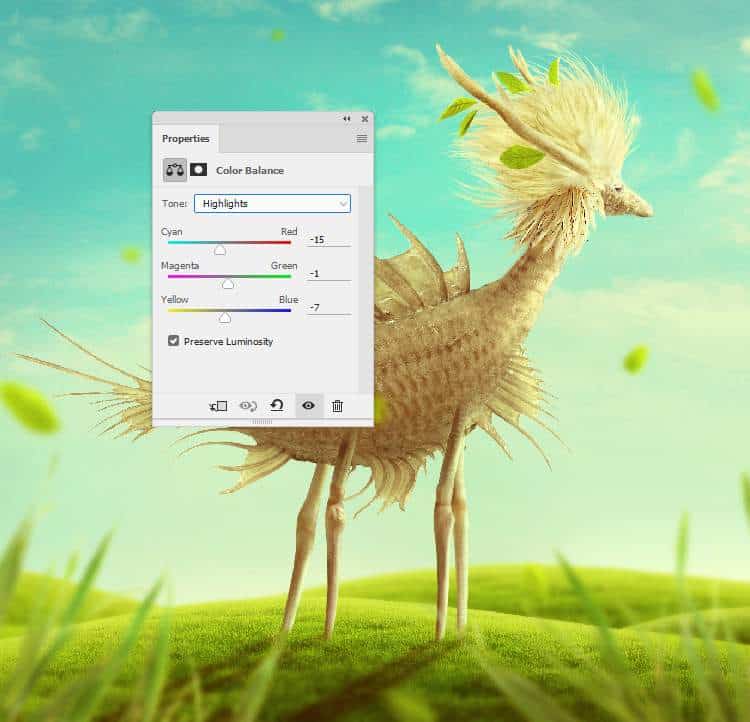
Create a Color Balanceadjustment layer to give the whole scene some vibrant color and contrast.

Step 53
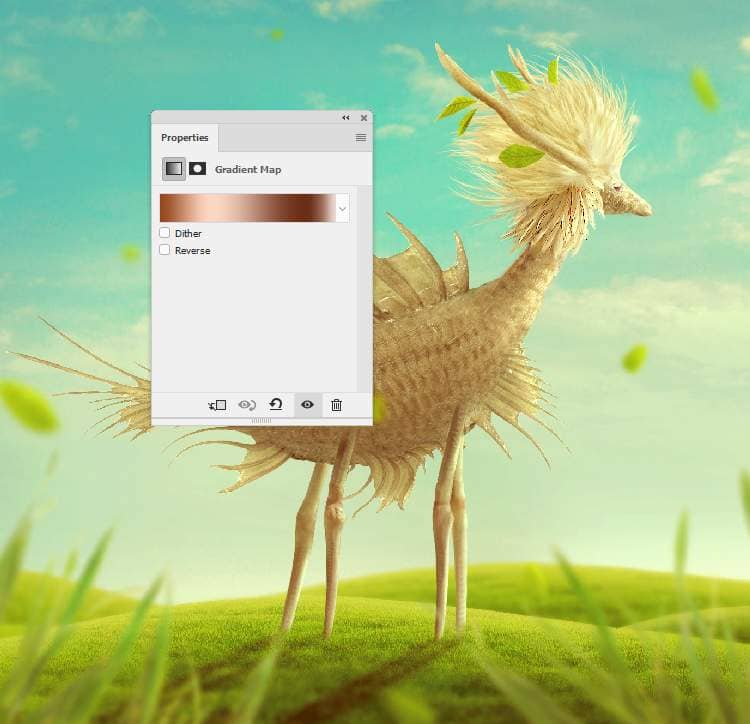
Make another Gradient Mapadjustment layer and pick the colors #97461a, #fbd8c5, #6c2e16and #efdbcd. Change this layer mode to Hard Light 10%.
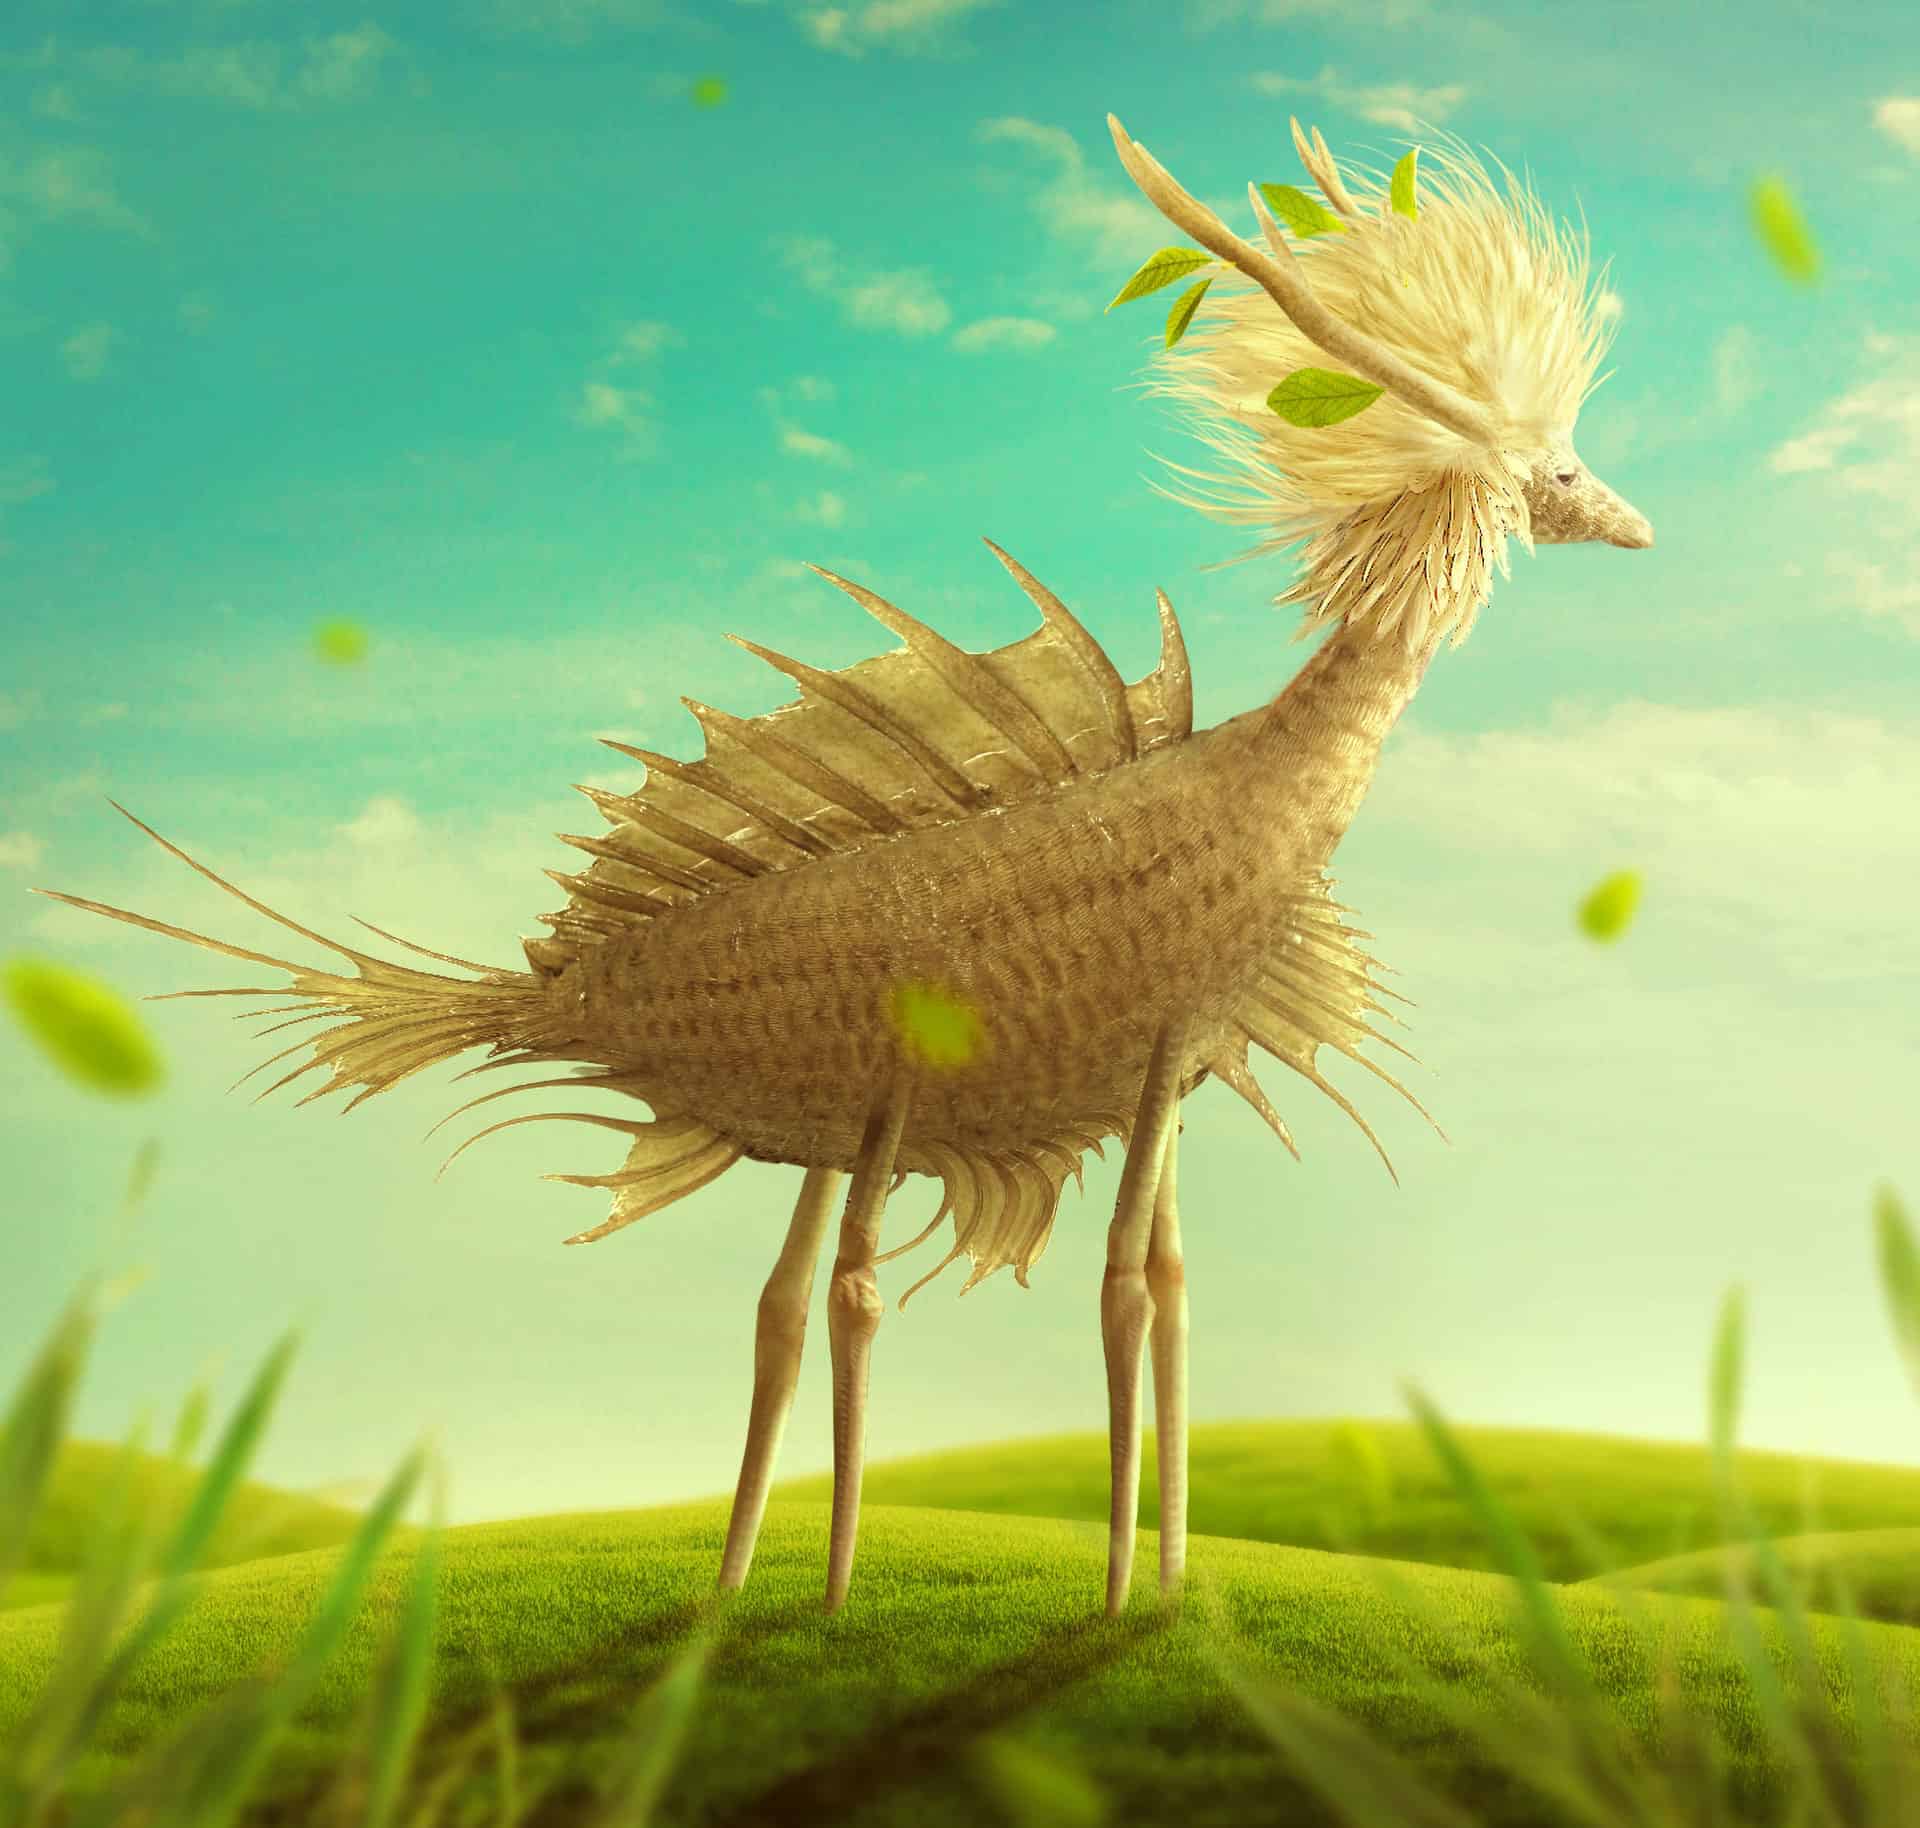
Add a Curvesadjustment layer to darken the left of the canvas. Paint on the right to keep its lightness and make a nice contrast for the scene.


7 comments on “How to Create a Fantasy Creature with Adobe Photoshop”
create a creature that have a head of sloth and body of elephant.
search it up ya nonce
first space movie
who u calling nonce
Creative good work!
wake up you nonce
jee