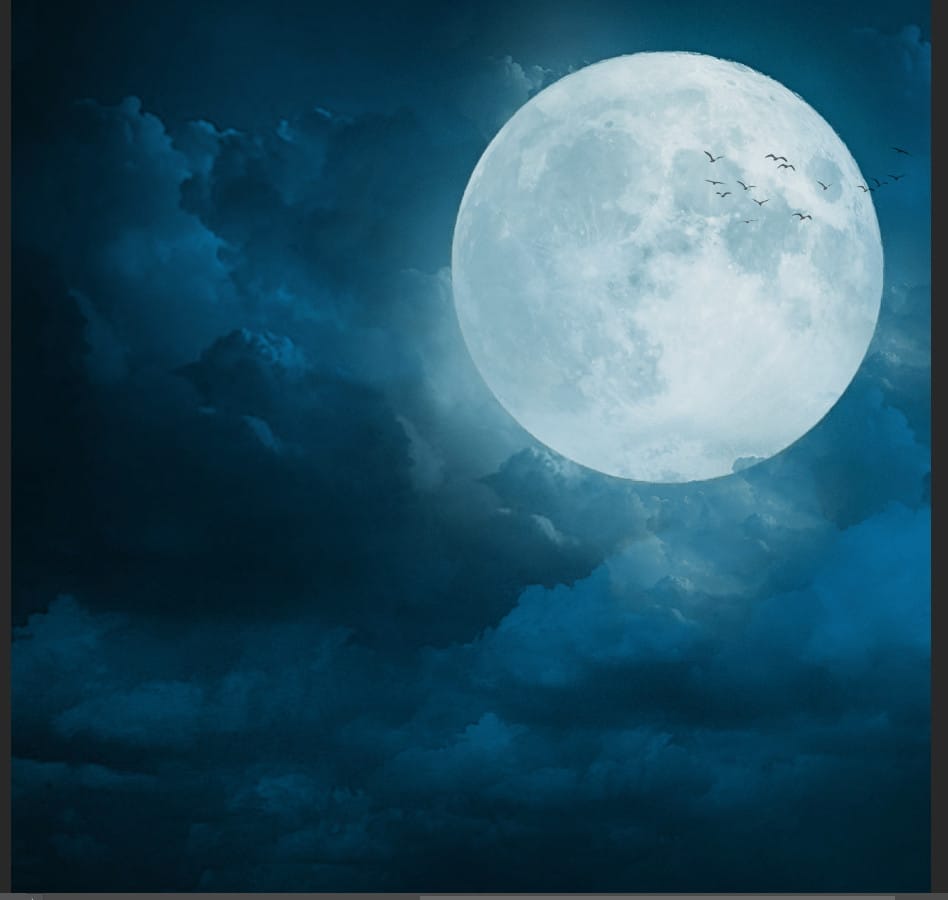
Step 9
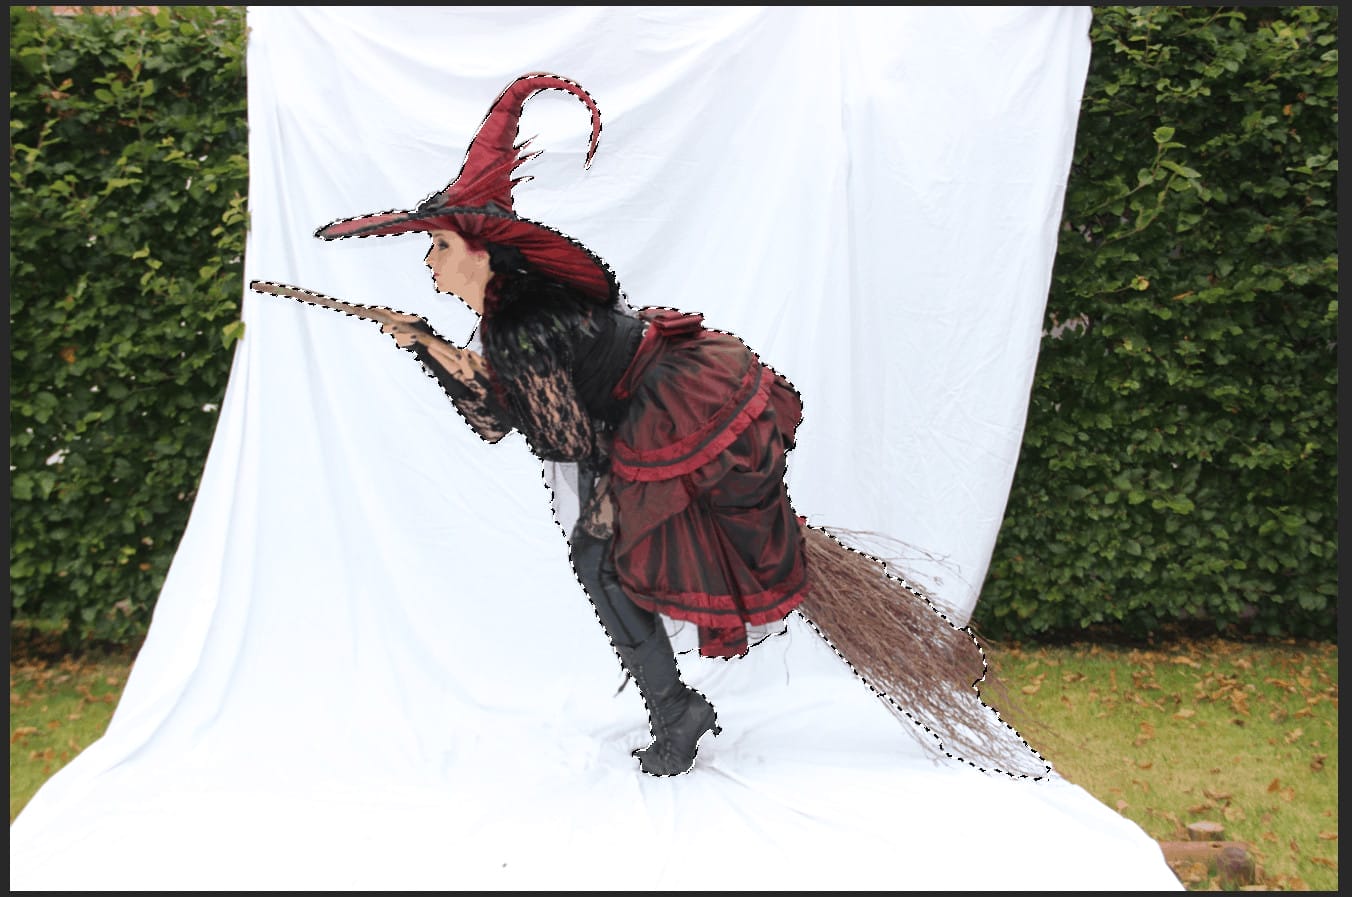
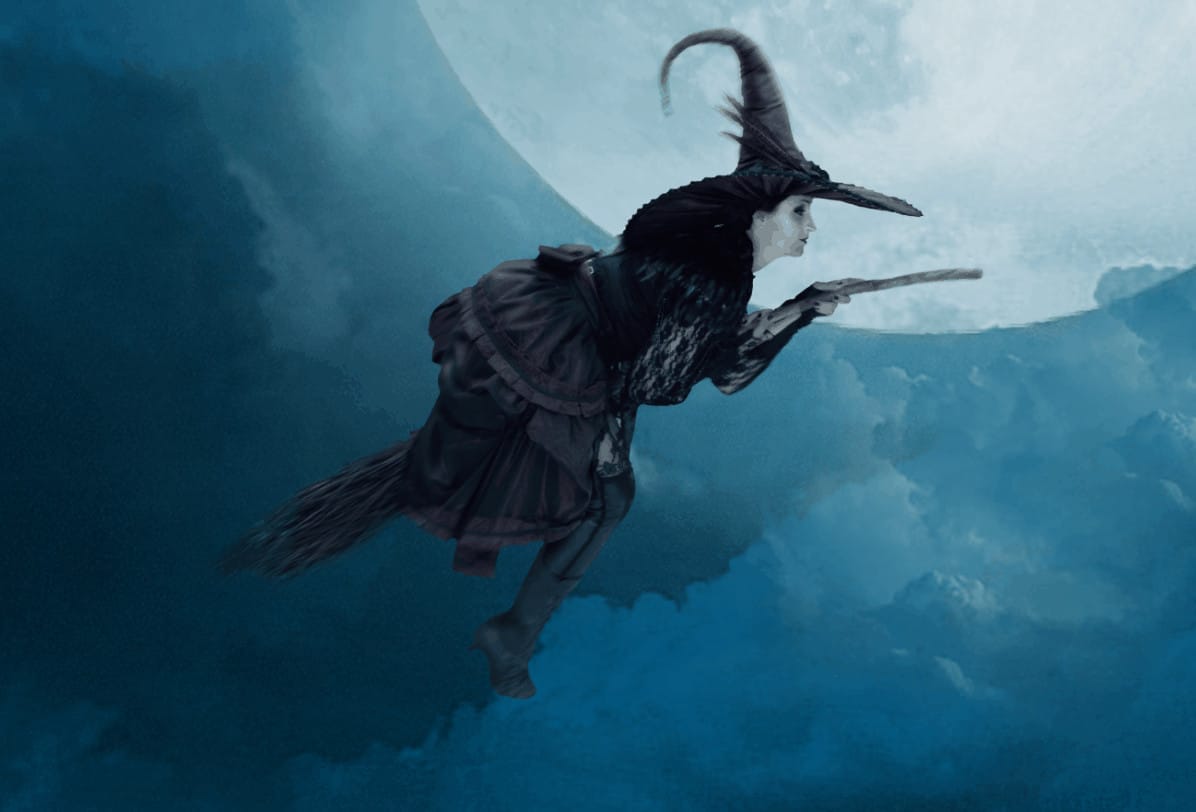
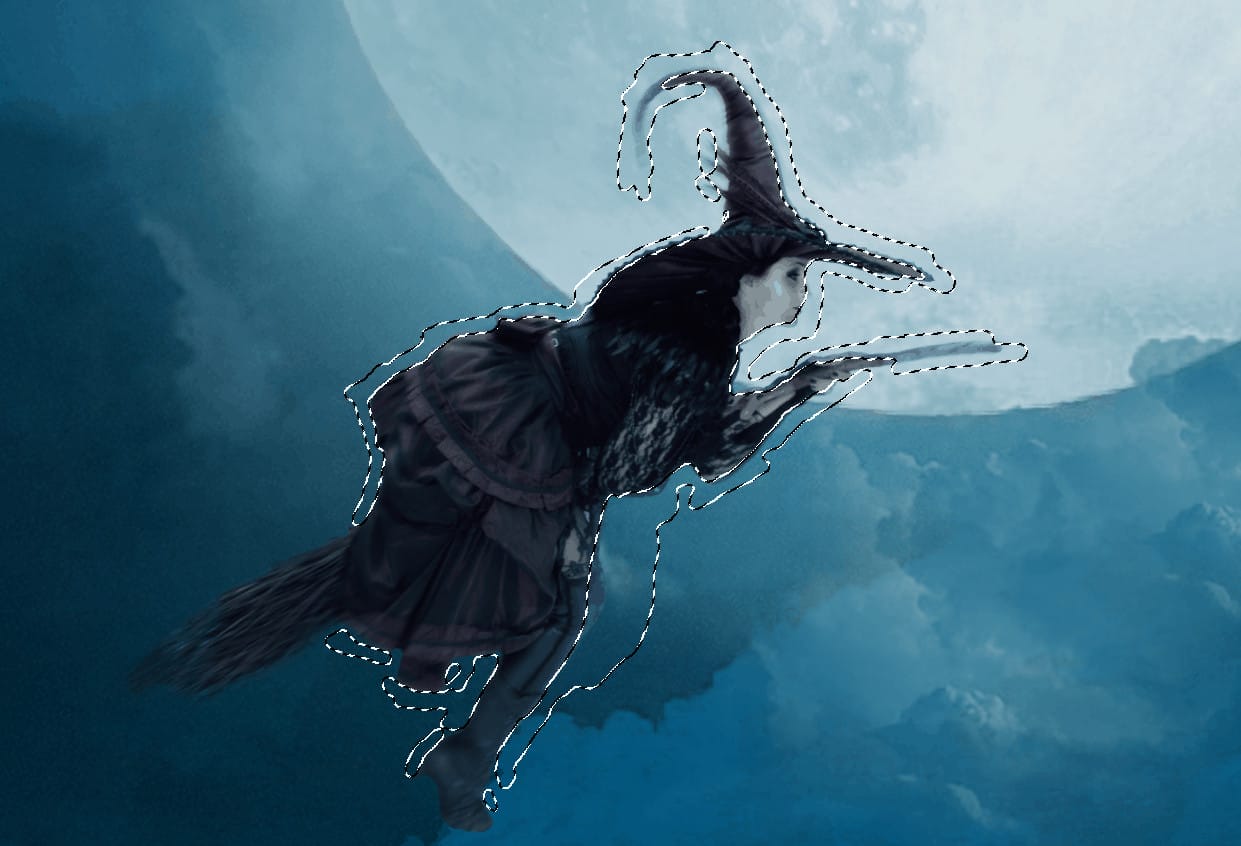
Now, go to File > Open and select Witch. Then use a Pen Tool(P) and start selecting the Witch. When we finish the selection press right click on mouse and “Make Selection” then create layer mask..The simplest path you can draw with the standard Pen tool is a straight line, made by clicking the Pen tool to create two anchor points. By continuing to click, you create a path made of straight line segments connected by corner points.
- Select the Pen tool.
- Position the Pen tool where you want the straight segment to begin, and click to define the first anchor point (do not drag).
- Click again where you want the segment to end
- Continue clicking to set anchor points for additional straight segments.
- The last anchor point you add always appears as a solid square, indicating that it is selected. Previously defined anchor points become hollow, and deselected, as you add more anchor points
- Complete the path by doing one of the following:
- To close the path, position the Pen tool over the first (hollow) anchor point. A small circle appears next to the Pen tool pointer
 when it is positioned correctly. Click or drag to close the path.
 - To leave the path open, Ctrl-click (Windows) or Command-click (Mac OS) anywhere away from all objects. To leave the path open, you can also select a different tool.
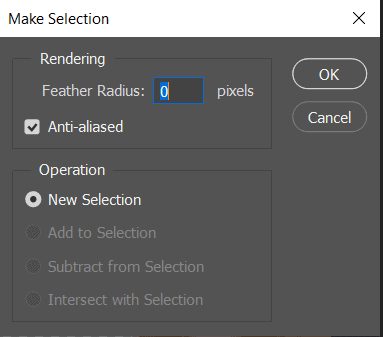
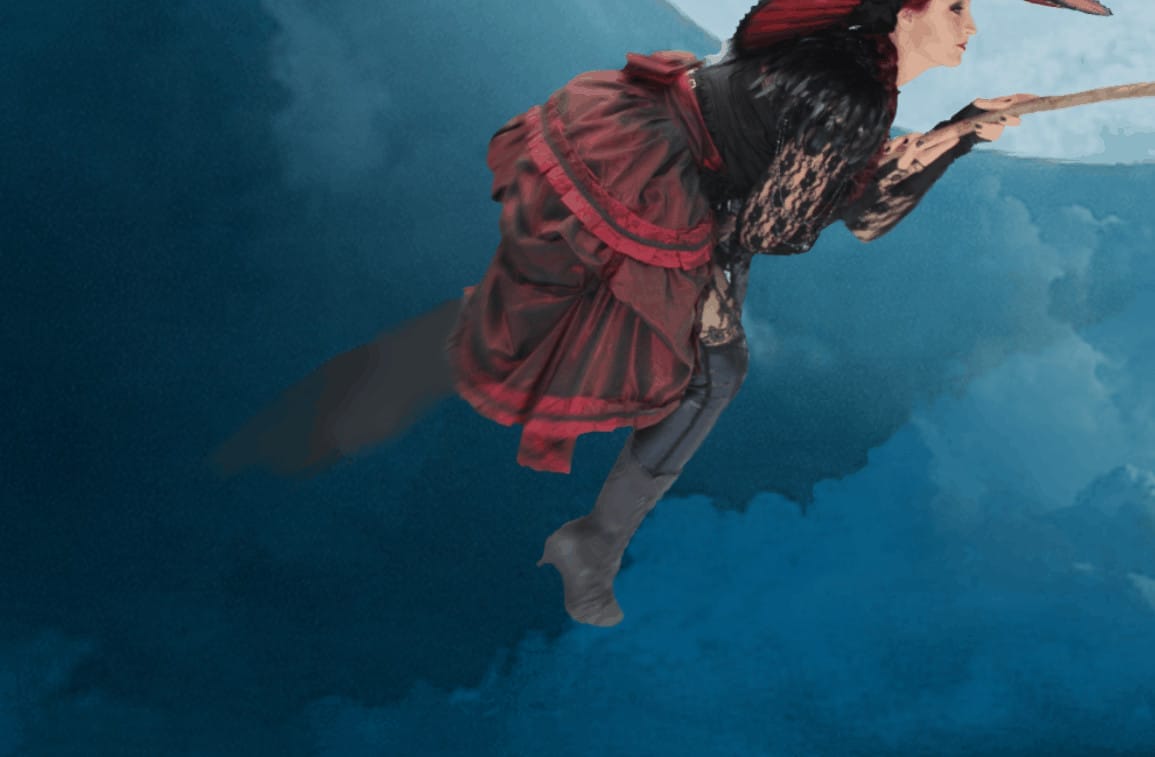
Feather Radius set to 0px and check Anti-alliased. After the selection area has been created, simply copy (Ctrl / Cmd + C) and Paste (Ctrl / Cmd + V) it to our work canvas. Then position the image with the transform tool (Ctrl / Cmd + T). Hold Alt + Shift and resterize like image below. In Photoshop CC only hold Alt to resterize al sides together.
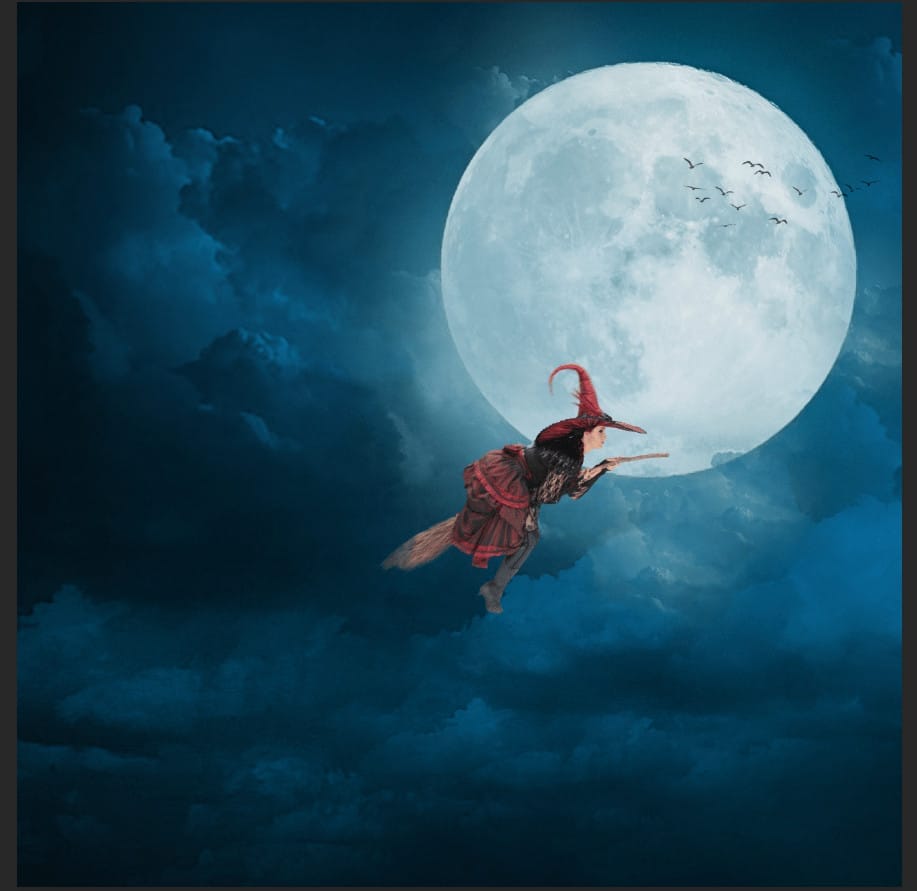
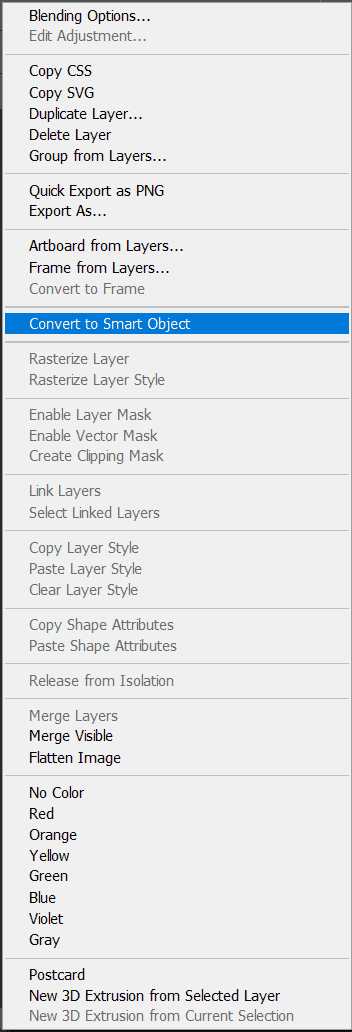
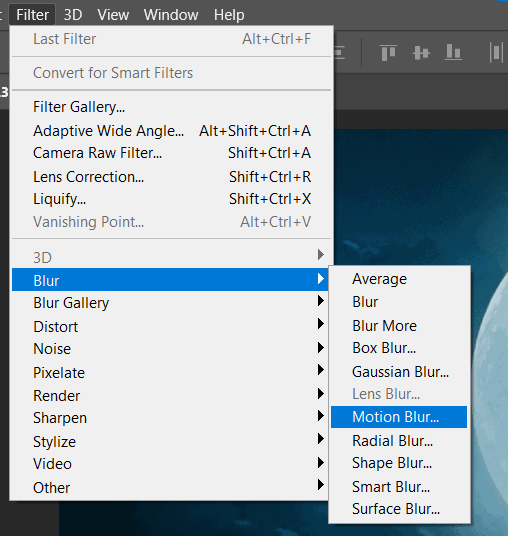
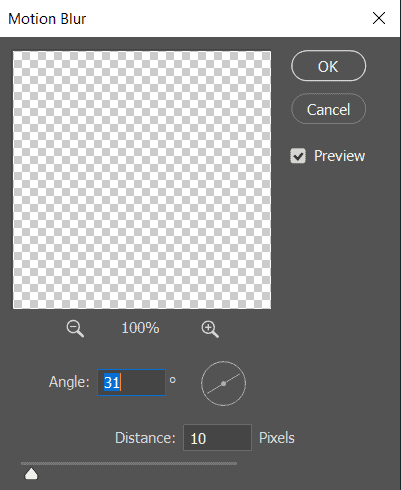
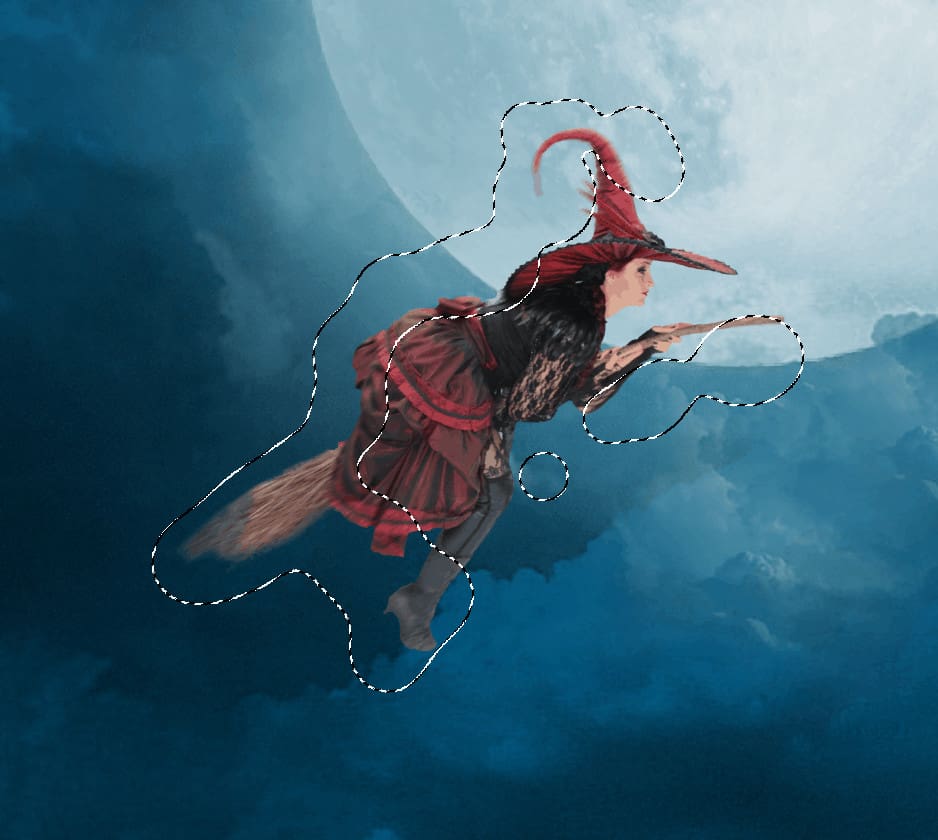
Now convert layer to “Smart Object” and Go to Filter > Blur > Motion Blur Angle set to 31 and Distance 10px then press Ok. Press Ctrl/Cmd + I to invert layer mask, then use Brush Tool(B) Soft Round with foreground color white and start painting selected area…
Step 10
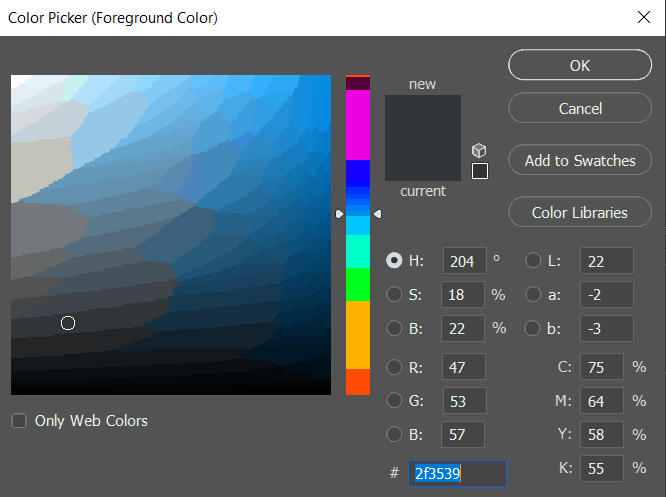
Create a new layer and select Brush Tool(B) Soft Round with foreground color Gray//Blue #2f3539 and paint the Broom. Blend mode change to Soft Light.
Step 11
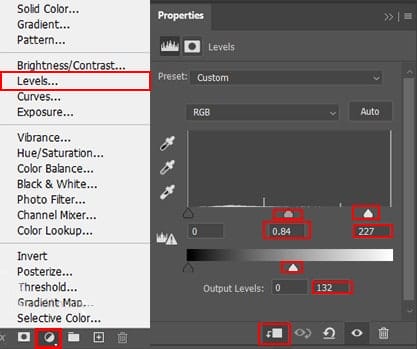
Add Adjustment Layer “Levels”
Step 12
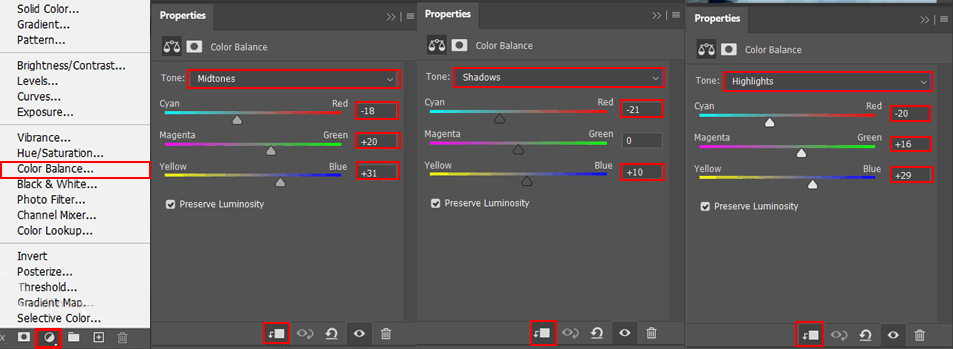
Add Adjustment layer “Color Balance”
Step 13
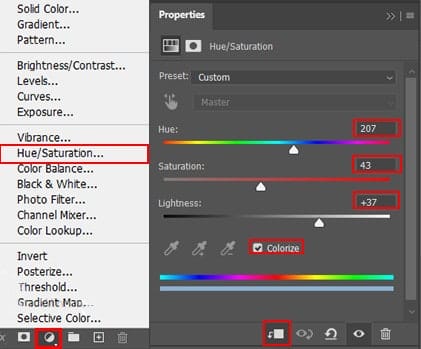
Add Adjustment Layer “Hue/Saturation” Opacity reduce to 95%
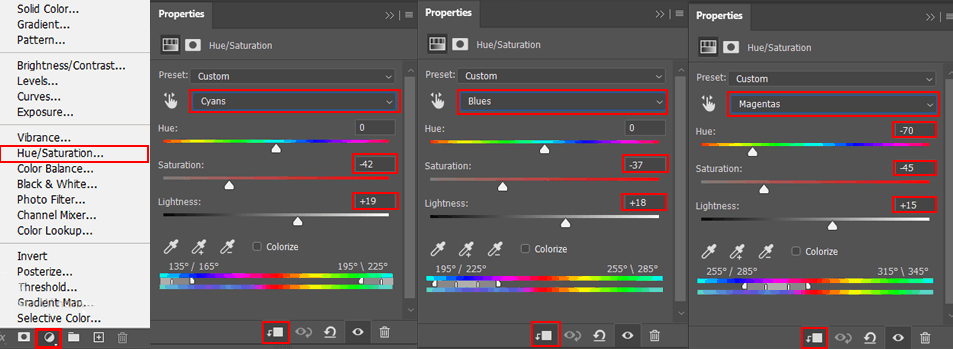
Step 14
Now, create more lights. Create a new layer and press right click “Create Clipping Mask”
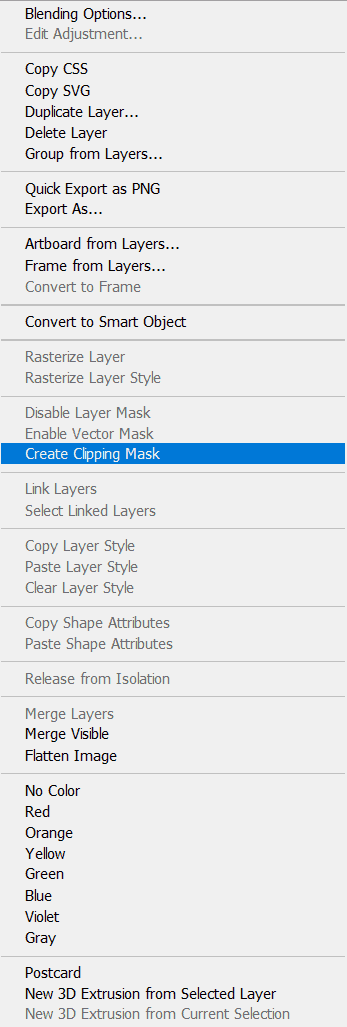
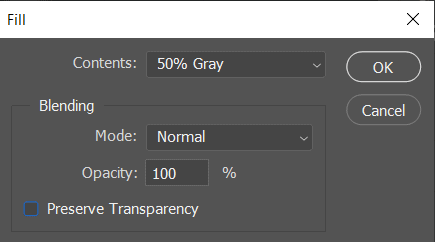
Then go to Edit > Fill and Contenst: 50% Gray and press Ok.
Now use Brush Tool(B) Soft Round with foreground color white and Brush Opacity set to 10-20%. Then start painting Witch. Take a look at the example in the picture below how much you need to paint, where there is the most white color, draw the most.
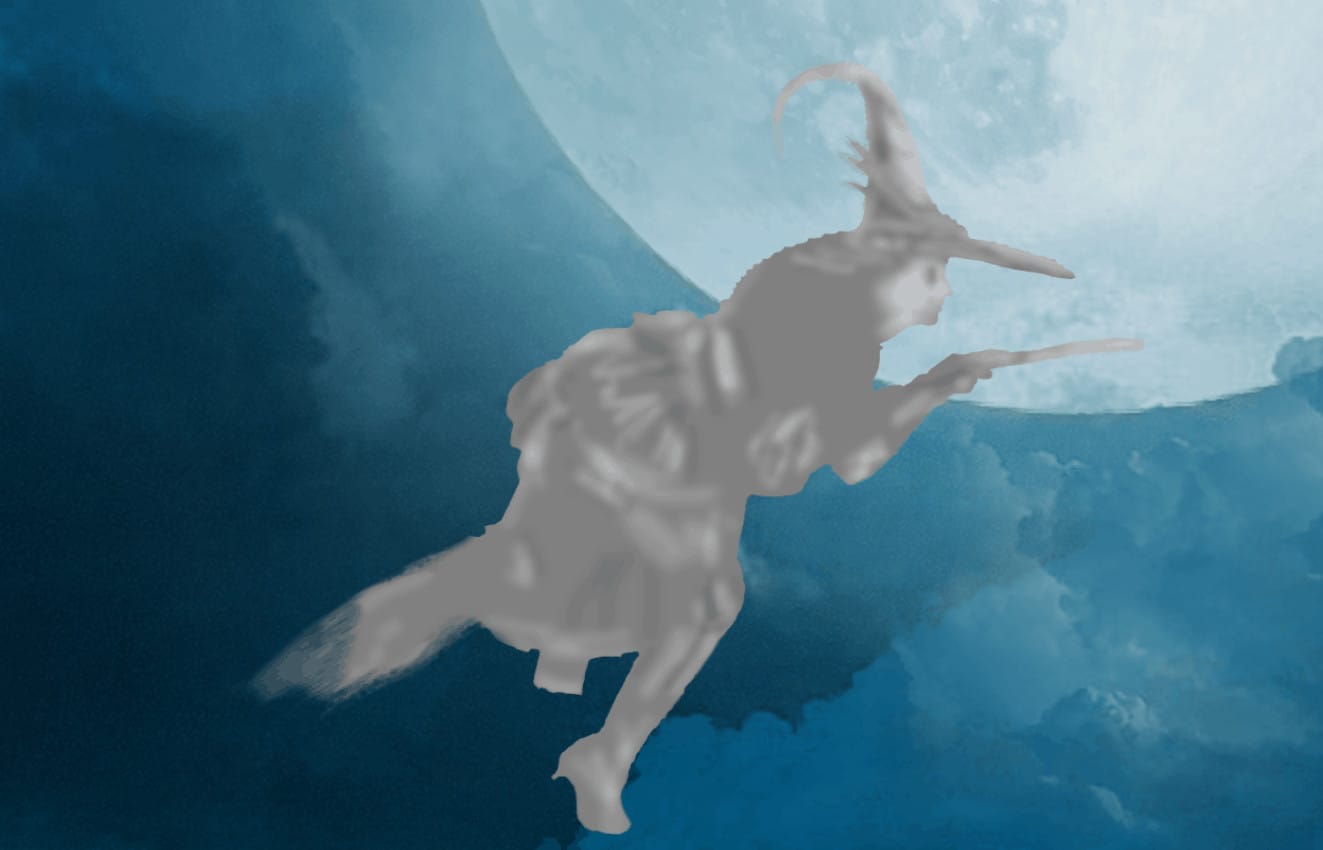
Blend mode change to Overlay.
Step 15
Add Adjustment Layer “Hue/Saturatiom” and press Ctrl/Cmd + I to invert. Then use Brush Tool(B) Soft Round with foreground color white and paint on Highlight parts. Opacity set to 50%.
Step 16
Add Adjustment Layer “Curves” and press Ctrl/Cmd + I to invert. Then use Brush Tool(B) Soft Round with foreground color white and paint on Highlight parts.
2 responses to “Create a Halloween scene in Photoshop”
-
i cant download any of the images, because they all link to deviantart, and i dont want to make a account
-
A Halloween tutorial in July?


Leave a Reply