Make skin look perfect in one-click with these AI-powered Photoshop actions.
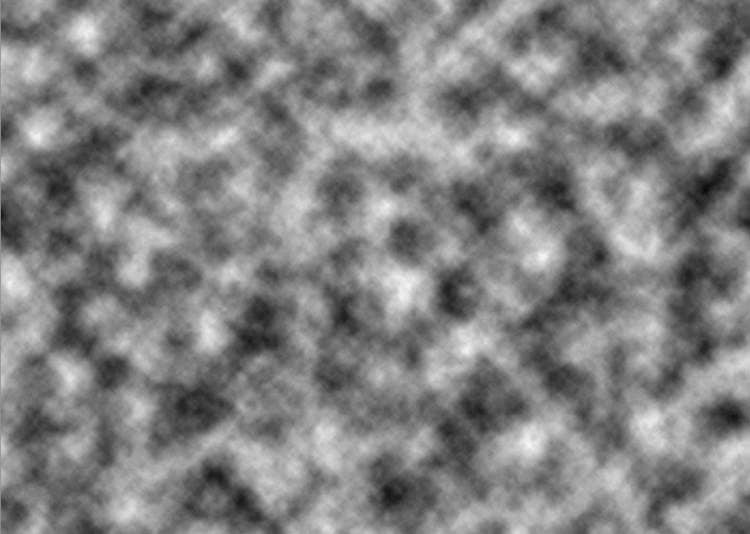
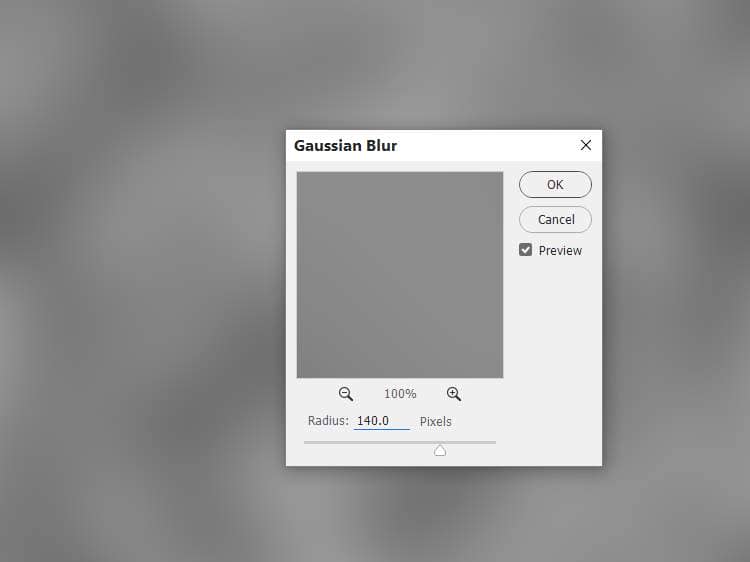
Go to Filter > Blur > Gaussian Blur and set the radius to 140 pxto turn the clouds effect into a mist one.
Step 36
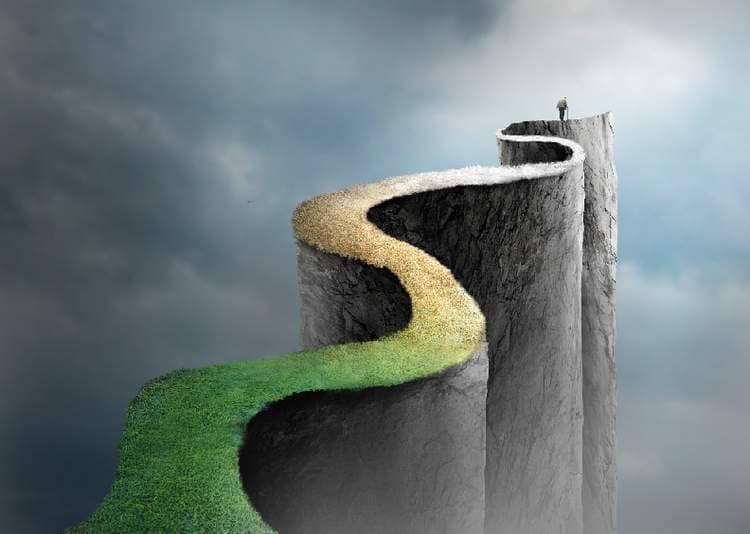
Add a mask to this layer and use a soft black brush to remove most of the mist, leaving the effect visible mostly on the bottom right.
Step 37
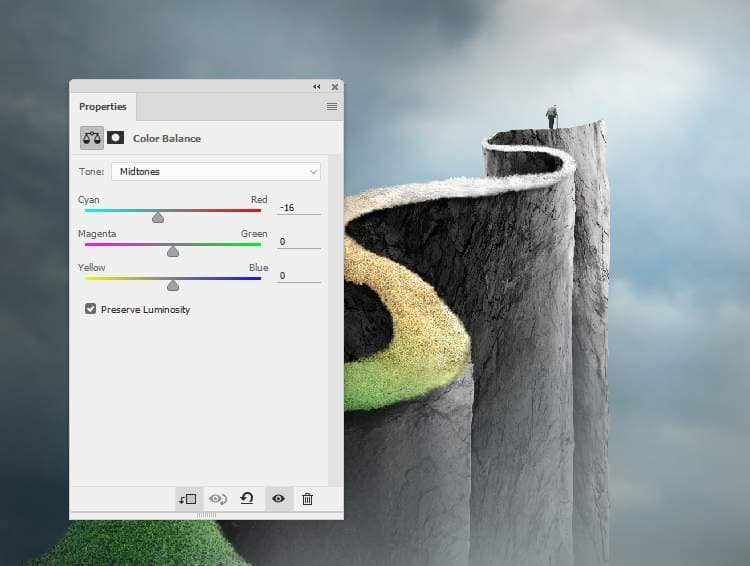
Create a Color Balanceadjustment layer to change the mist's color.
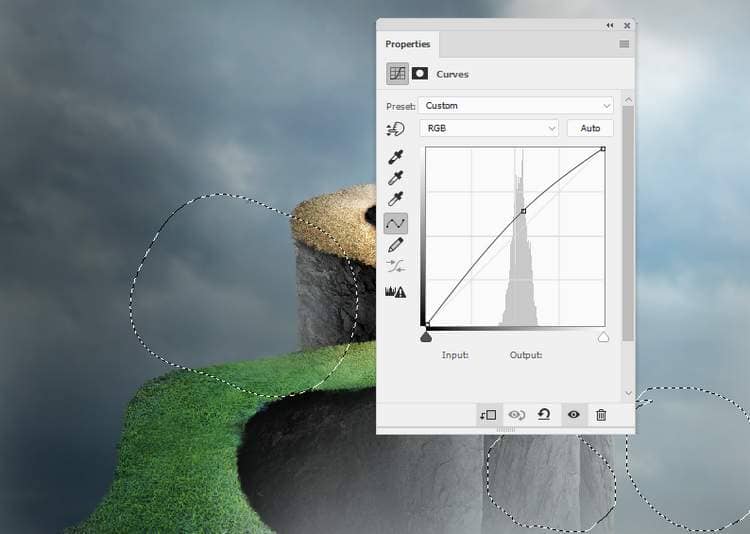
Make a Curvesadjustment layer to make the mist's effect more visible a bit. On this layer mask, use a soft black brush with the opacity about 20%and 100%to reduce the effect on some parts below:
Step 38
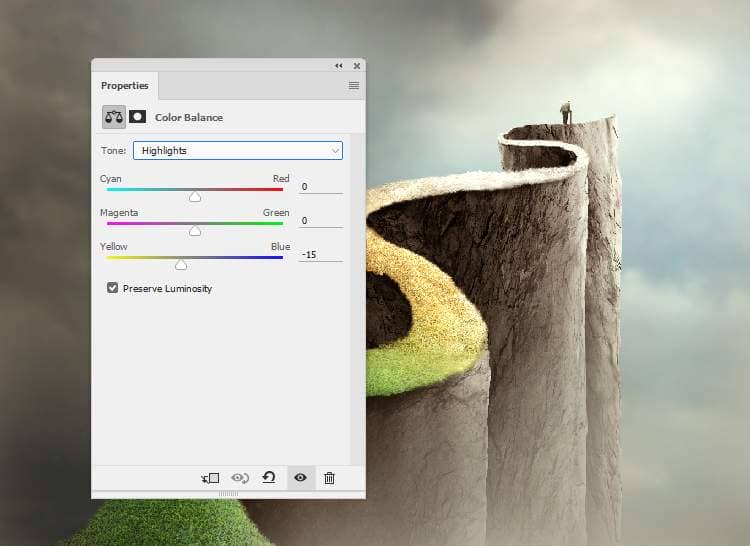
Create a Color Balance adjustment layer on top of the layers and change the Midtonesand Highlightsvalues.

Step 39
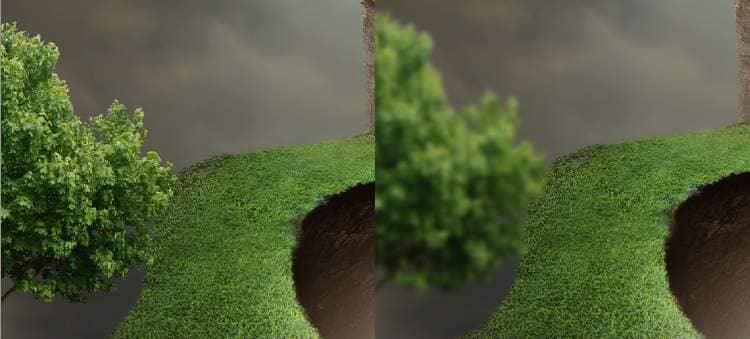
Open the tree image. As it has a transparent background so just use the Move Tool to drag it into our main document and place it in the bottom left of the canvas. Apply a Gaussian Blur of 8 pxto this layer.
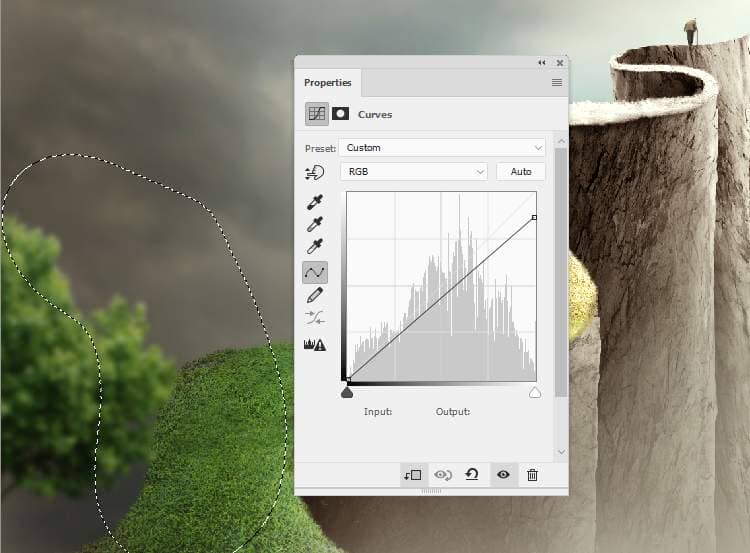
Make a Curvesadjustment layer (set as Clipping Mask) and reduce the lightness a bit. On its layer mask, paint on the right of the tree as it gets some light from the background.
Step 40
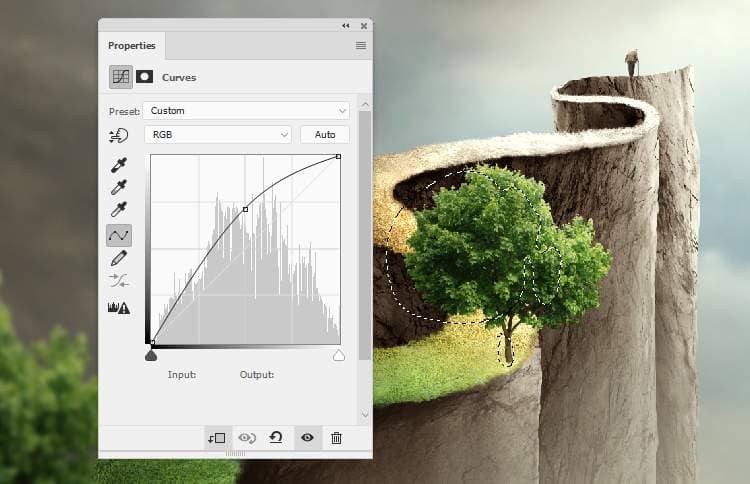
Add the tree again to the middle section of the road and make it smaller than the first one.

Create a Curvesadjustment layer to brighten the front of the tree a bit. Paint on its hidden side so it won't be affected by this adjustment layer.
Step 41
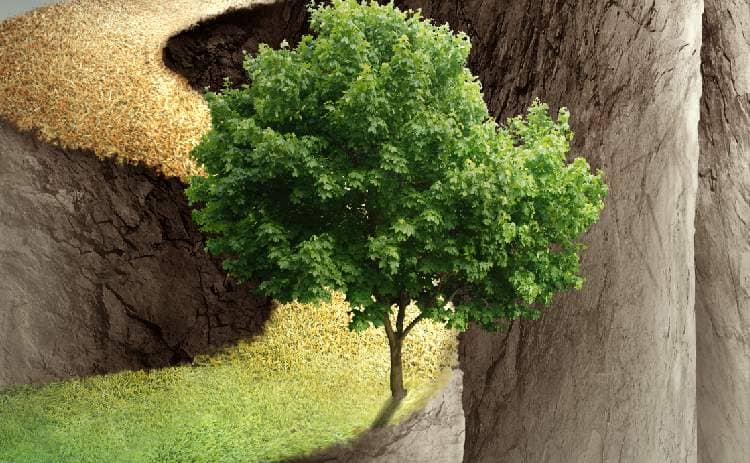
Make a new layer below the tree one and use a soft black brush with the opacity about 36%to paint shadow of the tree trunk on the grass.
Step 42
Place the tree again in the higher position of the road, resize it to be smaller and make shadow for it as done in the previous step.

Step 43
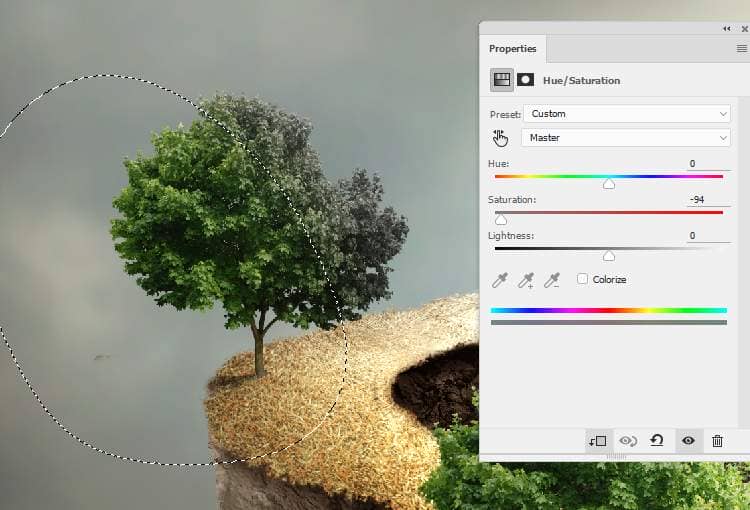
Create a Hue/Saturationadjustment layer to desaturate the tree. On the layer mask, paint on the left of the tree to keep its original color.
Make a Curvesadjustment layer to brighten the tree. Paint on the tree trunk to keep its shadow and contrast.
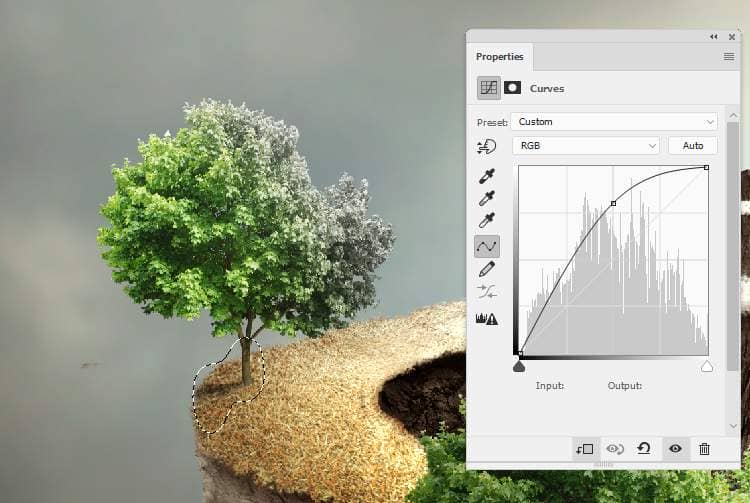
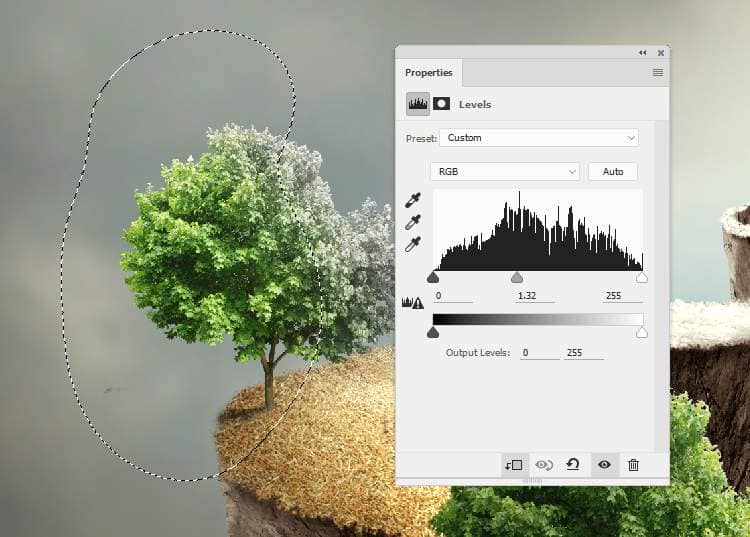
Add a Levelsadjustment layer with the same purpose. The selected area shows where to paint on the layer mask.
Step 44
Add the tree to the position behind the old man and scale it down to be smaller than the previous ones. Add a mask to this layer and use the Chalk36 pxbrush to remove the right half of the tree. I've used the following settings for this brush:


5 comments on “How to Create a Conceptual of Life Photo Manipulation with Photoshop”
so imformative
Thank you for sharing your methods! I didn't follow the tutorial but I looked at your steps and it helped me understand how it's done.
Very insightful! Thanks.
WONDERFUL!! Thank you!
It was so wonderful totally loved it 😊