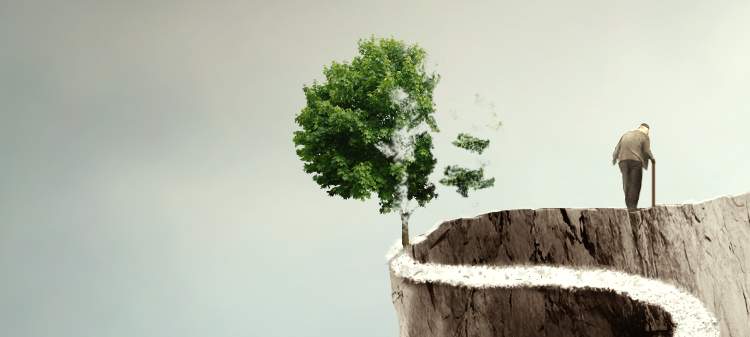
Step 46
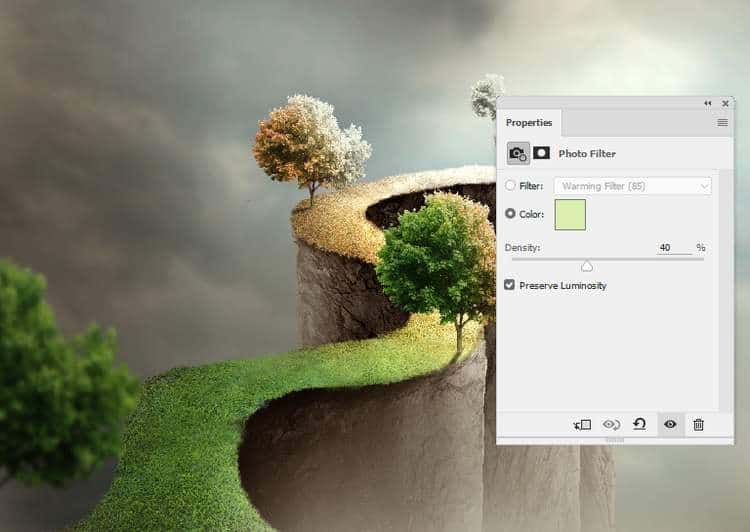
Create a Hue/Saturationadjustment layer to desaturate the tree.

Make a Curves adjustment layer to brighten the tree. On the layer mask, paint on some details so they won’t be brightened too much by this adjustment layer.
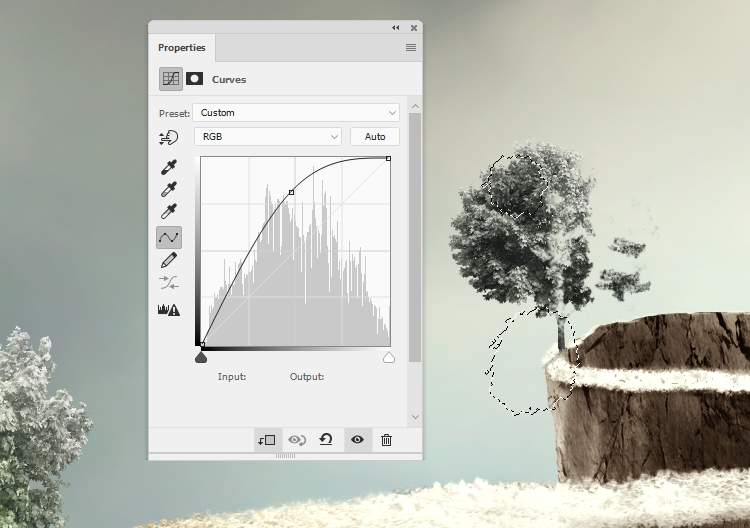
Add a Levels adjustment layer to bring more light to the tree. Paint on the bottom left of the tree as it’s hidden from the light than the rest.

Step 47
Continue adding the tree to the end of the road and use a layer mask to remove the leaves, leaving the trunk visible only.

Step 48
Create a group for the tree layers and make a Hue/Saturationadjustment layer to change the trees’ color. On the layer mask, paint on the big tree on the bottom left and the right of the second tree and the trunk of the third tree to show to change of the periods of life.
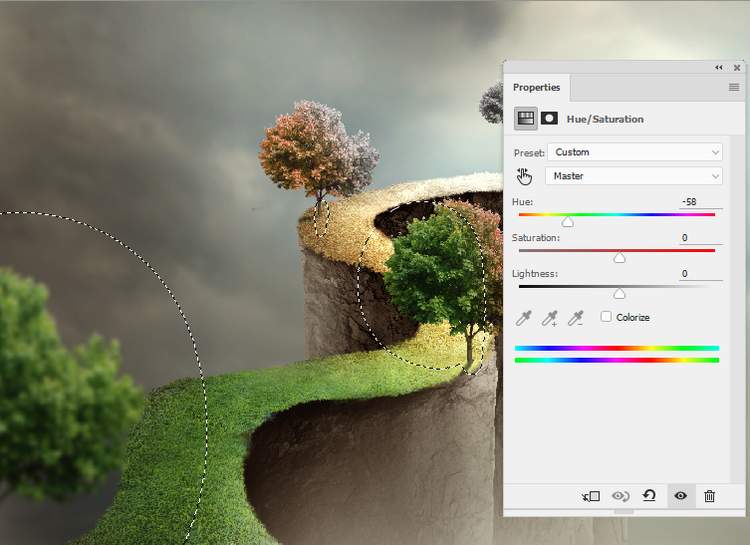
Make a Curvesadjustment layer to darken some parts on the trees. Paint on the rest to keep its lightness.
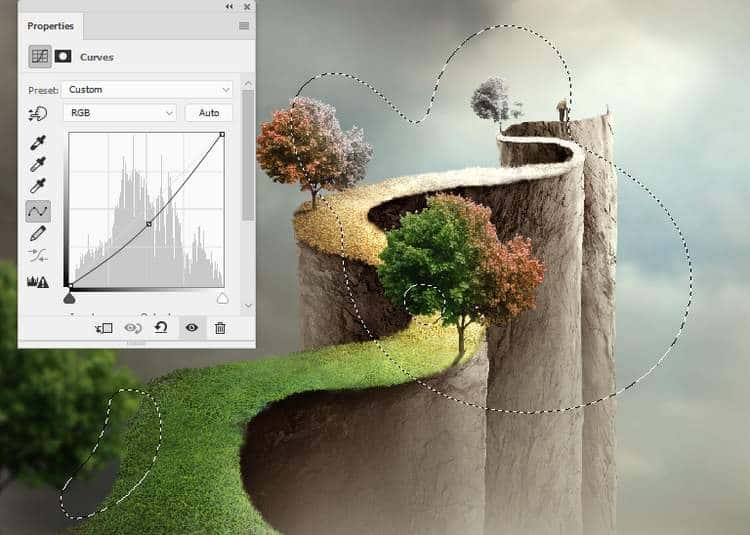
Use another Curves adjustment layer to brighten the right of the trees more. Paint on the first tree and the right of the second and third ones to keep their contrast.

Add a Levelsadjustment layer to bring more light to the tree. Paint on the bottom left of the tree as it’s hidden from the light than the rest.
Step 49
Open the branch image and move it to the right of the fourth tree. Duplicate this layer several times to fill in the missing half of the tree. Set this layer below the trees’ group.
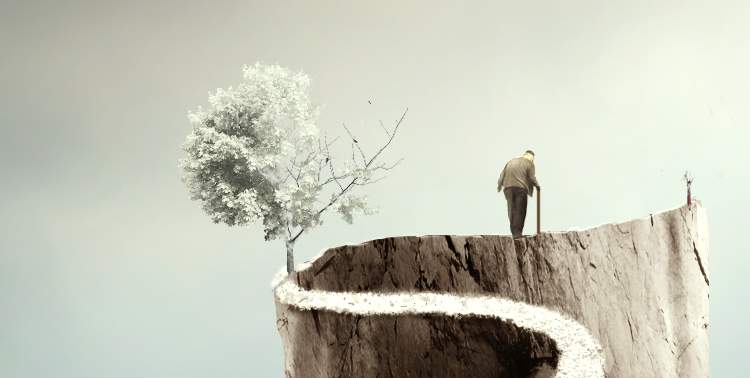

Continue making a dead tree above the tree trunk at the end of the road.

Step 50
Make a group for the branch layers and use a curves adjustment layer to make the tree at the road’s end lighter. On the layer mask, paint on the branches on the right of the rest tree to keep its contrast.

Add a mask to the branches’ group and use a hard black brush to remove the middle top of the branches.

Step 51
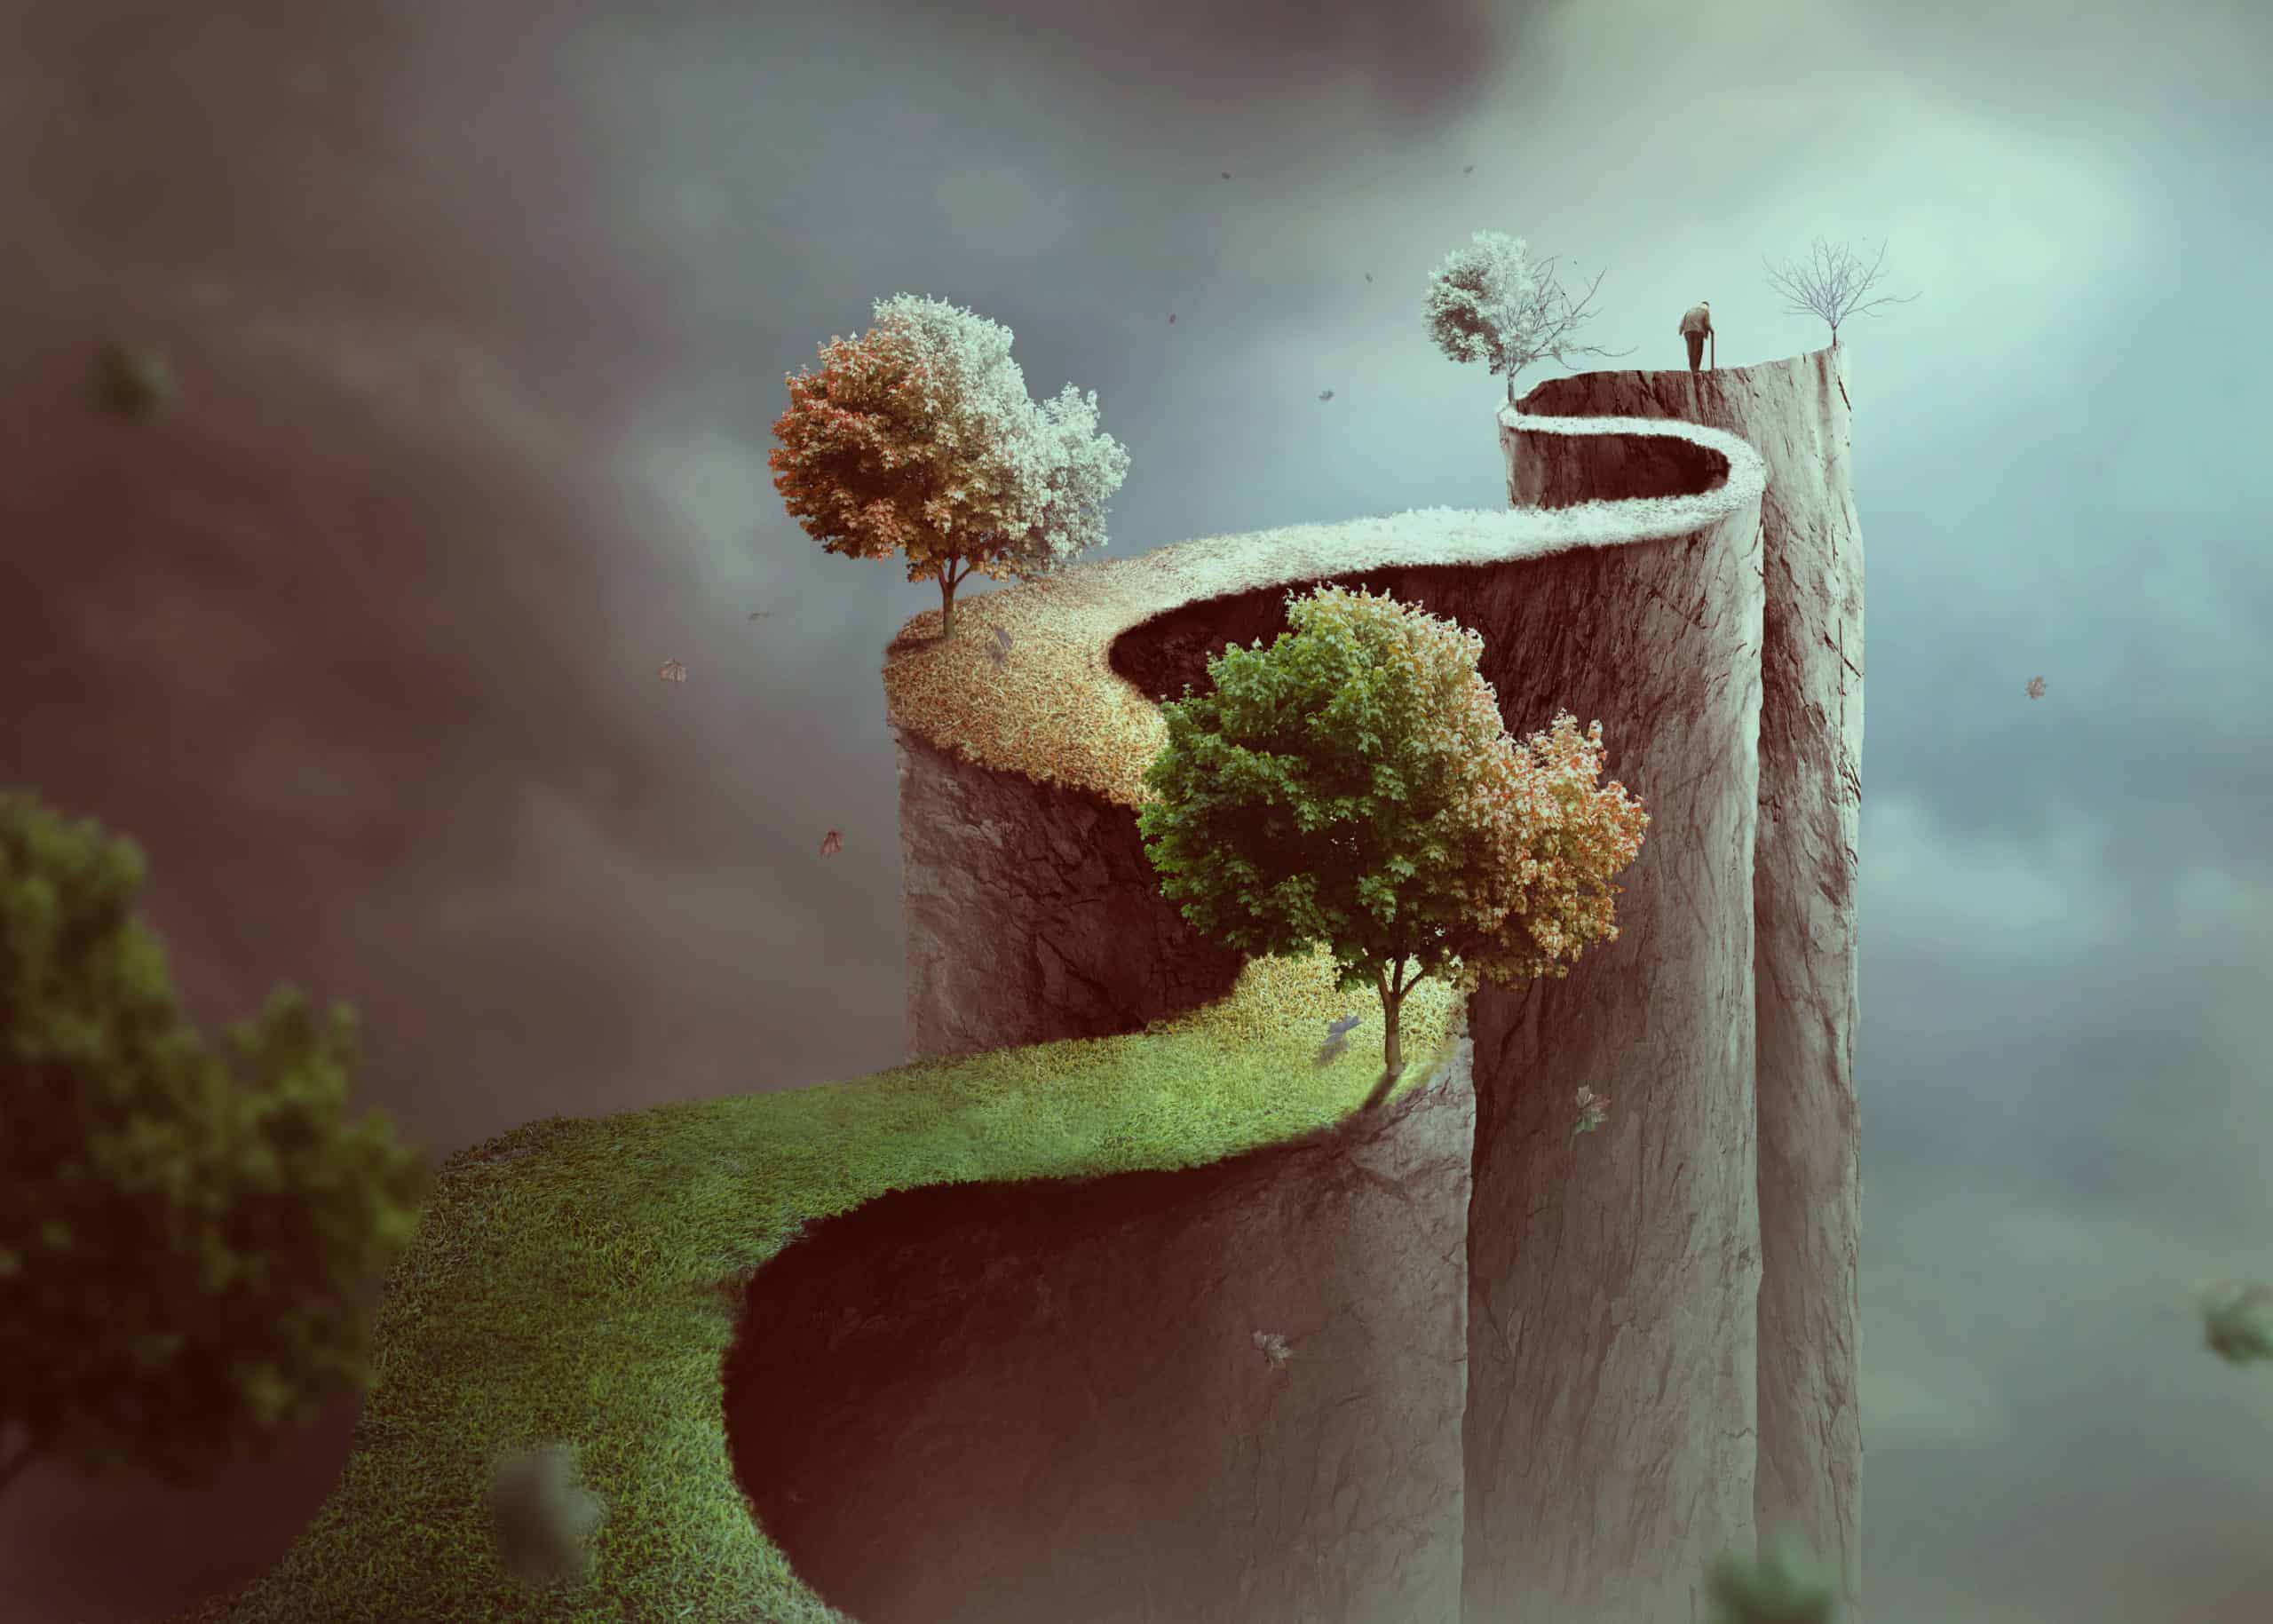
Open the leaf image and place it into our main document. Duplicate it many times and transform them into different sizes and form usingCtrl+T with the Warp mode. Arrange them around the whole canvas and apply the Gaussian Blurfilter of 12 pxand 6 px to the some of the leaves.
6 responses to “How to Create a Conceptual of Life Photo Manipulation with Photoshop”
-
Nice step by step Tutorial.
-
so imformative
-
Thank you for sharing your methods! I didn’t follow the tutorial but I looked at your steps and it helped me understand how it’s done.
-
Very insightful! Thanks.
-
WONDERFUL!! Thank you!
-
It was so wonderful totally loved it 😊

Leave a Reply