Turn any photo into a dot grid artwork with these Photoshop actions. You'll get great results with dots that change size. They get larger in brighter areas and smaller in darker areas. Free download available.
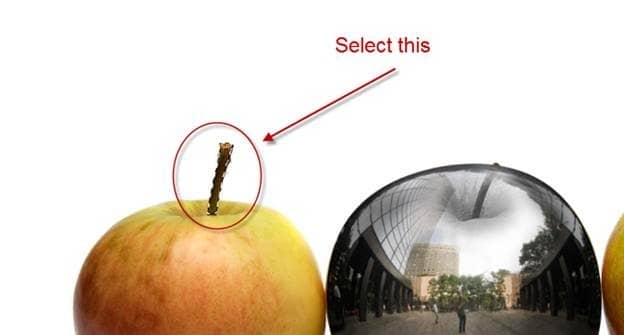
Step 20
Press Ctrl + Shift + C to copy merged and Ctrl + V to paste. Move the newly created layer above all layers and use the Free Transform to position it on the middle apple. You can also use the Warp tool to make look a bit different from the stem on the left apple.
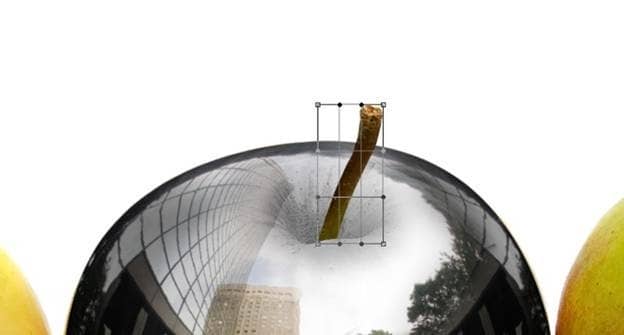
Step 21
Now for the tricky part. Because this is a metal ball it should also reflect the apples on the left and right. In order to create this reflection use the Pen Tool to create a selection of the left half of the right apple.
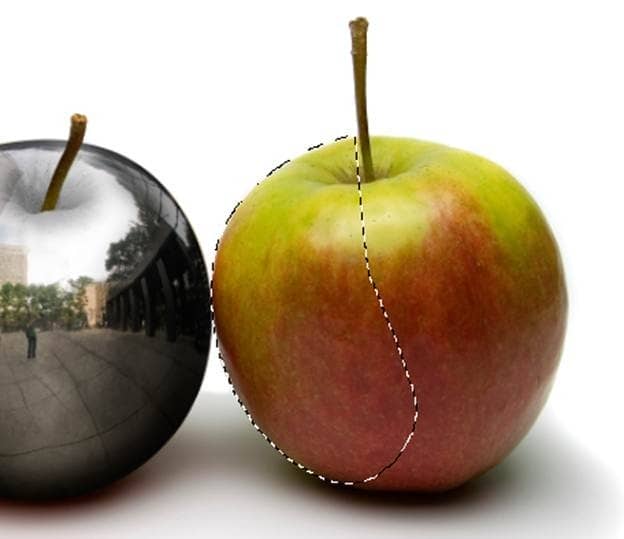
Step 22
Press Ctrl + Shift + C to copy merged and Ctrl + V to paste . Now use the Free Transform tool and warp to position and tweak the appearance of the half apple to make it look proper on the metal apple.
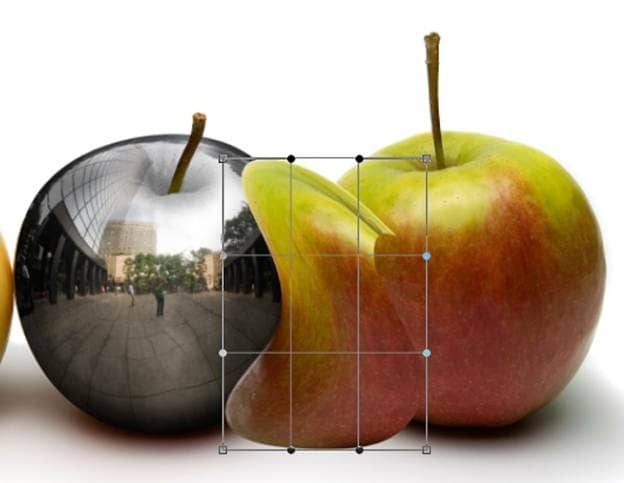
Step 23
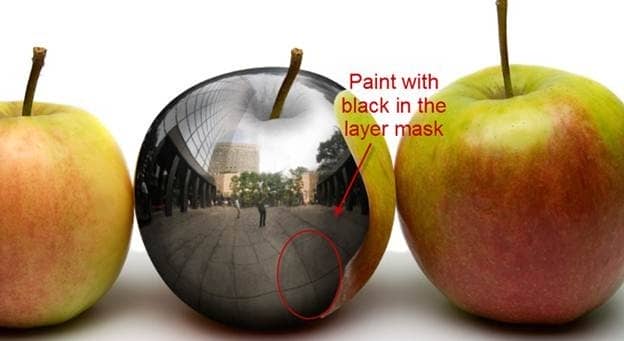
Add a layer mask to this twisted half apple by choosing Layer > Layer Mask > Reveal All and fill the mask with black (click on it than press D to set default color and Ctrl + Backspace to fill with background color) and notice how all the pixels disappear. But we want to get rid only of the pixels outside the metal apple so what do we do? Well, we Ctrl-click on the metal apple to load it as a selection and then we click back in the layer mask. With white as foreground color press Alt + Backspace to fill the selection with white and thus reveal pixels only inside the metal apple. Looks good but I am not very happy about the way the bottom part looks so select a round soft brush and paint with black to hide the bad spot.
Step 24
It looks a bit light so let's add a clip Curves Adjustment Layer mask to it. Drag the curve downwards to darken. Also, add a Hue/Saturation Adjustment layer and clip it to the previous Curves layer. Drag the Saturation slider to -50. We do these steps because this is supposed to be a reflection so it should be less colored and light than the original.

Step 25
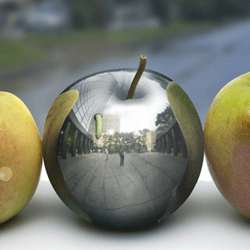
Add yet another clipped Curves Adjustment layer and drag the curve downwards to darken. Fill the layer mask with black and paint with a white soft brush at the edges of the apple to darken. Your image should look like the one in the image below.

27 comments on “How to Create a Photo-Realistic Metal Apple in Photoshop”
boo boo bam
Hi I couldn't download the Metallic Ball. I received an" Imagine could not be loaded" message. Is there another way to download this image?
Mrs. Johnston? you probably don't remember me but I think I am one of your 4th grade students.
I tried to download the metallic ball and was told Image could not be found..
https://upload.wikimedia.org/wikipedia/commons/9/9d/Chrome_ball_in_Ginza.jpg
I like me!
Enjoyed it!
Great tutorial, I learned a lot!
THX! I did an awsome metallic cherry :)
Amazing. . Very nice, thanks for sharing................
Nice tutorial. Only think I didn't like is that you kept forgetting to tell us when to add layer masks...
techniques and ideas was great
The detail in this is amazing
This is fantastic!
forgot to fix the white triangles at the bottom of the apples curve
amazing work!
Great!
Great! I learned from it..
Very nice tutorial..
khupach chhan explain kelele ahe
fantastic!
This is really good thank you sir.
Nice, but the light sides (non-adjacent) of two non-metallic apples was left unfixed thus it didn't jibe to the light source 'you' have indicated.
no
Exvellent tutorial!!! I like the fact that you are focusing on details!
Impressive tutorial, Adrian!
Good..!
how do you un-desaturate