Make skin look perfect in one-click with these AI-powered Photoshop actions.
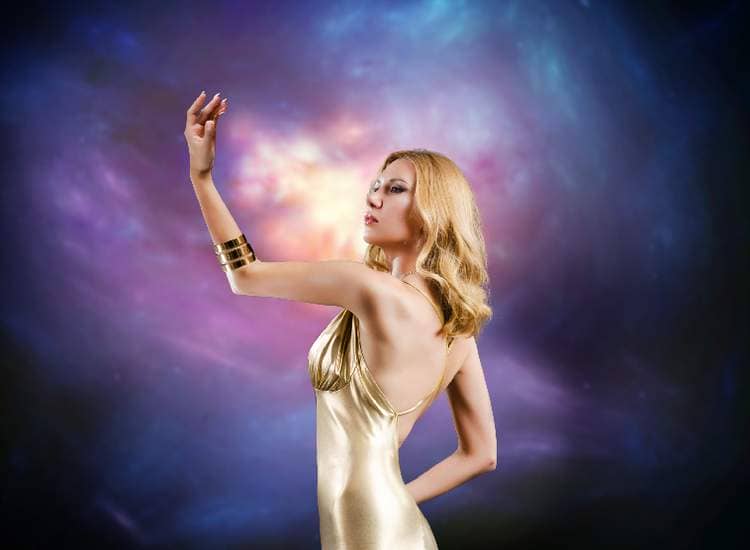
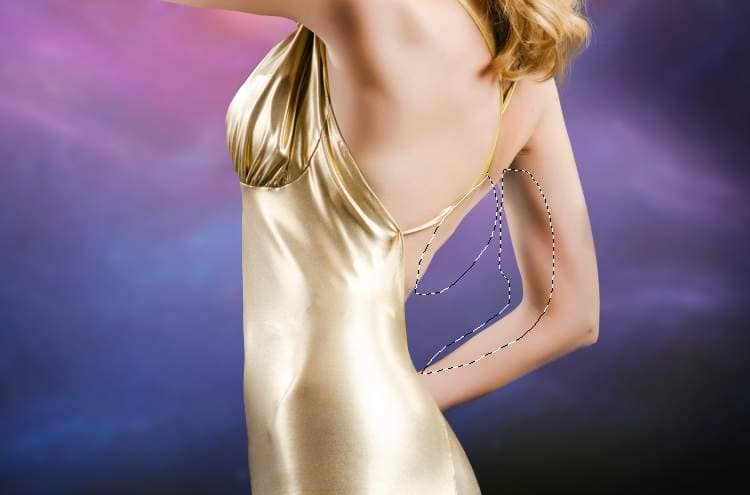
Use the Polygonal Lasso Tool (L)to select the contour of her body, especially the arms to remove the black matte on these areas. Click the second icon at the bottom of the Layerspanel to add a mask to this layer and we should have a similar result like below.
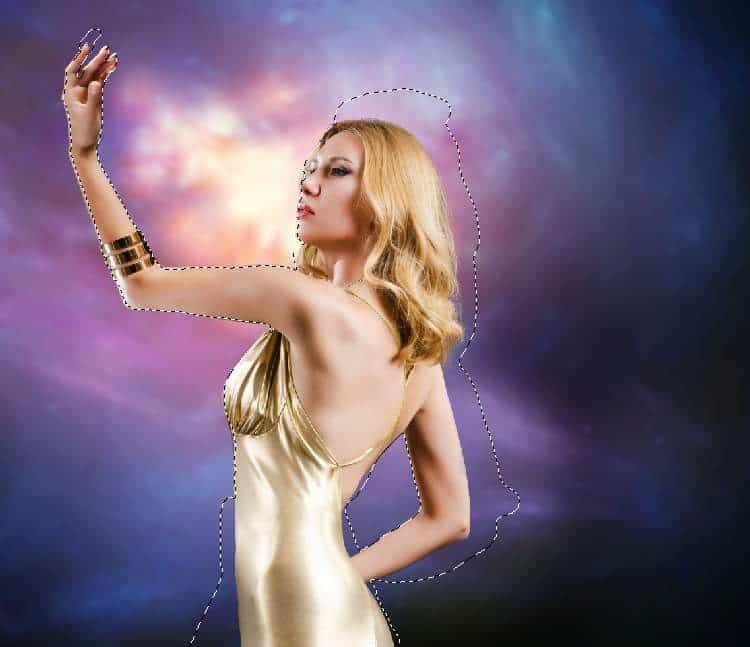

Step 8
I want to change the look of the model a bit. Make a new layer (set as Clipping Mask) and use a small brush with the color #27243cto paint on the reflection of two eyes to remove them. Name it 1 or whatever you want. Hide this layer and on the model layer, use the Lasso Toolto select the reflection of the left eye and hit Ctrl+Cto copy this part. Make a new layer on top of the layers and set as Clipping Maskand press Ctrl+Vto paste the reflection into it. Move it to the higher position than the original one and turn on the layer 1. Duplicate this layer to make the reflection more visible.

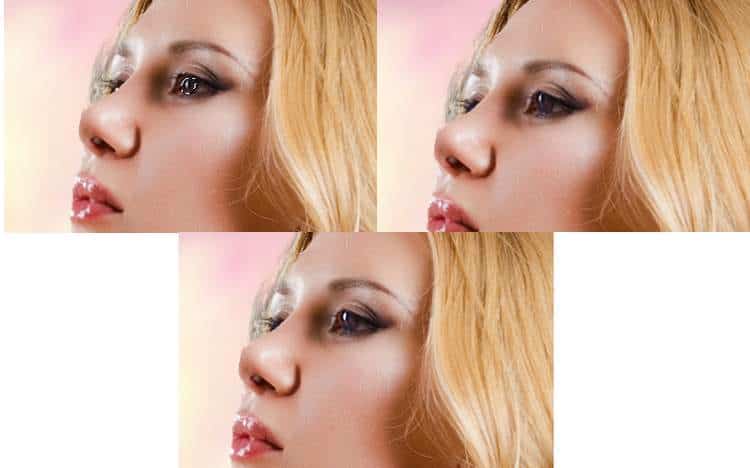
Do the same with another eye.

Step 9
Make a new layer and use a soft brush with the color #c6a28d,, the opacity about 43%to reduce the highlight on the arms.
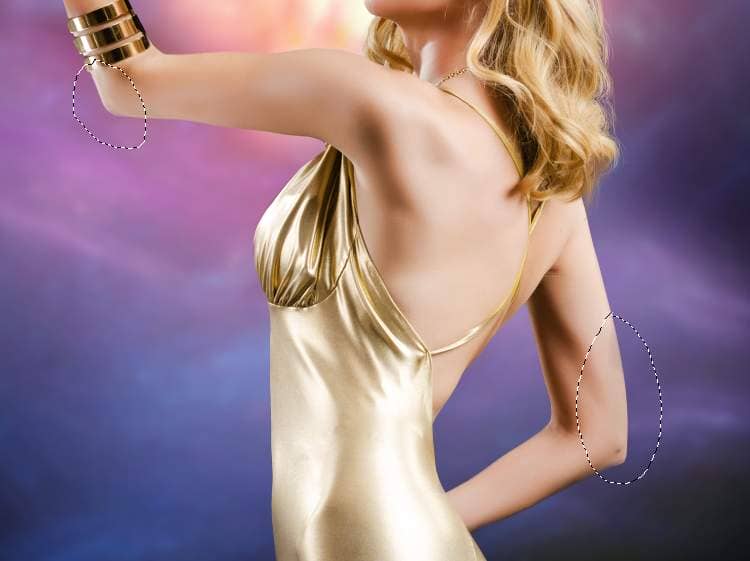
Create a new layer and use a soft brush with the color #dcbfaeto paint light on the contour of the right arm and the back.
Step 10
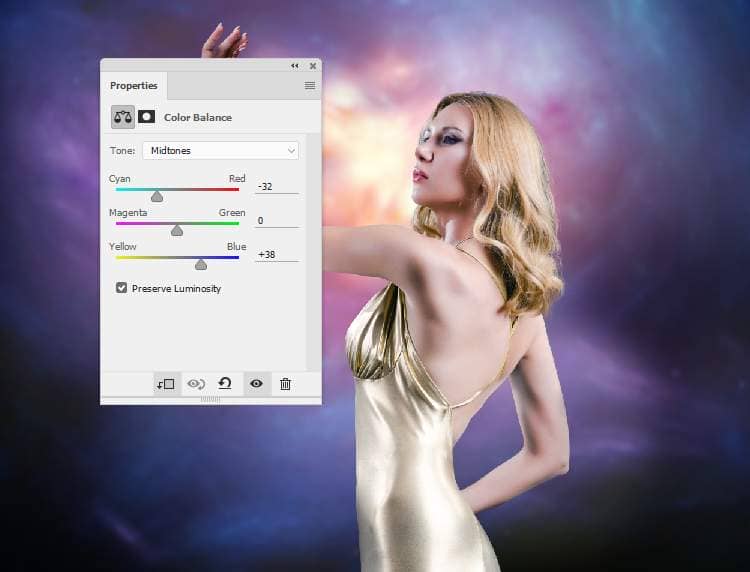
Add a Color Balance adjustment layer and change theMidtonessettings:
Step 11
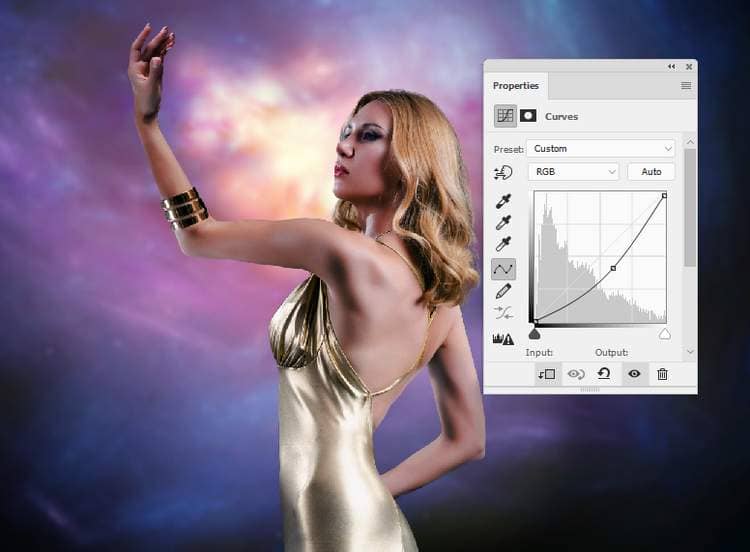
Make a Curves adjustment layer and reduce the lightness. On this layer mask, use a soft black brush to erase the dark effect on the contour of the model skin and hair.
Step 12
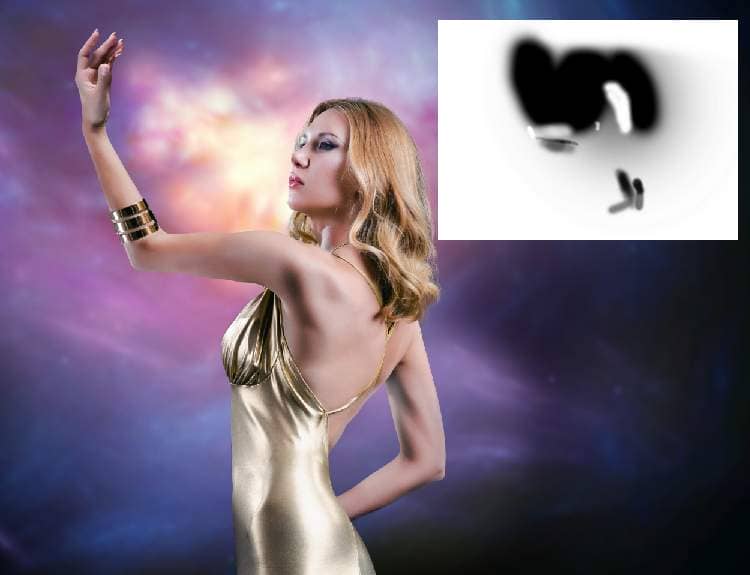
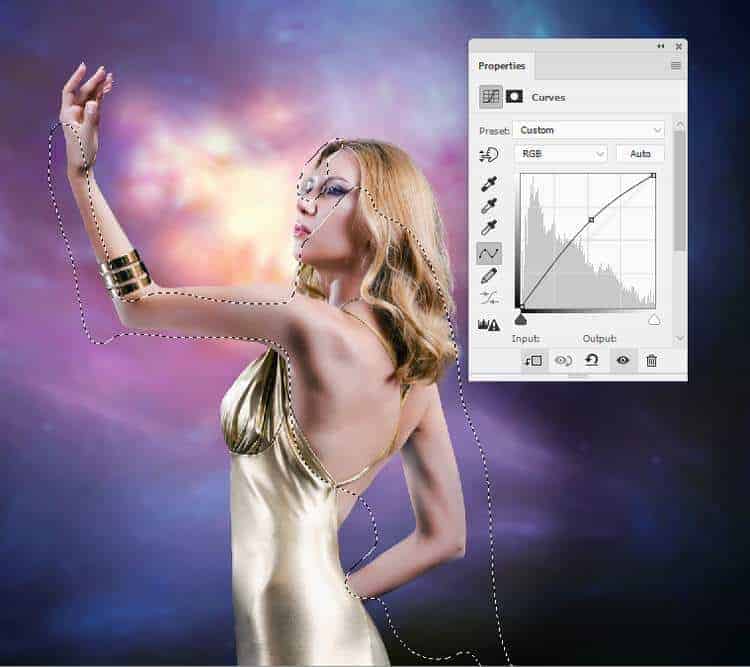
Create a Curvesadjustment layer to bring more light to the contour of the model. The selected parts show where to paint on the layer mask.
Step 13
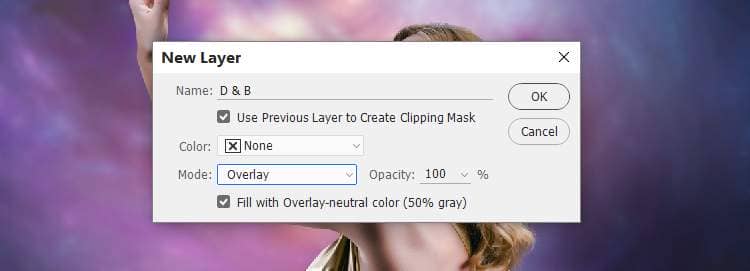
Make a new layer, change the mode to Overlay 100%and fill with 50%gray:
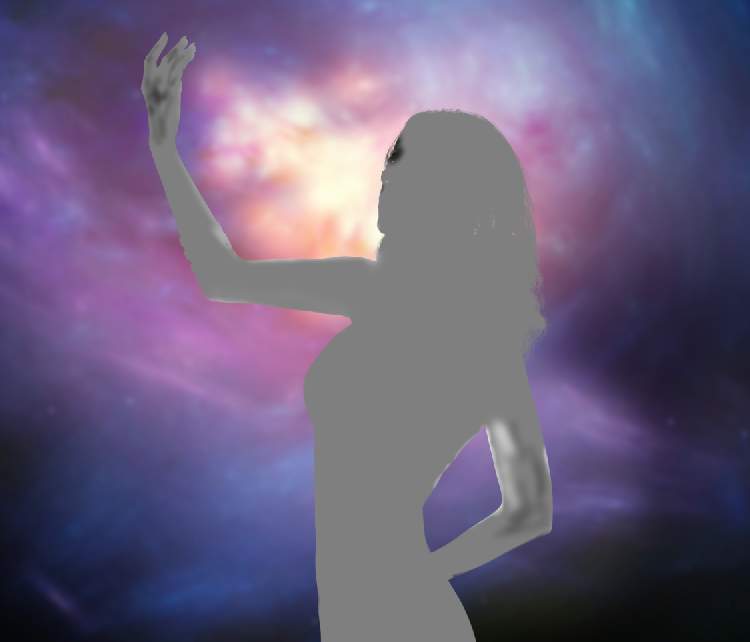
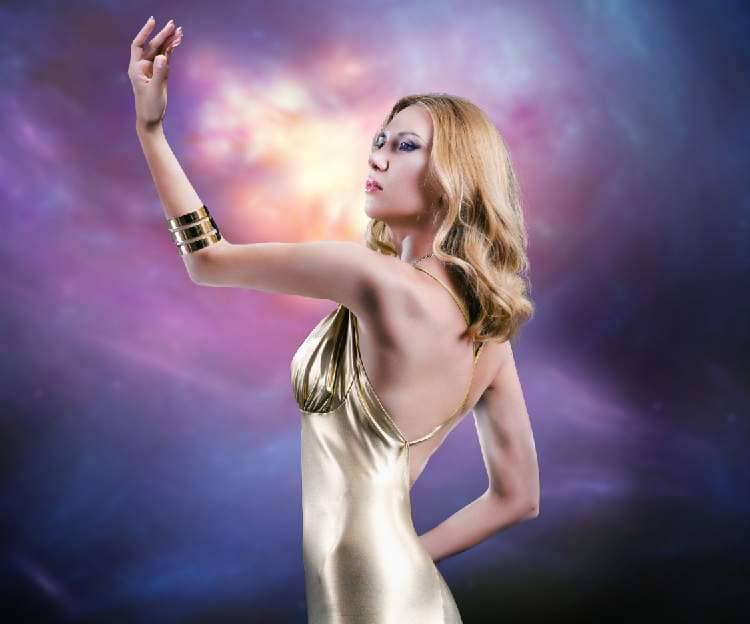
Activate the DodgeandBurn Tool (O) with Midtones Range, Exposureabout 15-20%to refine the light and shadow on the arms, face and back of the model. You can see how I did it with Normalmode and the result with Overlaymode.
Step 14
Open the wing image and take the wing part on the right of the back to add to the lower body of the model in the main document. Use Ctrl+Tto rotateit as shown below.


6 comments on “How to Create a Fantasy Woman Photo Manipulation with Adobe Photoshop”
Is there a way to filter tutorials on this site to this author?
Amazing
thanks denny .. Same as the problem is always here
great manip :)
just probllem with the psd link
Thanks for letting us know! The PSD link has been fixed
Amazing work....