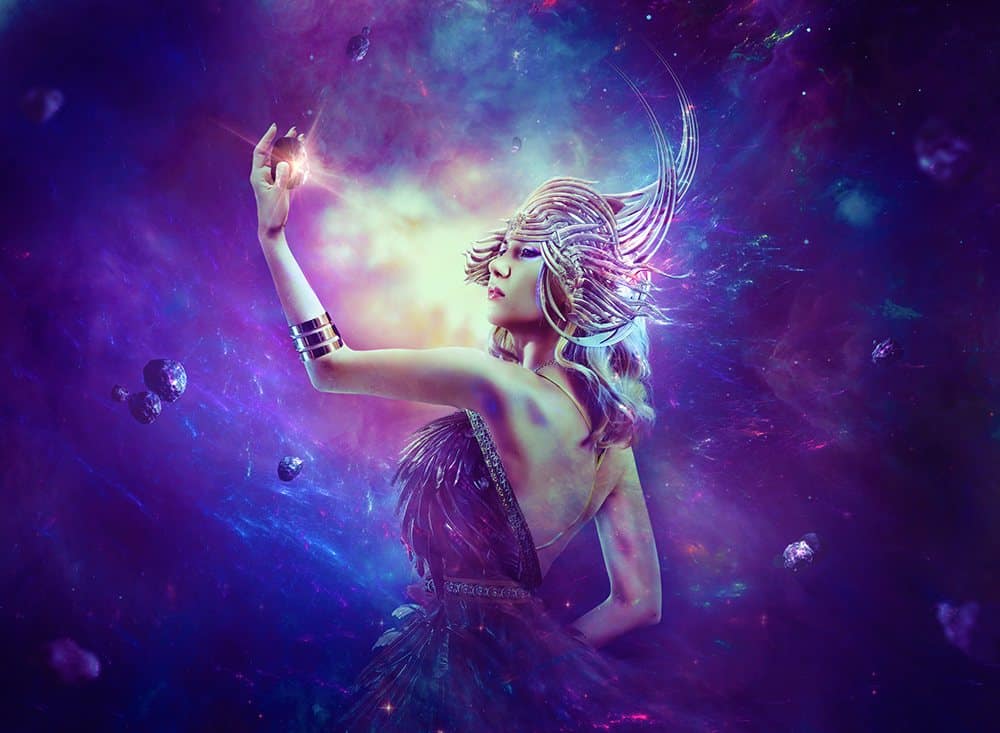
In this tutorial, I’ll show you how to create a fantasy woman using a variety of photo manipulation techniques. First, we’ll add the background and then retouch the model. Later, we’ll build the wing dress and create the headpiece. After that, we’ll add the nebulas, import asteroids, make light and dots and use several adjustment layers to create some dreamy, fantasy effect. We’ll do some retouch and use a Vibrance adjustment layer to enhance the final result.
Preview of the Final Result

Tutorial Resources
- Background
- Model
- Wing
- 3D objects 1
- 3D objects 2
- Dragon
- Armor
- Nebula 1
- Nebula 2
- Nebula 3
- Nebula 4
- Light
- Asteroid Belt
Step 1
Create a new 3000×2200 pxdocument in Photoshop and fill it with white. Open the background image and drag it into the white canvas using the Move Tool (V). Convert this layer to a Smart Objectand use the Free Transform Tool (Ctrl+T)to enlarge the background to fit the size of the document.

Step 2
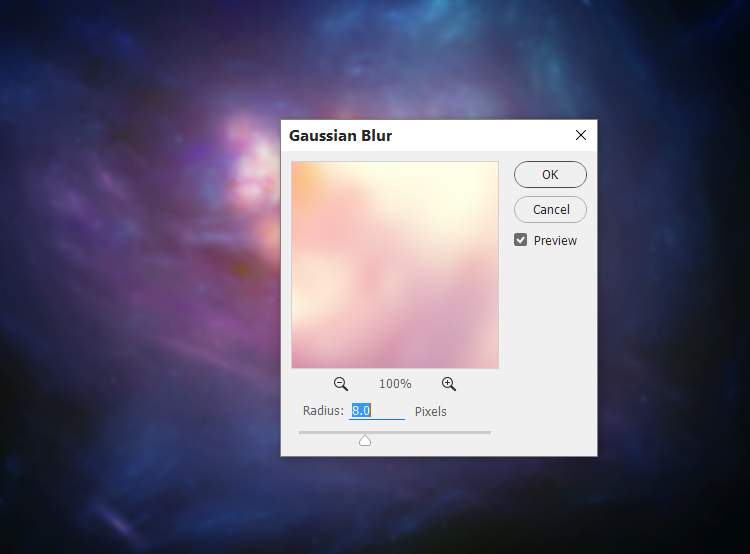
Go to Filter > Blur > Gaussian Blurand set the radius to 8 px.

Step 3
Go to Layer > New Adjustment Layer > Curvesand set it asClipping Mask. Increase the lightness and on this layer mask, activate the Brush Tool (B)and select a soft round one with black color. Use this brush to paint on two parts on the middle and the left bottom to reduce the light there.


Make a Color Balanceadjustment layer (set as Clipping Mask) and change the Midtonessettings:

Step 4
Make a Curves adjustment layer to darken the background. On this layer mask, use a soft black brush to paint on the middle, leaving the dark effect visible on the corner and a part on the lower right as shown below.


Step 5
Open the model image and isolate her from the background . Press Ctrl+J to paste the extracted model into a new layer. Make a fill layer between the background and the extract model one and I’ve chosen the color #847465.

Go to Edit > Puppet Warp and use pins to change the pose of her rising arm to the lower position to fit the direction of her look.

Step 6
Create two layers and use a small brush with the colors #b57d2aand #e0c7a9to paint more hair for the model’s head.


Step 7
Hide the background and the fill layer and hit Ctrl+Shift+Alt+Eto merge all layers into a new one. Move the merged model layer into our main canvas and flip her horizontally (Edit > Transform > Flip Horizontal). Place her in the middle of the scene.
6 responses to “How to Create a Fantasy Woman Photo Manipulation with Adobe Photoshop”
-
Is there a way to filter tutorials on this site to this author?
-
Amazing
-
thanks denny .. Same as the problem is always here
-
great manip :)
just probllem with the psd link-
Thanks for letting us know! The PSD link has been fixed
-
-
Amazing work….


Leave a Reply