Luminar AI lets you turn your ideas into reality with powerful, intelligent AI. Download the photo editor and see how you can completely transform your photos in a few clicks.
Step 31
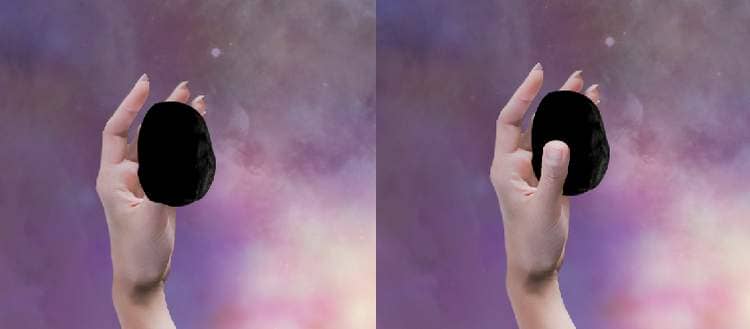
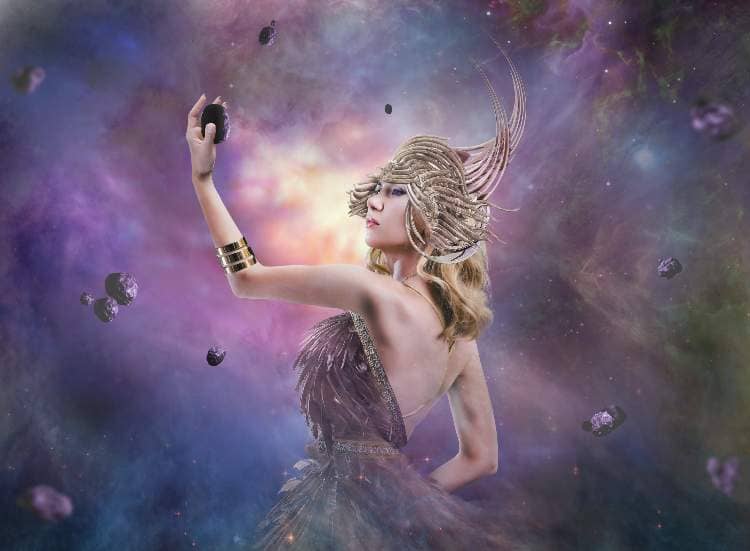
Open the asteroids image and use the Lasso Toolto select one to add to the rising hand of the model. Add a mask to this layer to remove the part covering the thumb to make the asteroid look like being held within the hand.
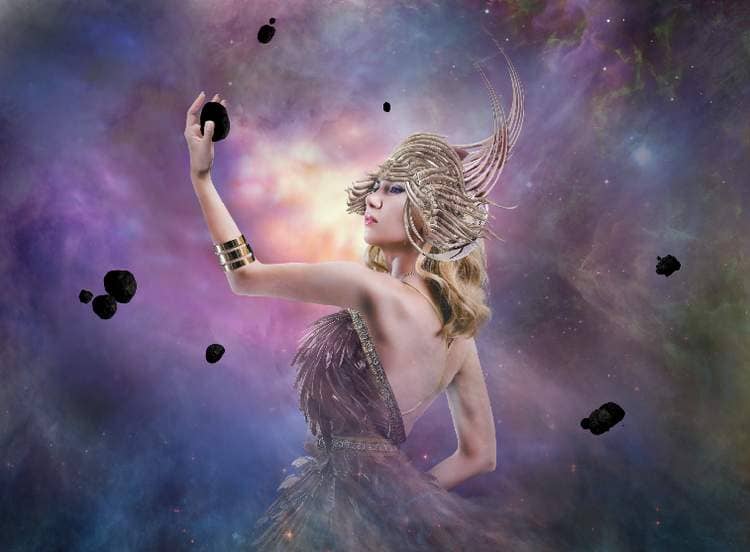
Take other asteroids to add around the model and vary their size to make them appear different.
Step 32
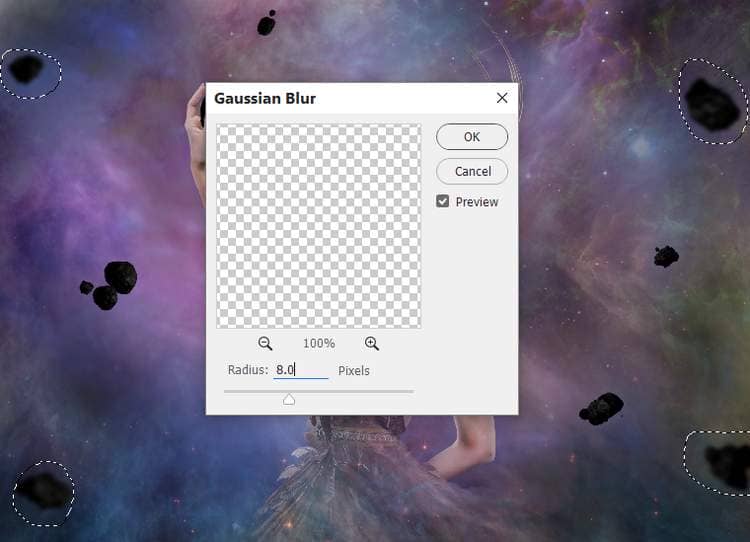
Add some bigger asteroids to the corners of the canvas and apply a Gaussian Blur of 8 pxto each of these layers.
Step 33
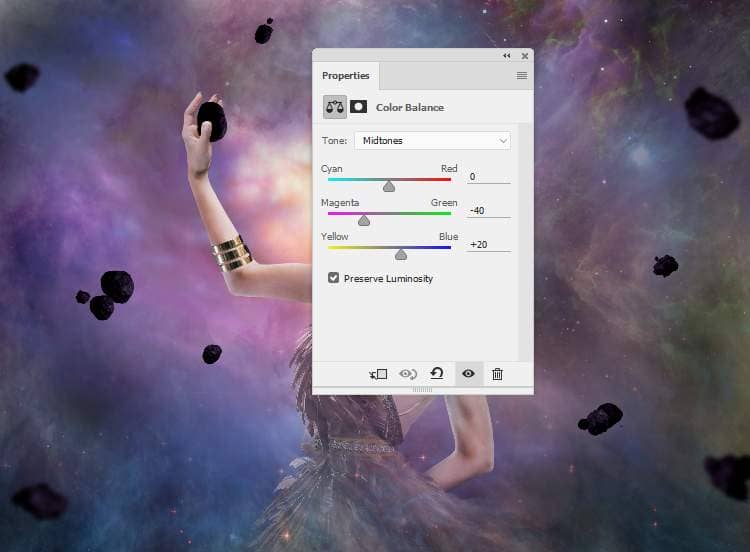
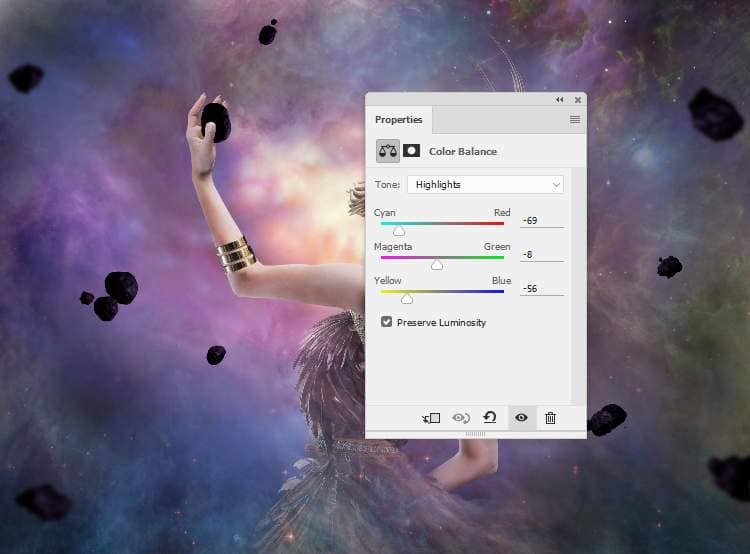
Make a group for the asteroid layers and create a Color Balanceadjustment layer and change the Midtonesand Highlightssettings:
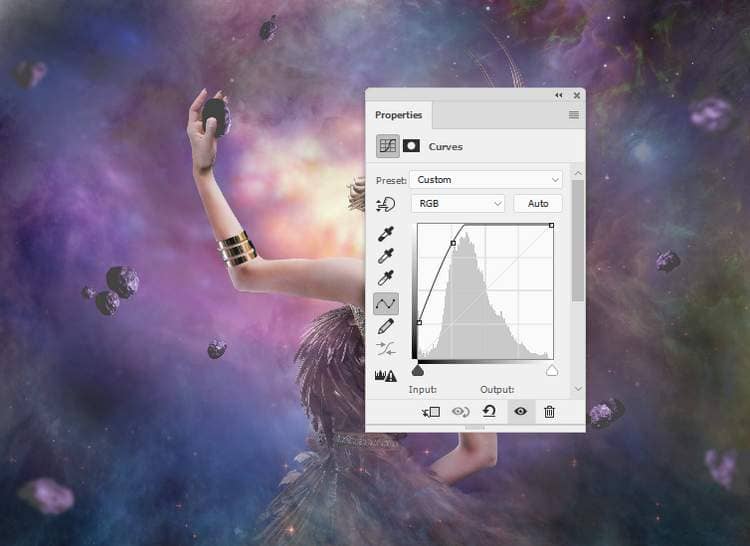
Make a Curvesadjustment layer to increase the light and decrease the contrast of the asteroids. On this layer mask, use a soft black brush to reduce the light on the shadow areas of the asteroids.
Step 34
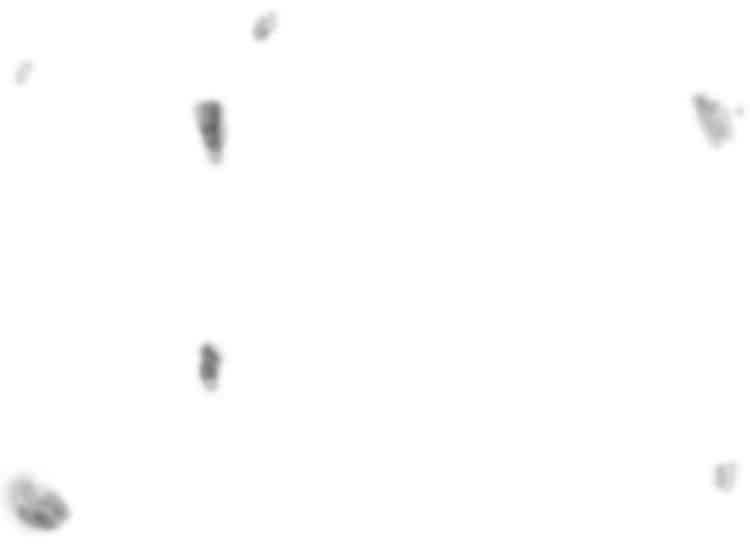
Create a Levelsadjustment layer to brighten the highlight of the asteroids more. The selected areas show where to paint on the layer mask.
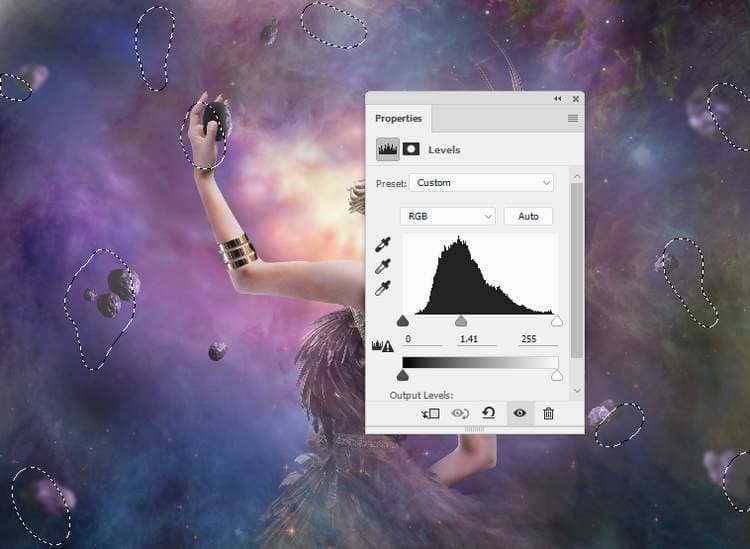
Add a mask to the asteroids group and use a soft black brush to reduce the visibility of the small asteroid in the middle to blend it with the dreamy background.

Step 35
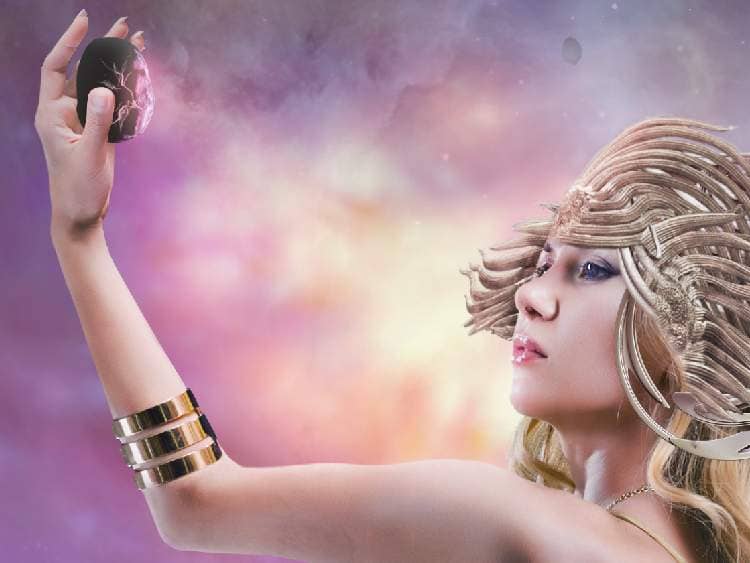
Make a new layer and use a small brush with the color #c1c8ceto paint some crack on the front of the rock which is on the model hand.
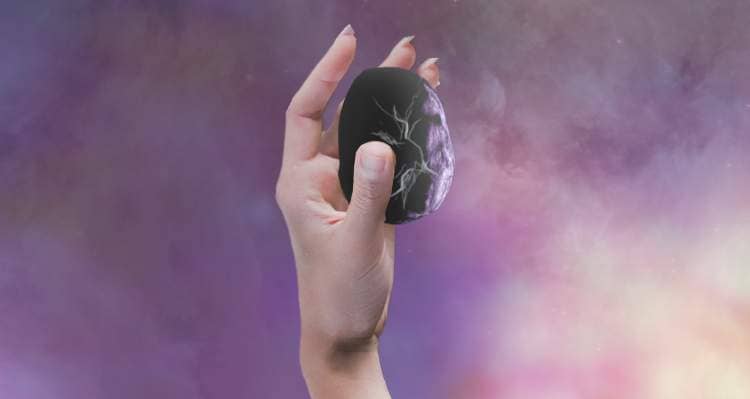
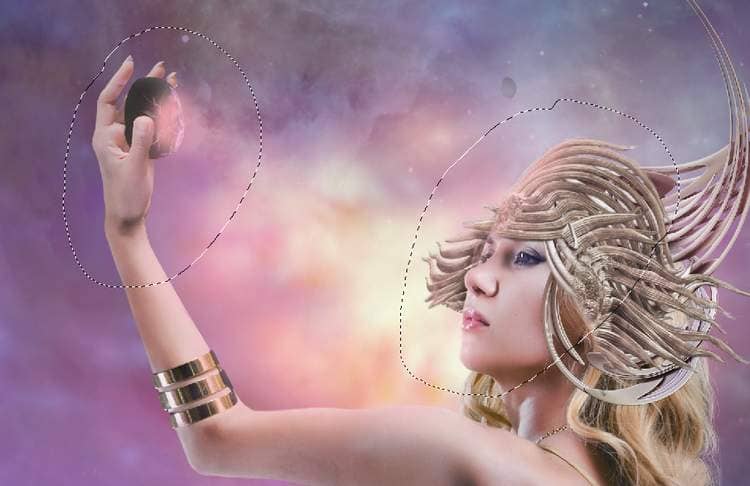
Create a new layer and use a soft brush with the color #ffacb7to paint light on the rock above and on the hand and face and headpiece of the model. Change this layer mode to Overlay 100%.
Step 36
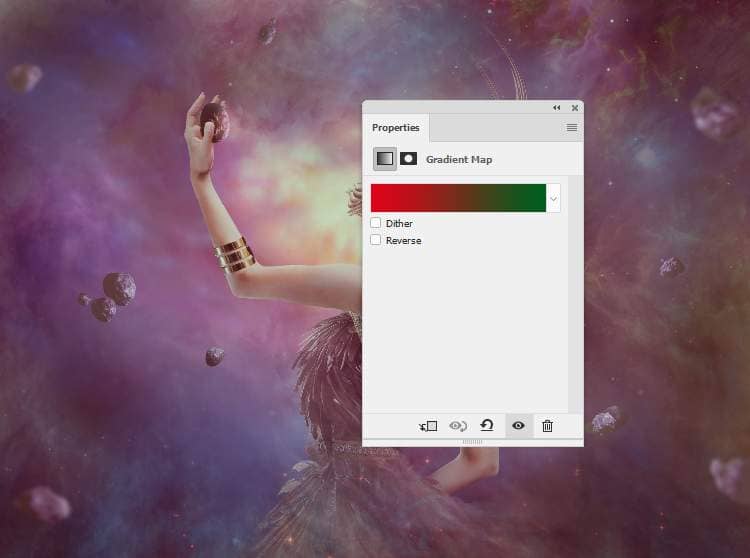
Make a Gradient Map adjustment layer on top of the layer and pick the colors #e10019and #00601b. Lower the opacity of this layer to 20%.
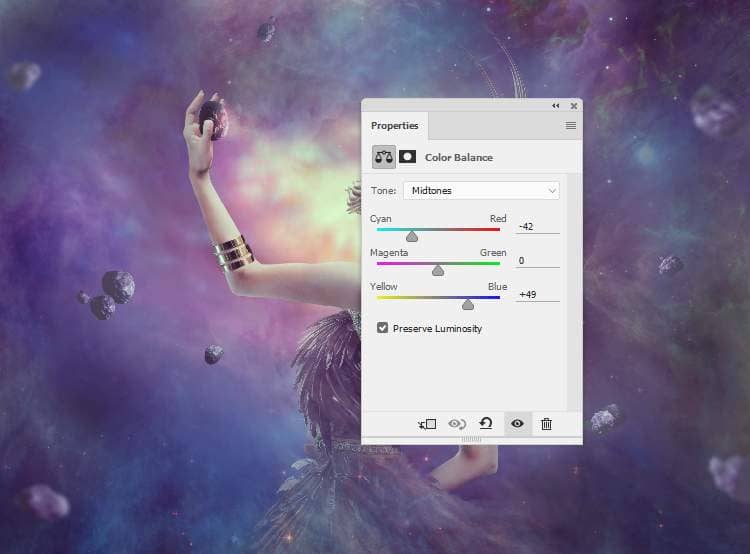
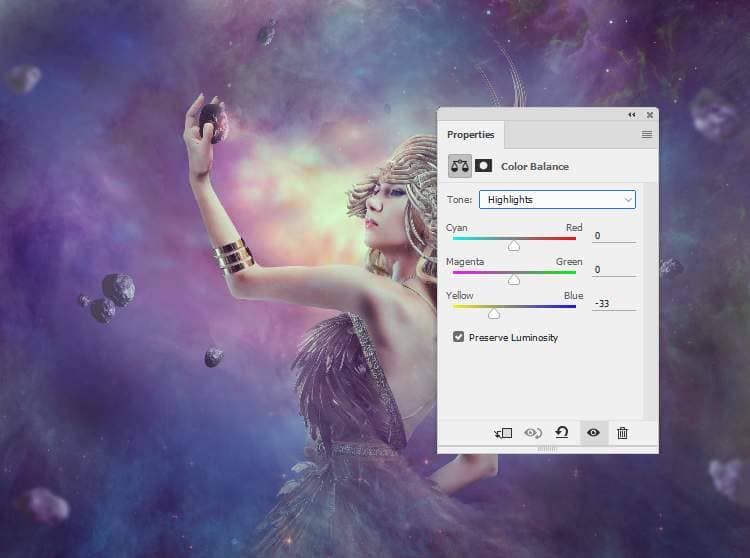
Add a Color Balanceadjustment layer and change the Midtones and Highlightssettings:
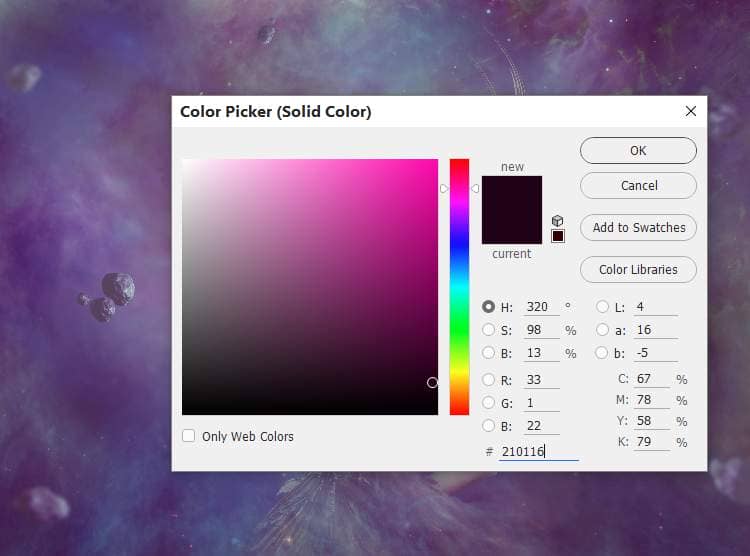
Create a Color Filladjustment layer and pick the color #210116. Change this layer mode to Exclusion 100%.
Step 37
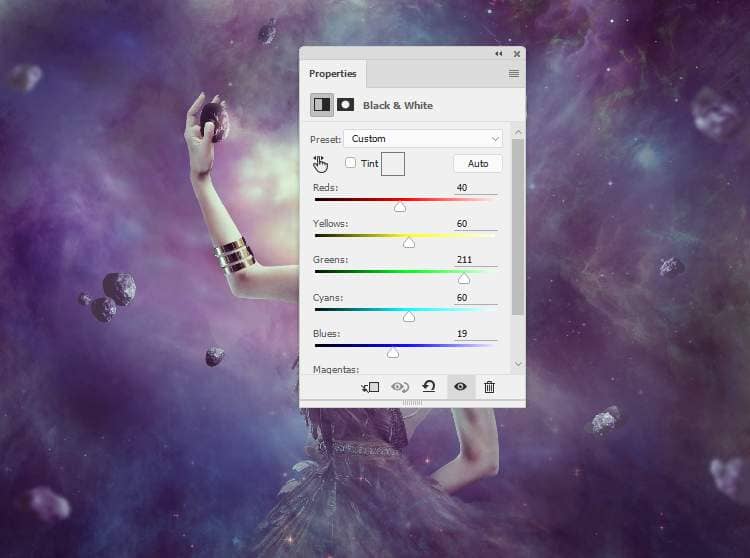
Make a Black&Whiteadjustment layer and alter this layer mode to Soft Light 100%.
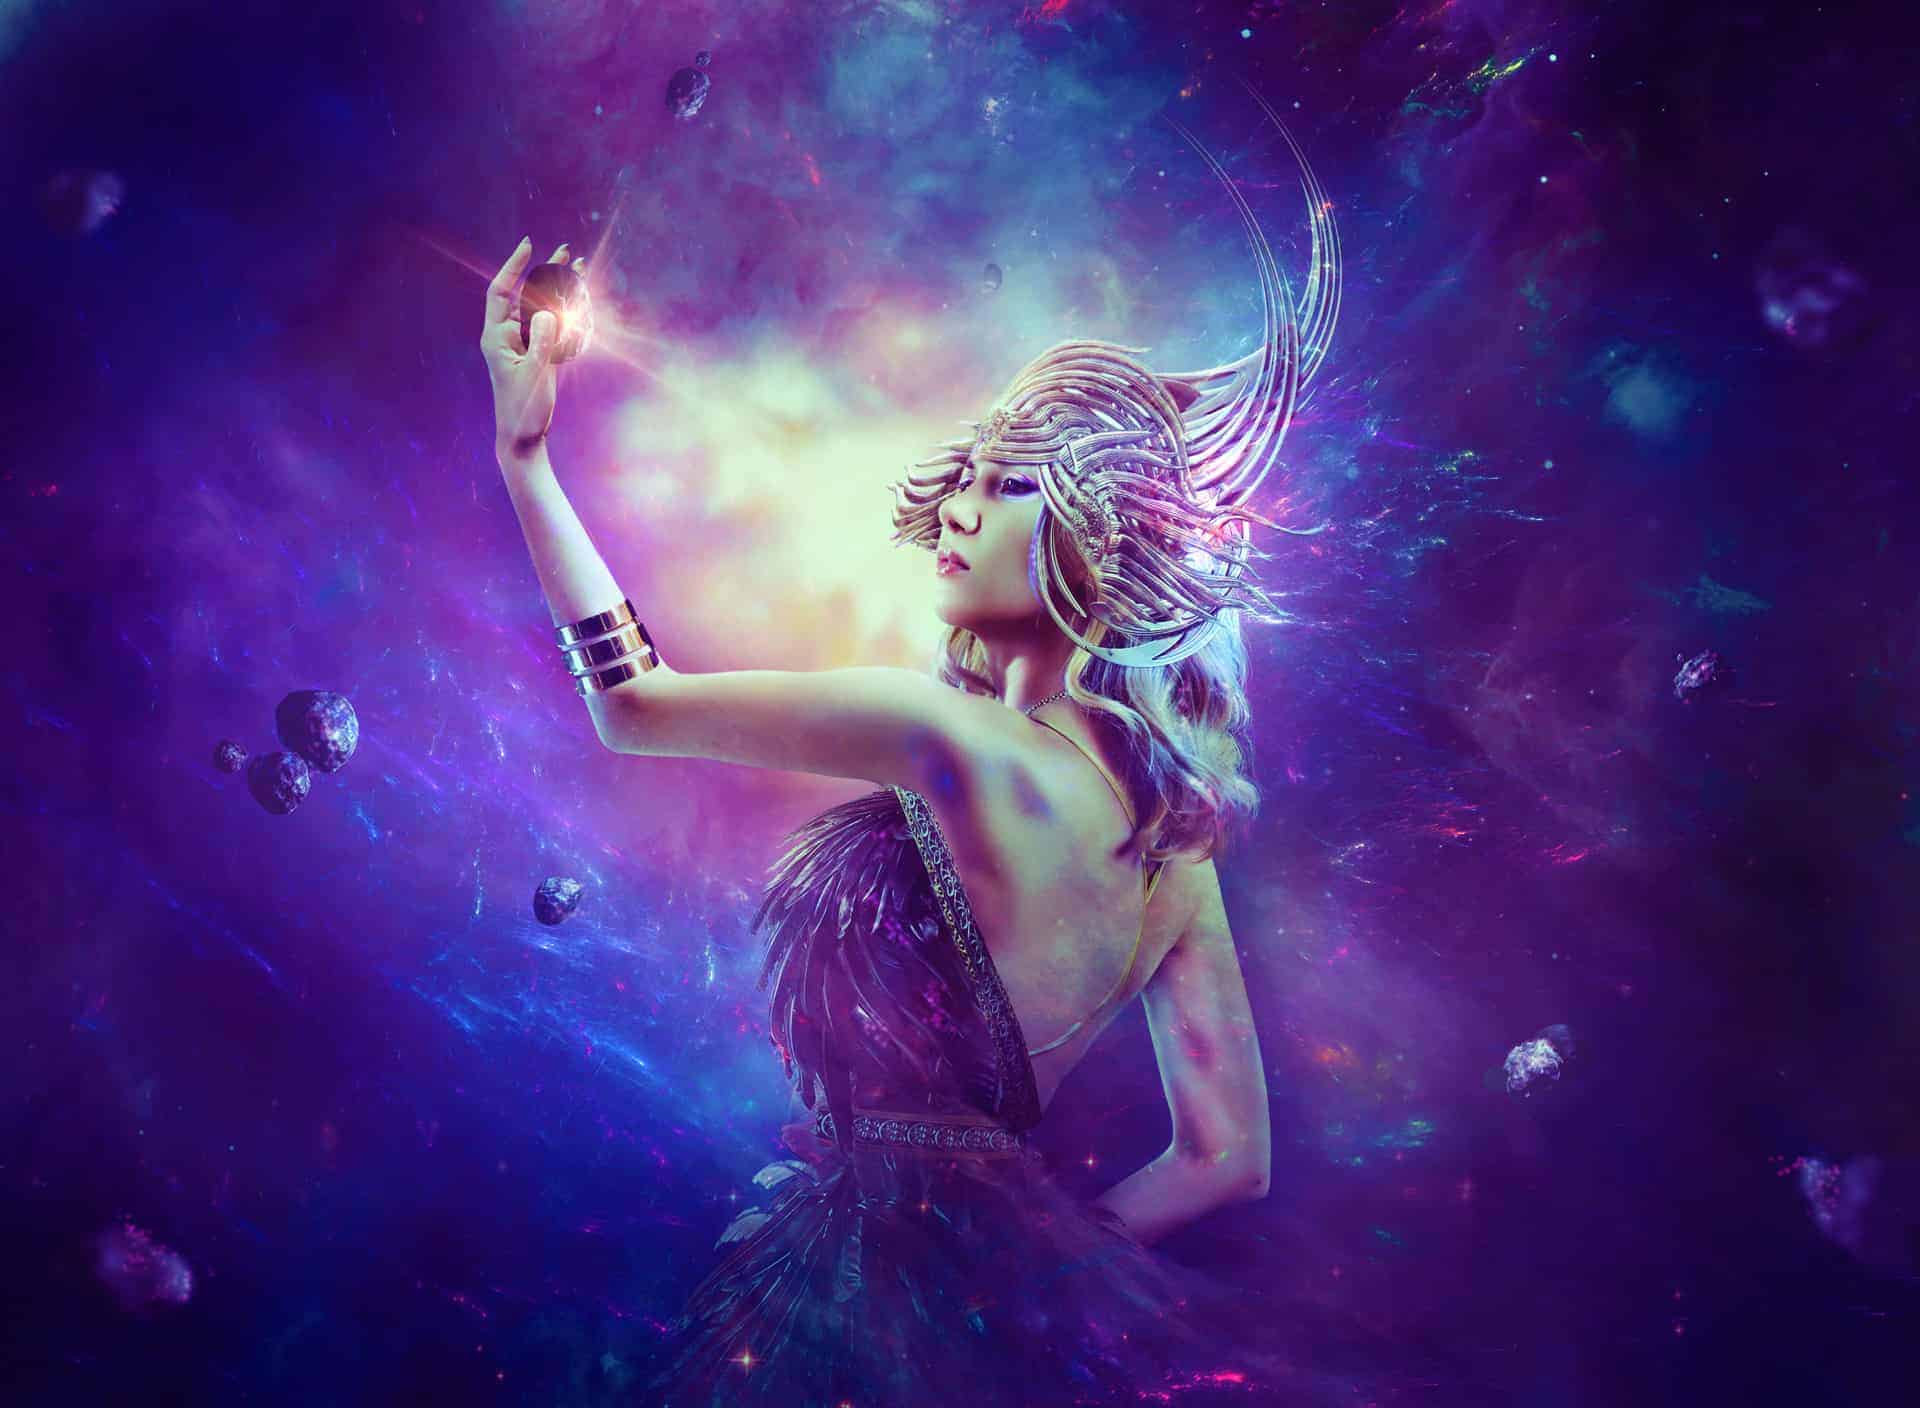
Add a Levelsadjustment layer to decrease the light and increase the contrast on the corners of the canvas. On this layer mask, paint on the contour, the front and the middle section to keep its lightness.


6 comments on “How to Create a Fantasy Woman Photo Manipulation with Adobe Photoshop”
Is there a way to filter tutorials on this site to this author?
Amazing
thanks denny .. Same as the problem is always here
great manip :)
just probllem with the psd link
Thanks for letting us know! The PSD link has been fixed
Amazing work....