Step 15
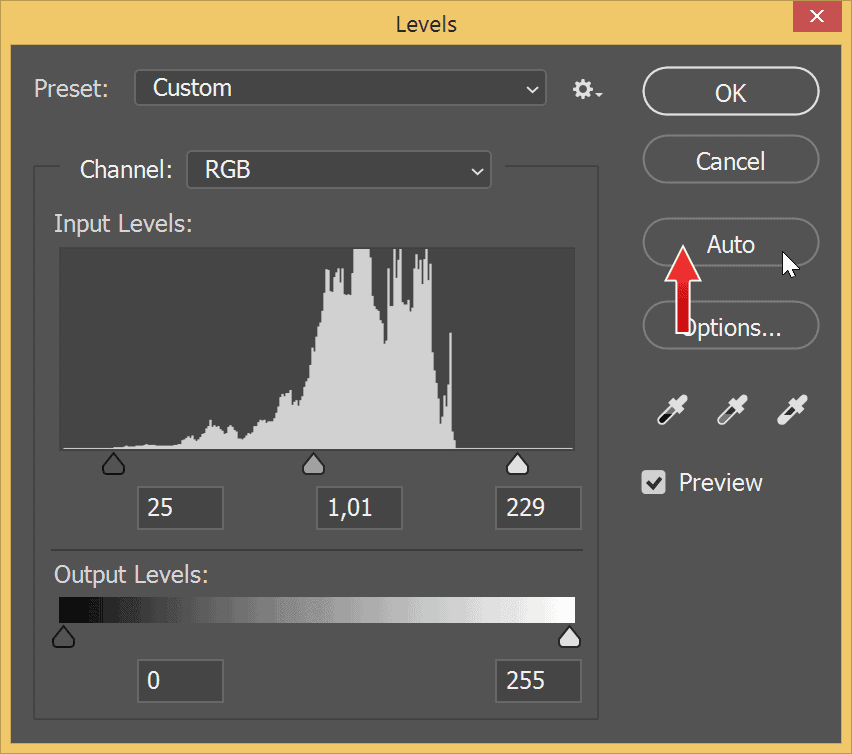
First, the photo used here is not in good shape. Poor lighting. We need to boost its contrast. Hit Ctrl + Lto open up the Levels command. Hit Auto to automatically increase the contrast.

Step 16
I still want more contrast. So, bump up the black and white arrow to the center to increase the contrast even more. This is not an image editing, so there’s no need for super accuracy. We’re going to discard this image anyway in the end.

Step 17
Activate the Pen Toolfrom the Tools Panel. Set its mode to Shape in the Options Bar. Click and drag along the edge of the first piece to recreate its shape. You can also set the color to make it distinguishable from the background.

Step 18
Keep on doing this until we return to the first point and then click it to close the shape.

Step 19
Of course, we need to do this to every pieces. While the Pen Toolis active, this time set its mode to Path. Click and drag along the second piece. This time we are adding second path to the existing shape.

Step 20
Keep on repeating this to add shapes covering all the pieces. Don’t need to be too precise. A slight error won’t be noticable.

Step 21
As always, make sure the layer has appropriate name. Let’s just name it basic shapes.

Step 22
Now, we need to separate each shape into individual layer without removing its original shape. To do this, select the shape using the Path Selection Tool–the black arrow, not the white one– and then hit Ctrl + J. The selected shape will jump into new layer. The original shapes still intact.

Step 23
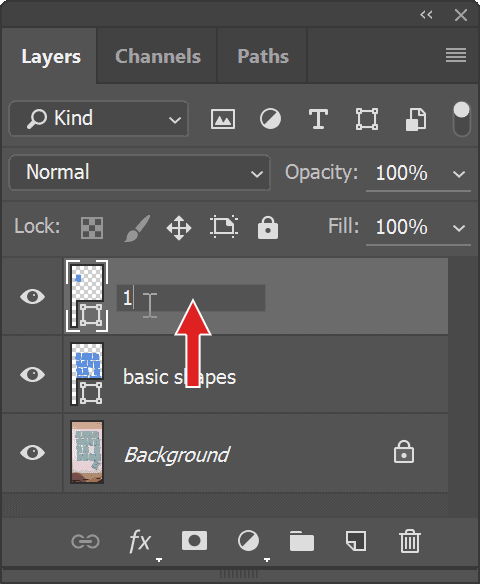
Again, give the new layer proper name. Just name it simply 1 for the first shape.

Step 24
Double click the layer’s thumbnail to add Layer Styleto the layer. We need Inner Shadow. Use the following settings to add light stroke at the top and right of the shape, adding impression of thickness of the paper.

Step 25
We need one more Inner Shadow. Click the plus sign next to its name to add extra Inner Shadow. This time we want it to be a real shadow inside the shape. That’s why we need black for its color. In the previous Inner Shadow we use white.

Step 26
Add Inner Glow and use the following settings.
One response to “Making Photoshop Mockup of A Torn Photo”
-
Nice.


Leave a Reply