

Step 17
Select the Robot layer and add the Adjustment Layer “Curves”

Step 18
Add Adjustment Layer “Color Balance”

Step 19
Add Adjustment Layer “Hue/Saturation” Blend mode Luminosity

Step 20
Add Adjustment Layer “Exposure” and press Ctrl/Cmd + I to invert and use Brush Tool(B) Soft Round with foreground color white and paint the highlight parts.


Step 21
Create a new layer and change blend mode to Overlay, then use a Brush Tool(B) Soft Round with foreground color white. Then paint the highlight parts.

Step 22
In the next step, we will add the color of the eye. Create a new layer and change the blend mode to Soft Light, now with brush tool paint on the eye. Color of the brush set to red.

Now create another layer and use a soft round brush tool with the foreground color red #ff494a. The flow set to 10%, and blend mode changed to Linear Dodge (Add). Opacity 35%.

Step 23
Create a new layer for light and change blend mode to Overlay with Opacity 50%, then use a Brush Tool(B) Soft Round with foreground color white. Then paint the center area.

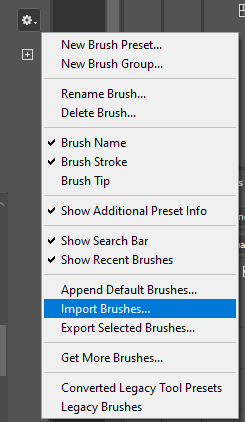
Step 24
Next, we will add Ray Highlights but first, we need to import brushes. Select a Brush Tool(B) and right-click on the background. Now click on the gear icon and Import Brushes (Select a downloaded brush).
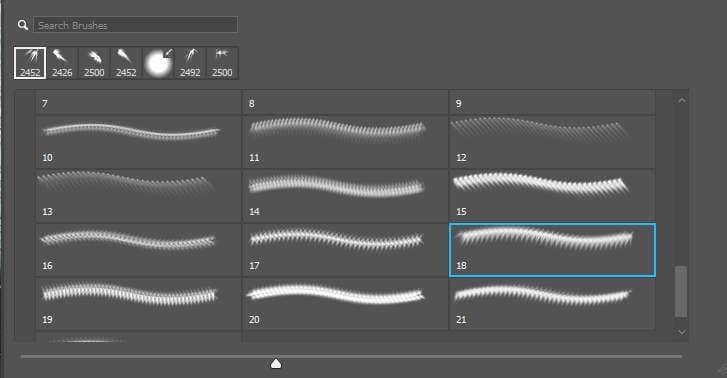
Now we can paint ray. Create a new layer and for Foreground color use white. Blend mode change to Soft Light with Opacity of 40%.


Step 25
Next, we will open Fire Particles. After you open the image, use Rectangular Marquee Tool(M). With the Rectangular Marquee tool, drag over the area you want to select. Hold down Shift as you drag to constrain the marquee to(release the mouse button before you release Shift to keep the selection shape constrained). After the selection area has been created, simply copy (Ctrl / Cmd + C) and Paste (Ctrl / Cmd + V) it under the Background layer. Then position the image with the transform tool (Ctrl / Cmd + T). Hold Alt + Shift and resterize like image below. In Photoshop CC only hold Alt to resterize al sides together


Blend mode Screen
Create Adjustment Layer “Hue/Saturation”
2 responses to “A New Age is Coming Photoshop Tutorial”
-

Interesting, thanks for the details and concept. Learned a few things too.
-
great tutorial thank you look forward to seeing more
Leave a Reply