
The machine has no feelings, it feels no fear and no hope … it operates according to the pure logic of probability. For this reason I assert that the robot perceives more accurately than man. In this Photoshop Tutorial, we will learn how to create this concept. First, we added the background(City), moon, comets, stars, and light. Blended it with adjustment layers and place stone and robot. Next, add some layers for eye color and gradient maps. For the final adjustment, we used Camera Raw Filter.
Preview of Final Image

Tutorial Resources
Step 1
Now, let’s start by creating a new image file, go to the Menu bar and click File > New, and then input the following values on their respective fields
- Preset: Custom
- Width: 3080px
- Height: 3850px
- Resolution: 300px
- Color Mode: RGB Color 8 bit
- Background Contents: Transparent

Step 2
Now, place Background (City) Go to File > Place and select Background Then place it to our work canvas and position the image with the transform tool (Ctrl / Cmd + T). Hold Alt + Shift and rasterize like the image below. In Photoshop CC only hold Alt to rasterize all sides together.


Step 3
Add Adjustment Layer “Color Lookup” and set the file FuturisticBleak

Step 4
Add Adjustment Layer “Curves” and press Ctrl/Cmd + I to invert and use Brush Tool(B) Soft Round with foreground color white and paint the center of the image.


Step 5
Add Adjustment Layer “Curves” and press Ctrl/Cmd + I to invert and use Brush Tool(B) Soft Round with foreground color white and paint the dark parts.


Step 6
Next, place Stars Go to File > Place and select Stars, then place it to our work canvas and position the image with the transform tool (Ctrl / Cmd + T). Hold Alt + Shift and rasterize like the image below. In Photoshop CC only hold Alt to rasterize all sides together. Opacity set to 40%.

Then, create a layer mask and with a soft round brush tool delete some areas.

Step 7
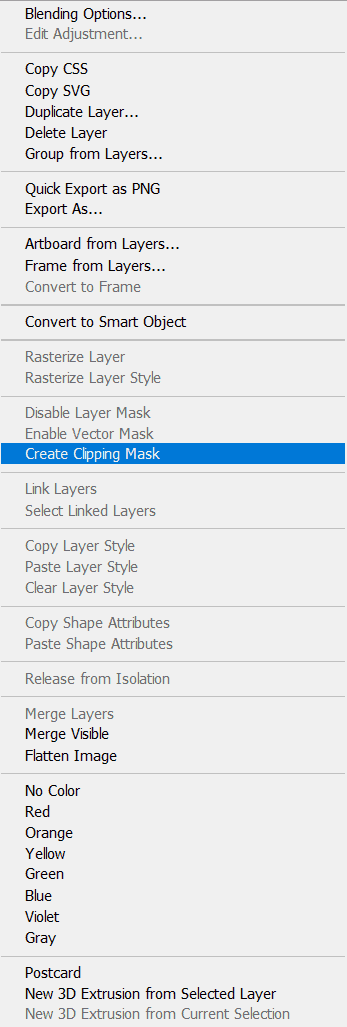
Now, create more lights. Create a new layer and press right-click “Create Clipping Mask”
Then go to Edit > Fill and Contents: 50% Gray and press Ok.

Now use Brush Tool(B) Soft Round with foreground color white and Brush Opacity set to 10-20%. Then start painting. Take a look at the example in the picture below how much you need to paint, where there is the most white color, and draw the most.
2 responses to “A New Age is Coming Photoshop Tutorial”
-

Interesting, thanks for the details and concept. Learned a few things too.
-
great tutorial thank you look forward to seeing more
Leave a Reply