
Give your photos a professional retro look using a combination of color lookup layers in Photoshop CS6. This technique is extremely easy to do and you can do it in seconds. Give it a try!
Preview of Final Results
Step 1
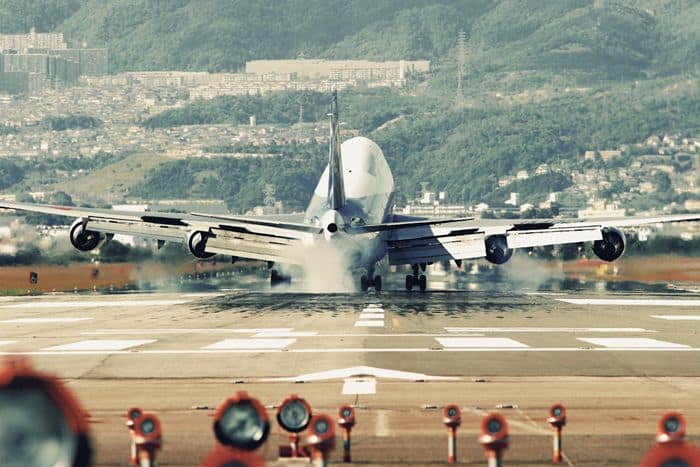
For this tutorial, we’ll be using Color Lookup adjustment layers which is only available in Photoshop CS6. Color Lookup layers are used to simulate color profiles used in film and Photoshop includes . Start by opening any photo into Photoshop.

Step 2
Because this photo effect will be created with several layers, it makes sense to add them inside a layer group. Add a new layer group by going to Layer > New > Group.

Step 3
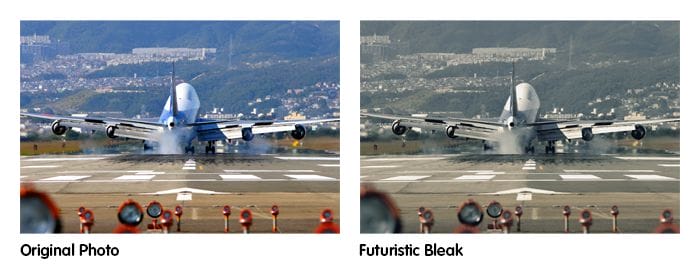
Add a new Color Lookup adjustment layer (Layer > New Adjustment Layer > Color Lookup). In your Properties panel (Window > Properties), set the profile to Futuristic Bleak.
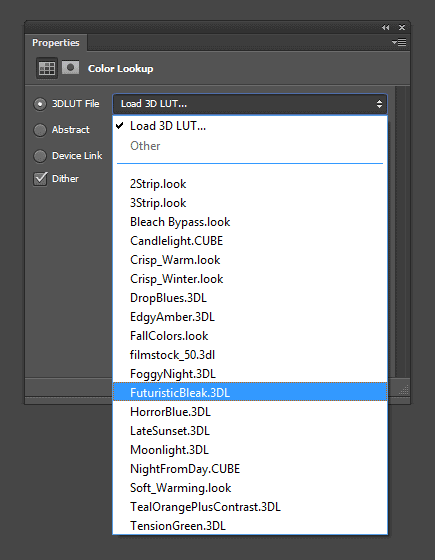
The Futuristic Bleak profile gives your photo a faded look like what you see in many futurstic movies.
Step 4
Next, we’re going to add a Film Stock color lookup profile. This profile boost the contrast and colors of your image. Duplicate the Color Lookup adjustment layer you created in the previous step by pressing Ctrl/Cmd+J. In the Properties panel, set the profile to Film Stock.

The image looks pretty good already with just these two adjustment layers.

Step 5 (Optional)
This step is optional but will give your photo some retro colors. The last Color Lookup adjustment layer we’ll add a 3 Strip color profile. Duplicate the previous Color Lookup adjustment layer (Ctrl/Cmd+J) then change the color profile to 3 Strip.
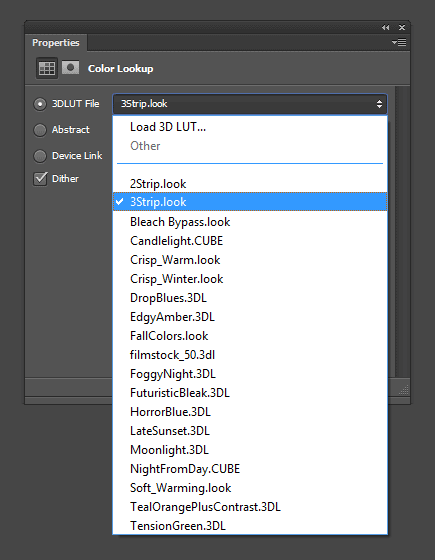
The 3 Strip color profile simulates the 3-strip Technicolor camera from the 1930s used in the famous movie, Alice in Wonderland (1951). There was no true way of simulating this effect before Photoshop CS6 came out. Now with the new Color Lookup adjustment layers, we can easily add this effect.

A 3 Strip Technicolor Camera

Step 6 (Optional)
This step is also optional and gives your photo a faded look by shifting all 100% black and 100% white areas to something more gray. This technique is used a lot by photographers and is becoming a very popular effect for wedding and portrait photography. To do this, add a new Levels adjustment layer (Layer > New Adjustment Layer > Levels). Adjust the black and white input slider at the bottom of your properties panel.
18 responses to “Quick Tip: Retroize Your Photos in Seconds”
-

Wow, these are really creative! They remind me of those Chip Fosse drawings from Overhauling’. Great work!
-
Is there a way to replicate this effect without CS6? I’m working on CS3.
-
Awesome, just what I was looking for. Works a treat. I’ve made an action for this now so I can apply it with just the click of a button :)
-
Is there a tutorial on remove the rude and annoying comments?
That “Draw an Owl” photo was hilarious -
Where can I find the effects, the .3dl files?
-
It should be included in the dropdown menu without loading the .3dl files. You need Photoshop CS6 to use the color lookup adjustment.
-
-
Awesome tutorial mate! Very easy and with such little effort it gives stunning results.
-
This tutorial is EXCELLENT due to the great step-by-step detail. It is greatly appreciated.
Thanks. -
ooohoohoohooohoohooohoohooohooohoohooohoohoohoohoohooo
-
Ma réalisation: http://s7.postimage.org/kqvygnbnv/r_alisation.jpg
-
Where do I go to enable the colour lookup? I don’t seem to have it.
-
It’s only in CS6
And thanks for the tut!
-
-
1) Your way does not do anything
2) To get anything decent you have to mess with each color setting and that is way more work than adding a few lookup layers
3) It’s not the same so dont be such a smartass -
1. Make a white layer set to soft light.
2. Use hue\sat to color itSame effect without your stupid steps
-
Thanks for the tip! I have one for you too
http://i.imgur.com/RadSf.jpg -
It’s not that hard bud. It’s easier than your steps believe it or not.
-
true
-
Leave a Reply